Since my last post, work has starting to get busier and being in and out of the house all the time leaves me very little time for the Beetle project. Now though I do have to get some work done on the T4 van. It’s failed it’s MOT which isn’t unexpected but does mean I have to fix it before I can fully kit it out as a camper.
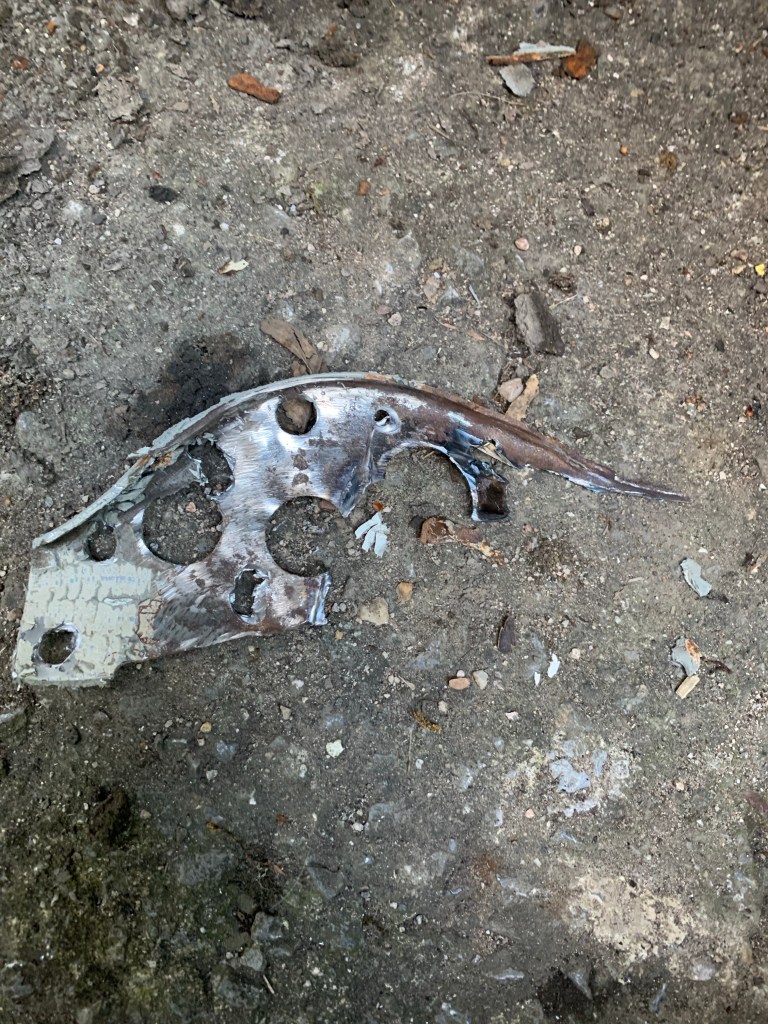
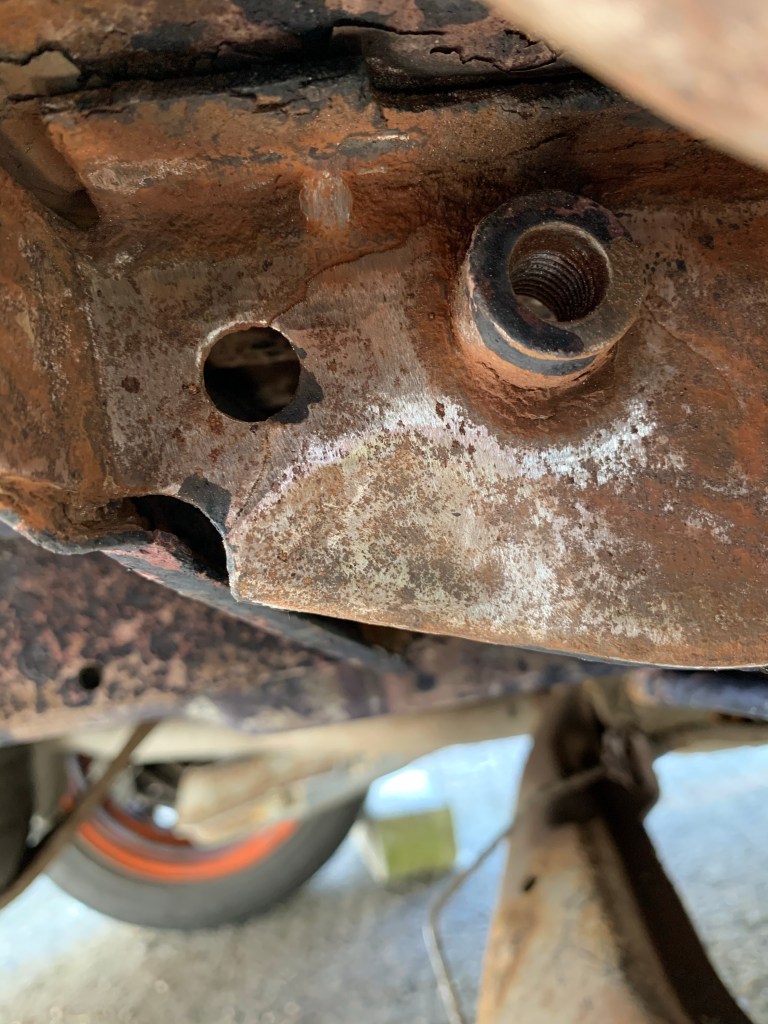
The first problem is that the van is a little rusty but the rust on the rear shock mounts was the most urgent problem to deal with. The mount had cracked due to the lack of strength.
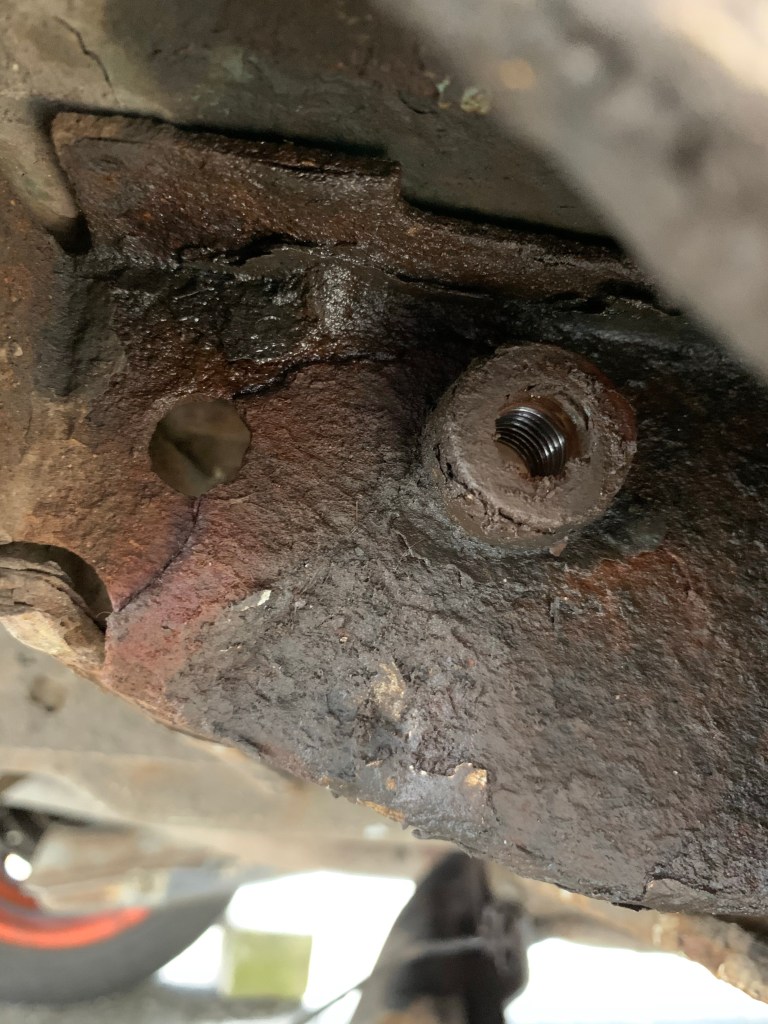
Dismantling the shock absorber and spring gave me room to work. Utilising a large screwdriver, hammer, drill, wire brushes, finger sander, Dremel and an angle grinder I was able to clear off all the rust.

A bit of weld through primer then I started cutting out sections to replace thinning metal.
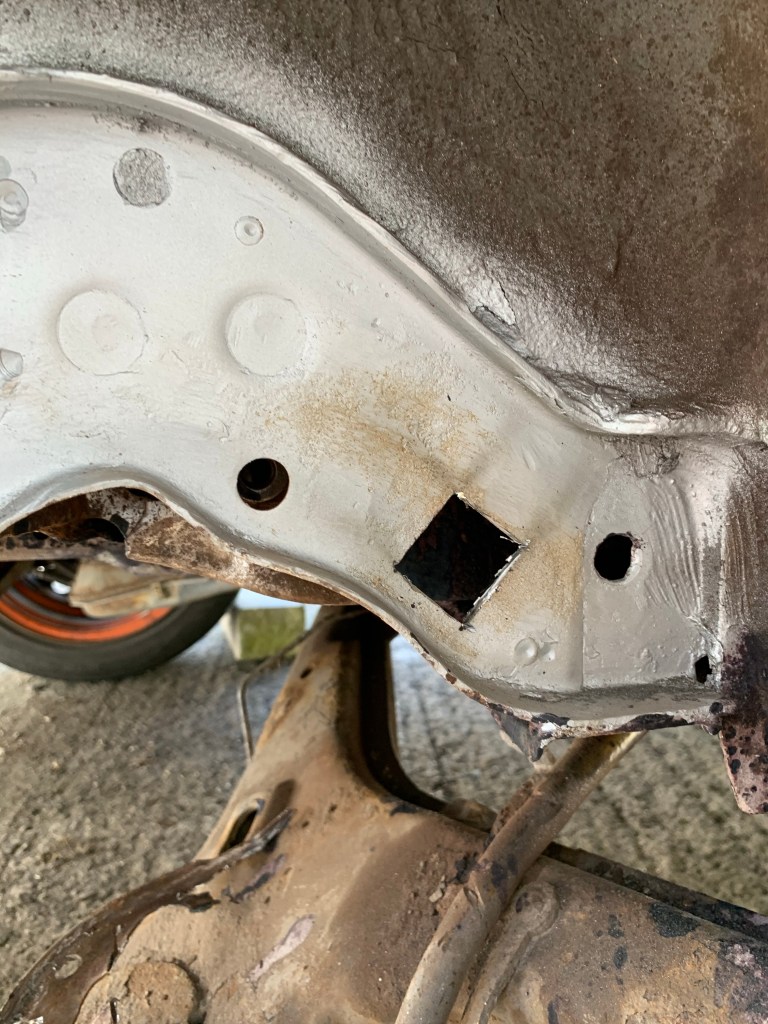
And using a dremel, with a grinding end, I gouged out the crack ready to weld.
Welding was pretty straight forward after that.
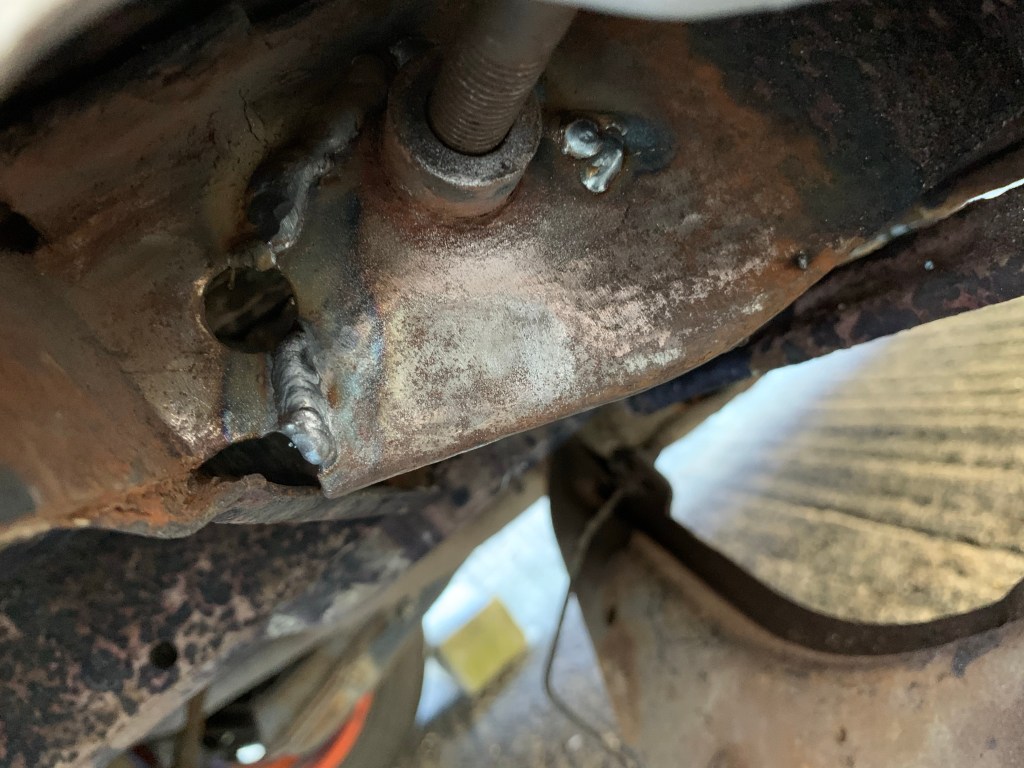
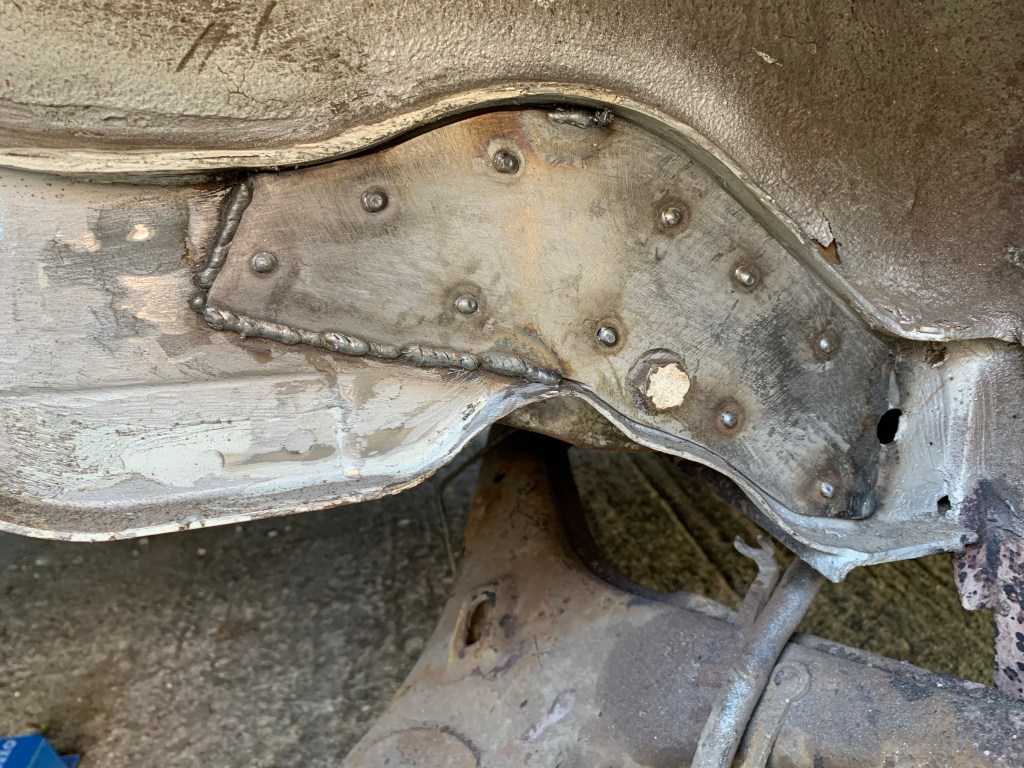
Putting a bead both sides of the crack should be strong enough. Making a new strengthening was relatively easy. Had a bit of card knocking about the garage. I laid it into position and, using a hammer, made an outline of the shape I wanted. Cutting it down with scissors and transferring the shape to some steel. Drilling the hole for the shock absorber mounting bolt took some work. Transferring the position took a few tries to get it exact but then I couldn’t find my 12.5 mm drill bit. Eventually found a spare in a helicoil kit but that was blunt so got the bench grinder out to sharpen. After all that I was a bit fed up and forgot to clamp the repair panel down before drill so, as usual, the drill caught a burr and picked up the panel and made it into a lawnmower blade and promptly cut straight through my aerosol can of weld through primer. This turned itself into a Katherine wheel of paint which coated myself, tools and garden in grey primer.
Time for a tea break.
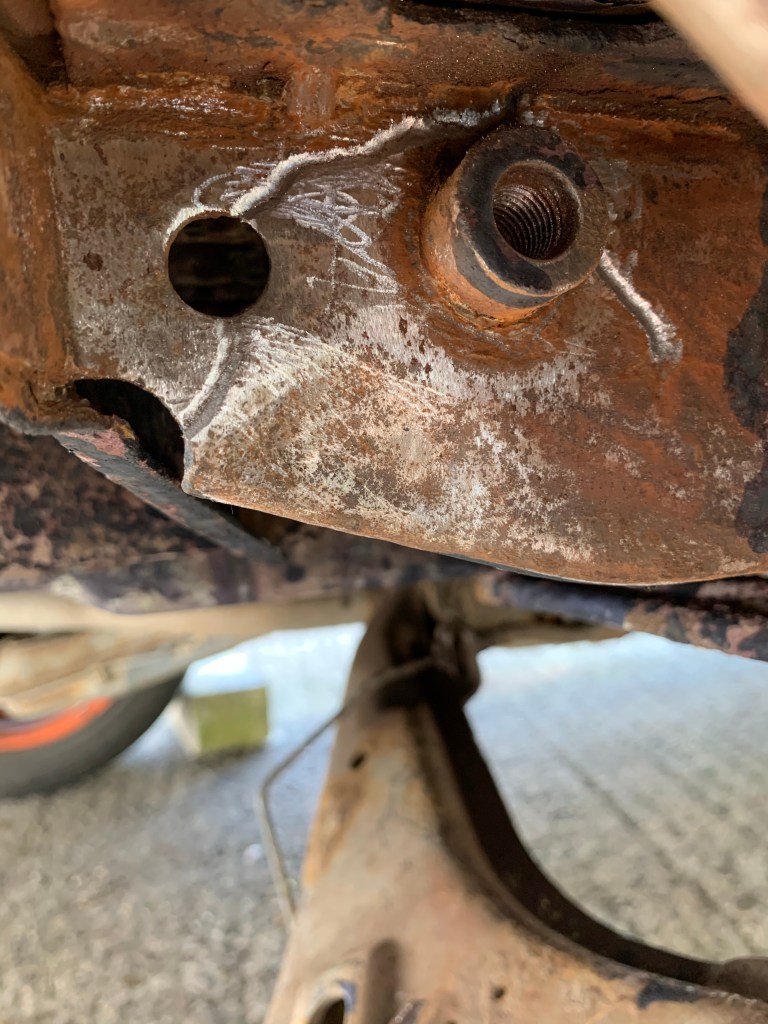
Once I calmed down the panel was fitted, clamped and welded into position.
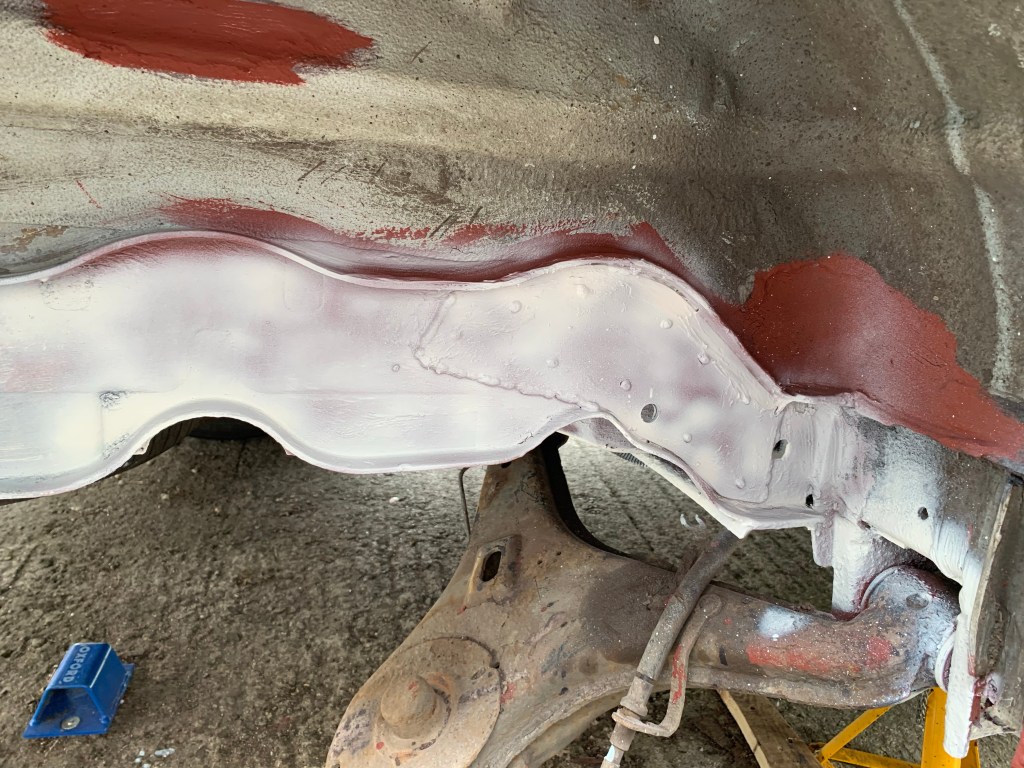
Also my stonechip paint decided to bust through the top valve and coat my hand in paint so that went into the bin. Will finish painting at a later date.
Rebuilding was straight forward and I moved on to ball joints.
The T4 van has three ball joints on each corner at the front, two really easy to change and one not so easy. Guess which one I had to do!
If you have to take the hub off a t4 van then before you jack it up undo the centre hub bolt first, saves a lot of time jacking up the van, taking the wheel off, trying to do it in the air only to put the wheel back on and lowering the van again to undo the bolt and jack it all over again. I remember to do it first this time.
The steering tie bar needed a new ball joint as well as the top wishbone so I decided to do all three, saves me having to do the final one next year……
You do need spline drive tools for VW’s luckily I already had them from a previous job on the drive shaft. So undoing the tie bar ball joint (Allen keys and WD40 is very useful here), the lower ball joint (two spline drive bolts) and the upper ball joint (large nut and adjuster bolt) the hub can be removed.
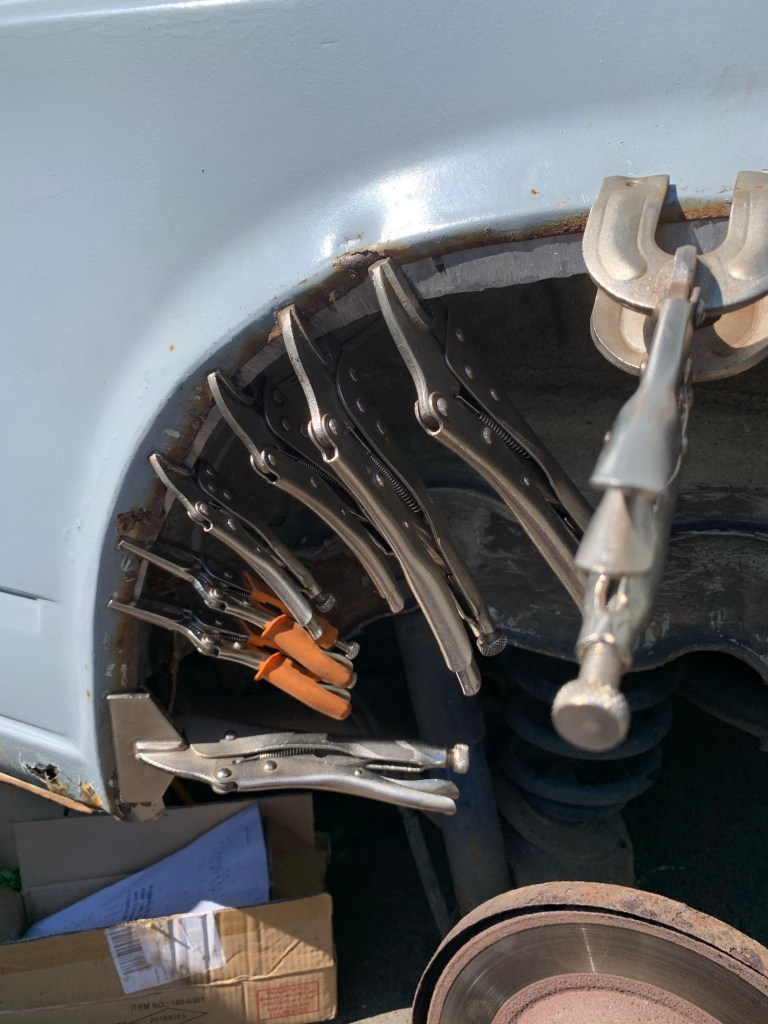
Using a bench and a large hammer removed the lower ball joint from the hub (no forks used here). It was then time to remove the top ball joint. The ball joint is held in position by a split ring and a lot of friction. The split ring came out easily and the dirt around the area was cleaned off with WD40. Then using a lot of heat the ball joint was gradually hammered out of position. I supported the upper wishbone with a bit of wood so most of the hammer’s force was used to remove the ball joint.
I did leave my hub fitted to it for added weight but it didn’t really need to be there.

Fitting a new ball joint does need a press, I have a tool set to do this (working on the beetle).

This Job actually worked out well but unfortunately I did notice the driveshaft boot was slightly split so I rebuilt the front and ordered a new one to do later.
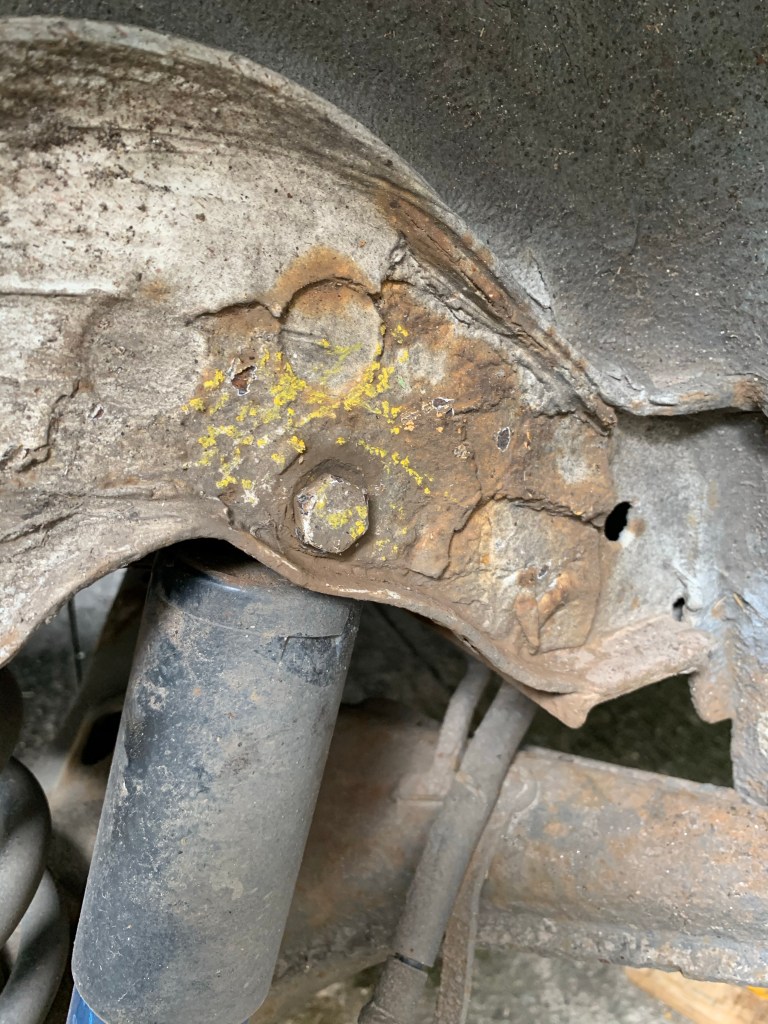
Next was the near side rear arch, having a quick look to see what was involved, I found the outer inner arch completely shot with bits of rubbish falling out everywhere I poked my screwdriver. The MOT’er highlighted the areas it failed on with the trusty yellow pencil.

Including the Inner sil but while I’m in this area I’m getting it sorted.
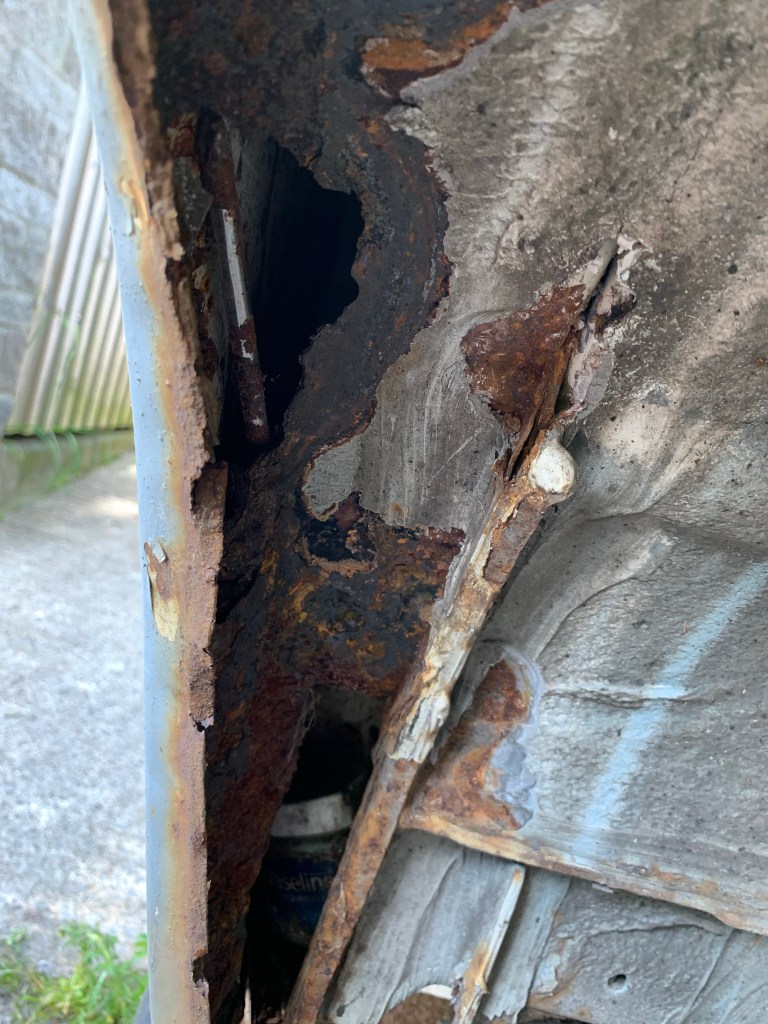
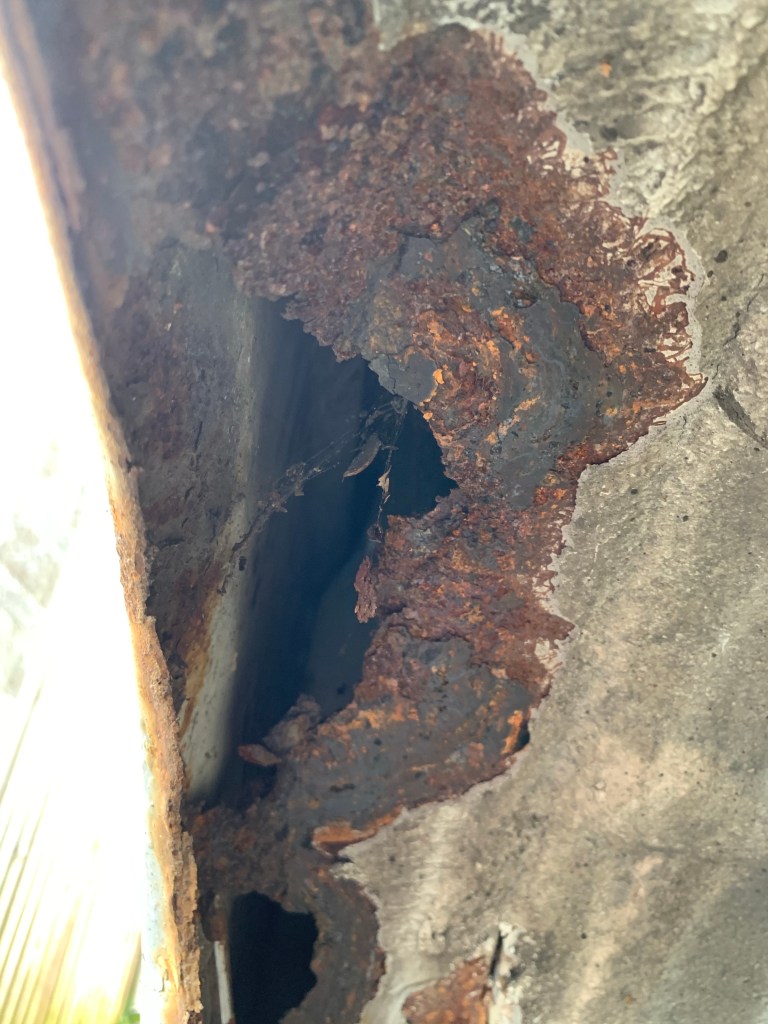
The old screwdriver and tub were behind the panel and lots of dirt which held most of the moisture which rusted out the panel. This rust has most likely been caused by someone trimming the inner lip of the rear wing when they lowered the van.
Going to wait for a new panel so on to the next problem.
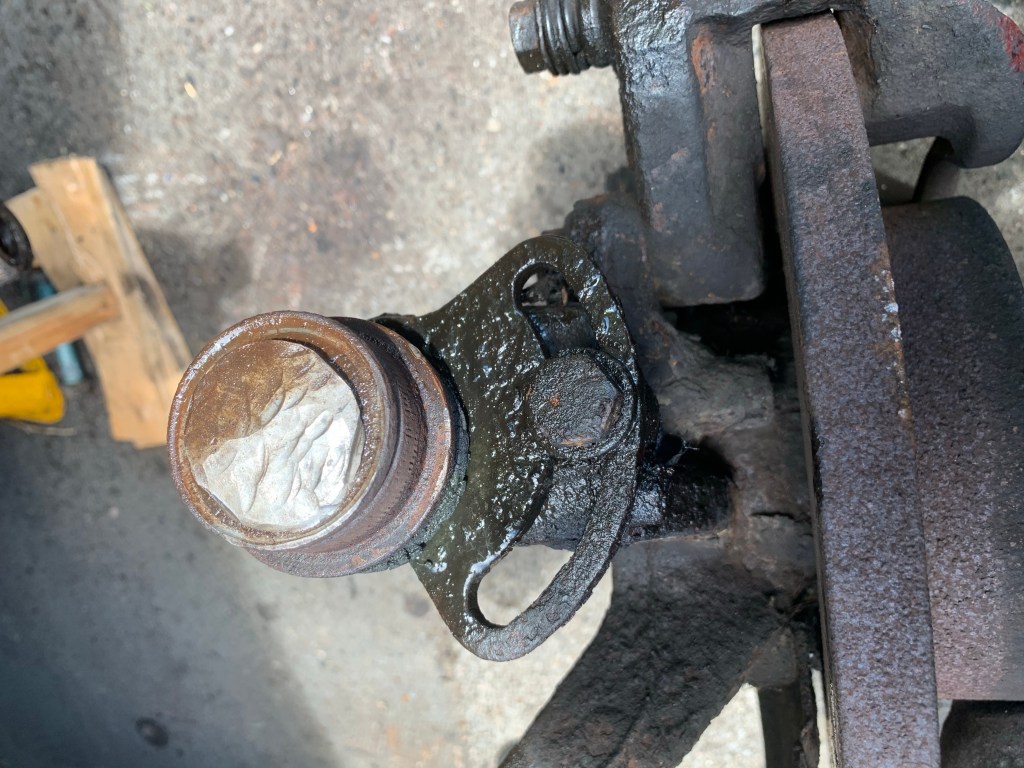
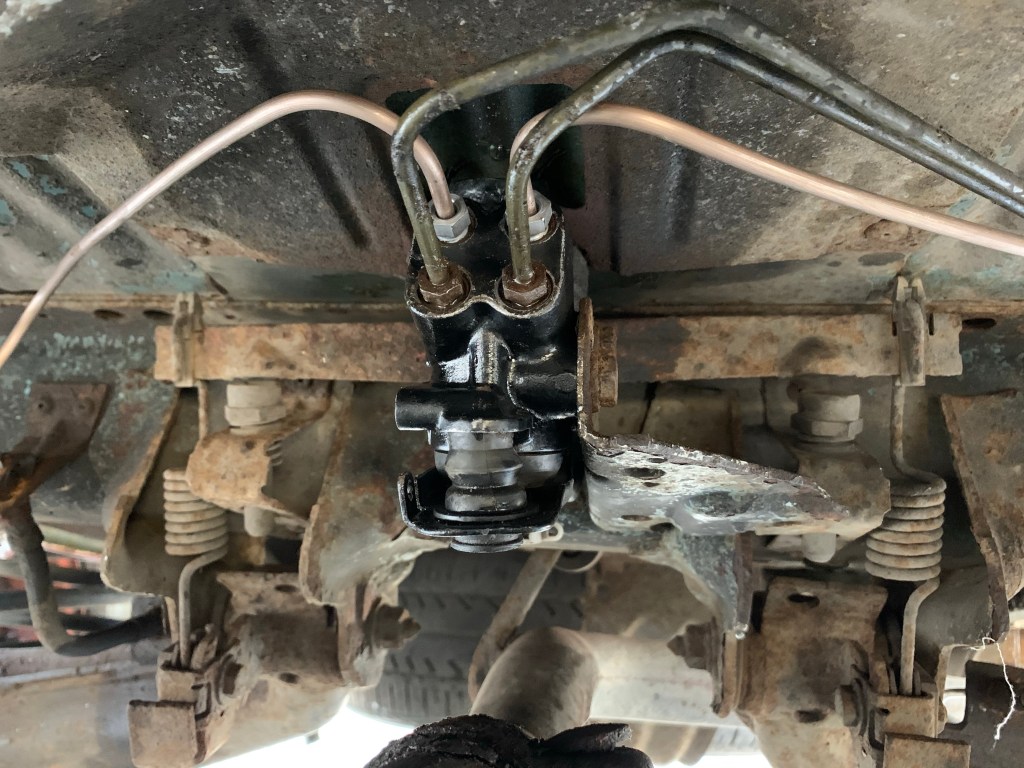
The rear brake proportional valve has sized and the rear brake pipes are rusty so time to drain and remove. This is where I don’t like vw too much. Who uses 11mm fixings! Need a specific 11mm pipe spanner but making do with my normal open ended but rounded a couple of the fixings in the process.
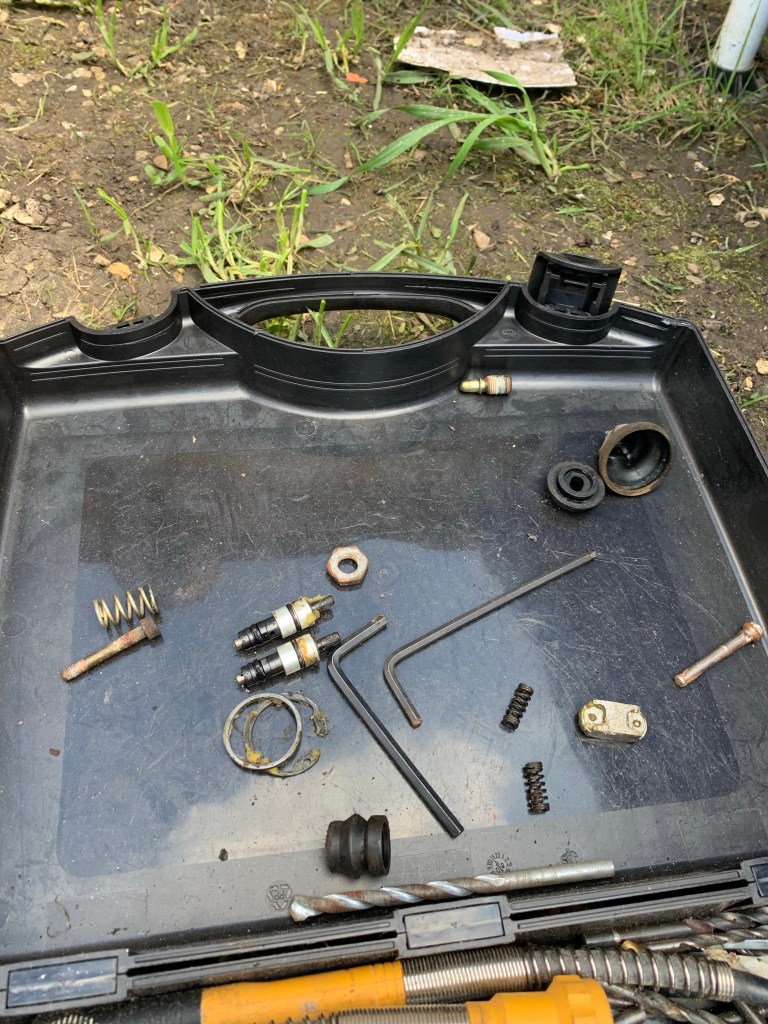
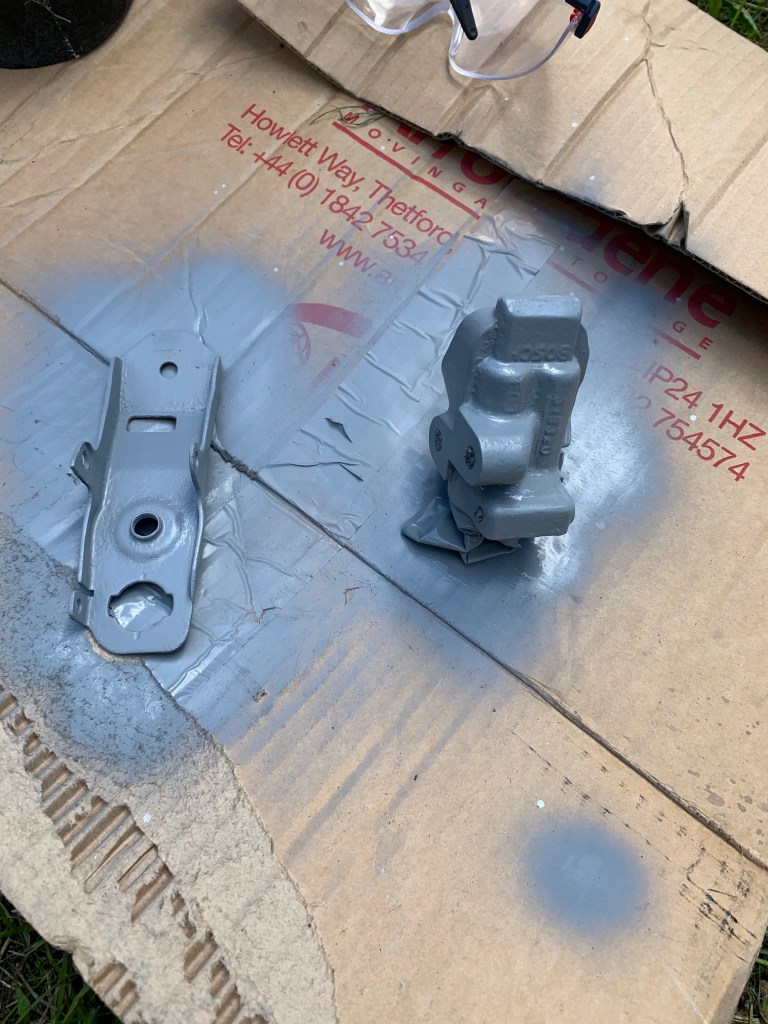
Out comes the valve
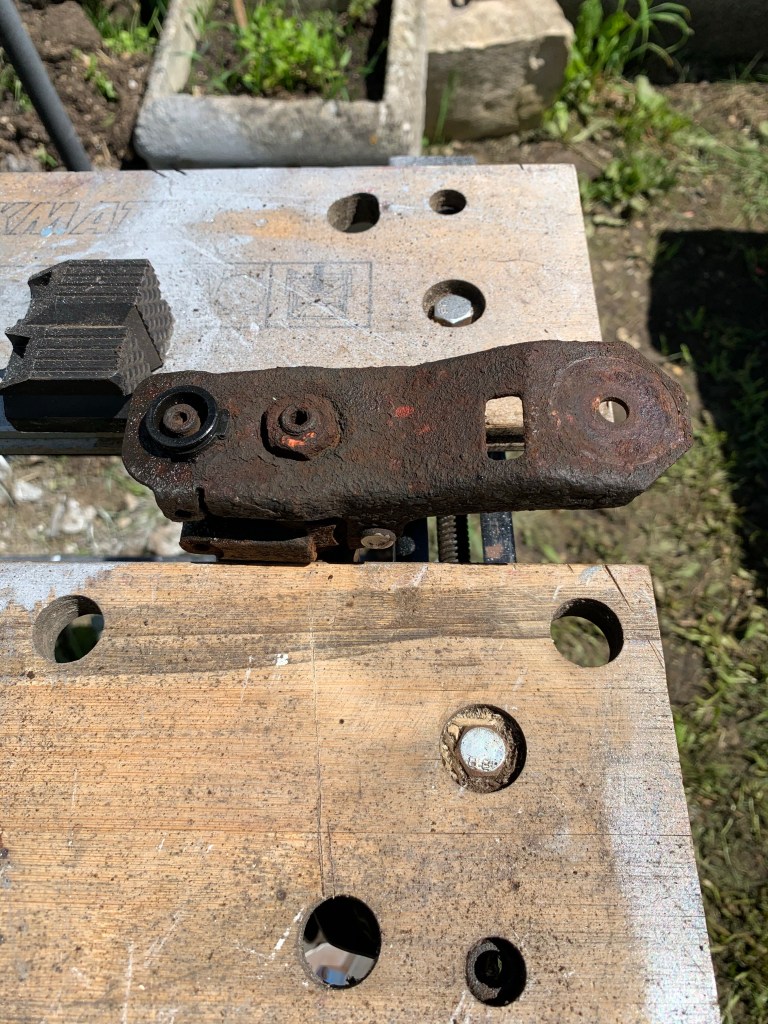
Quickly dismantled, cleaned and painted
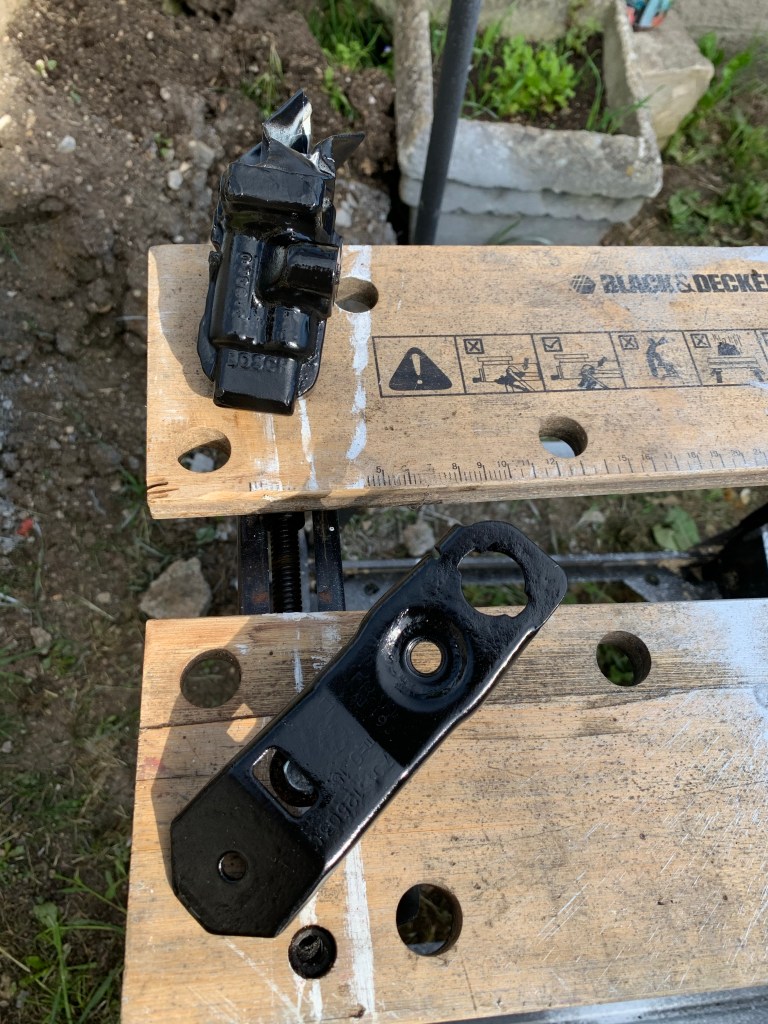
Then refitted with the new brake pipes and the system bleed.
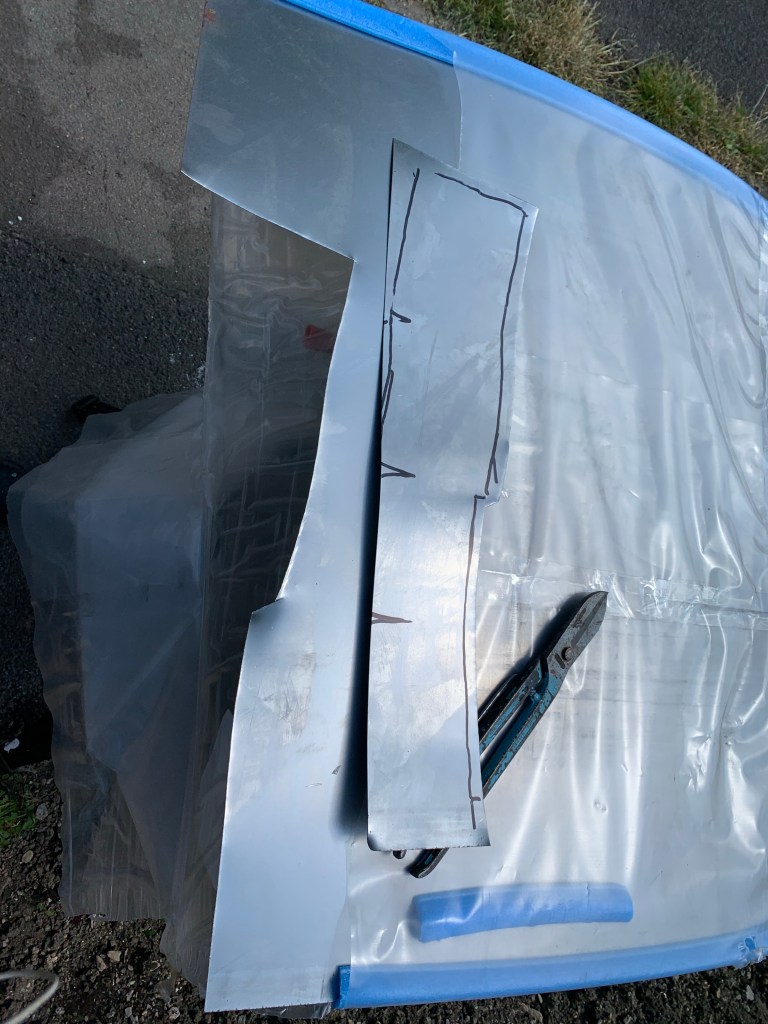
Next task was to start preparing the repair of the inner rear wing. Using a bit of card and some tape made a former then transferring to sheet steel. A bit of hammering and shrinking and trial fitting I have a start of a repair panel.