The final tasks of the 10 day slog to repair the T4 MOT failures. The left rear arch was very rusty and needed lots of repairs.
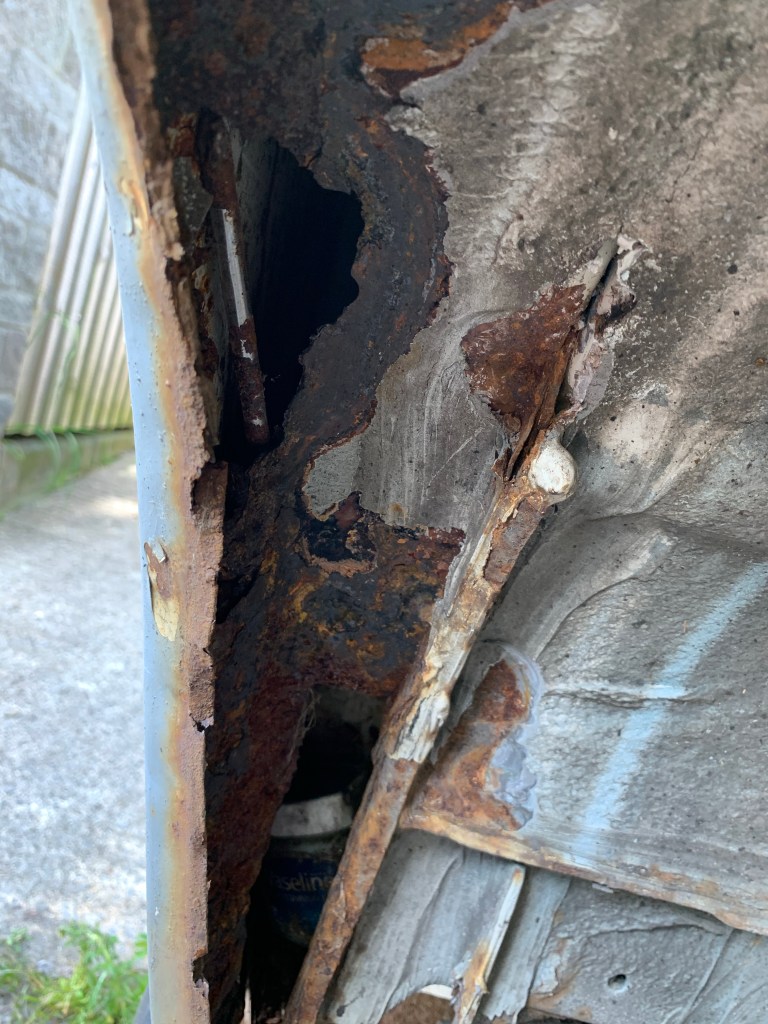
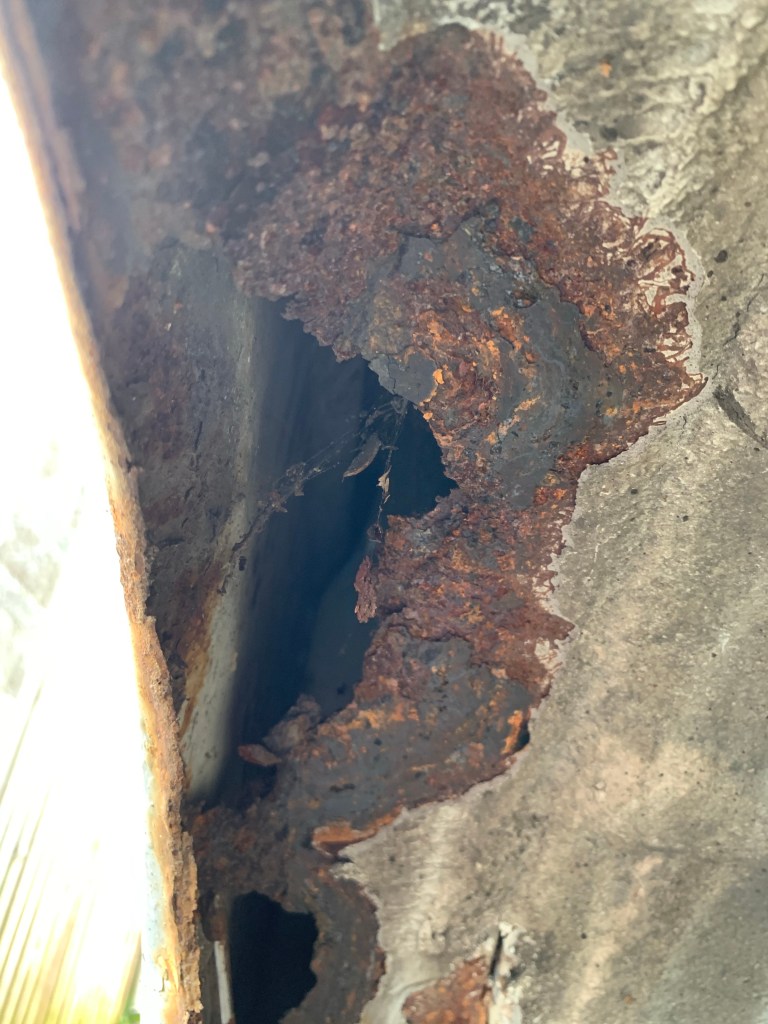
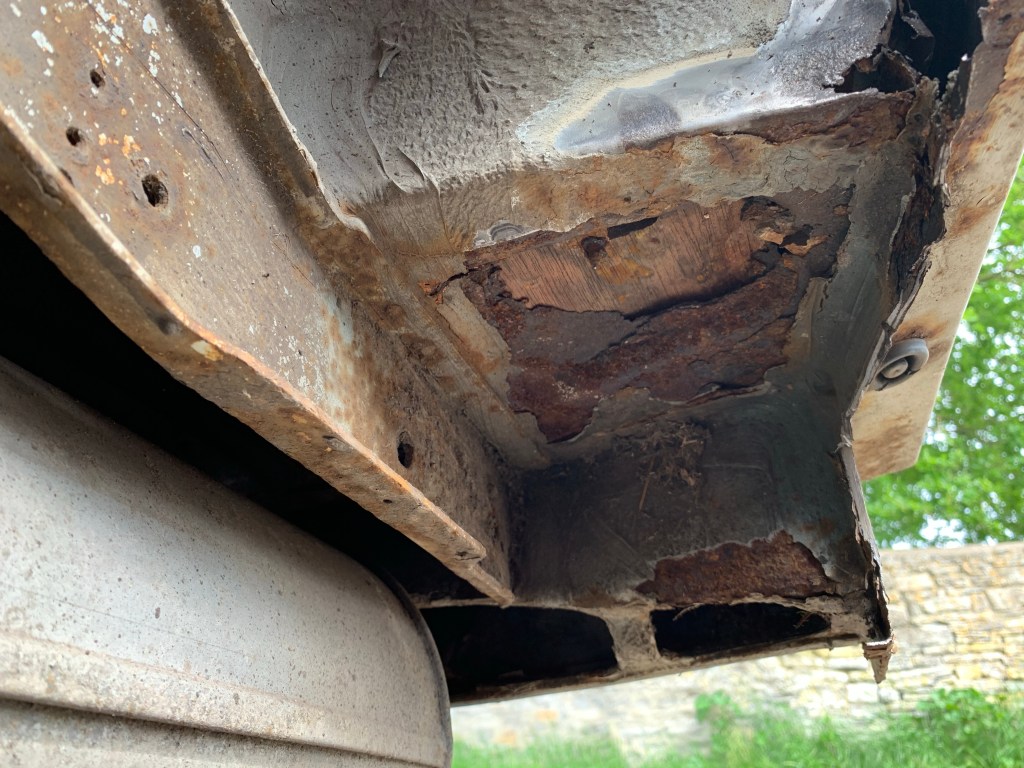
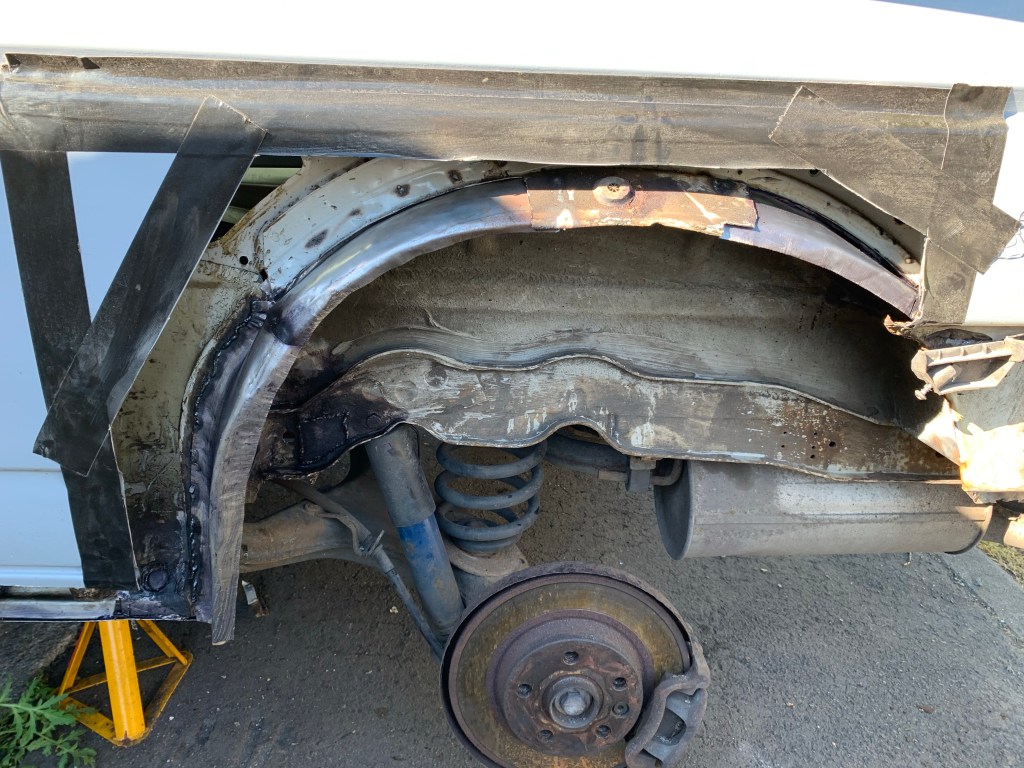
Cutting out the rust was pretty straight forward, with cleaning the surrounding areas a time consuming, very unpleasant, noisy and dirty job but very necessary.
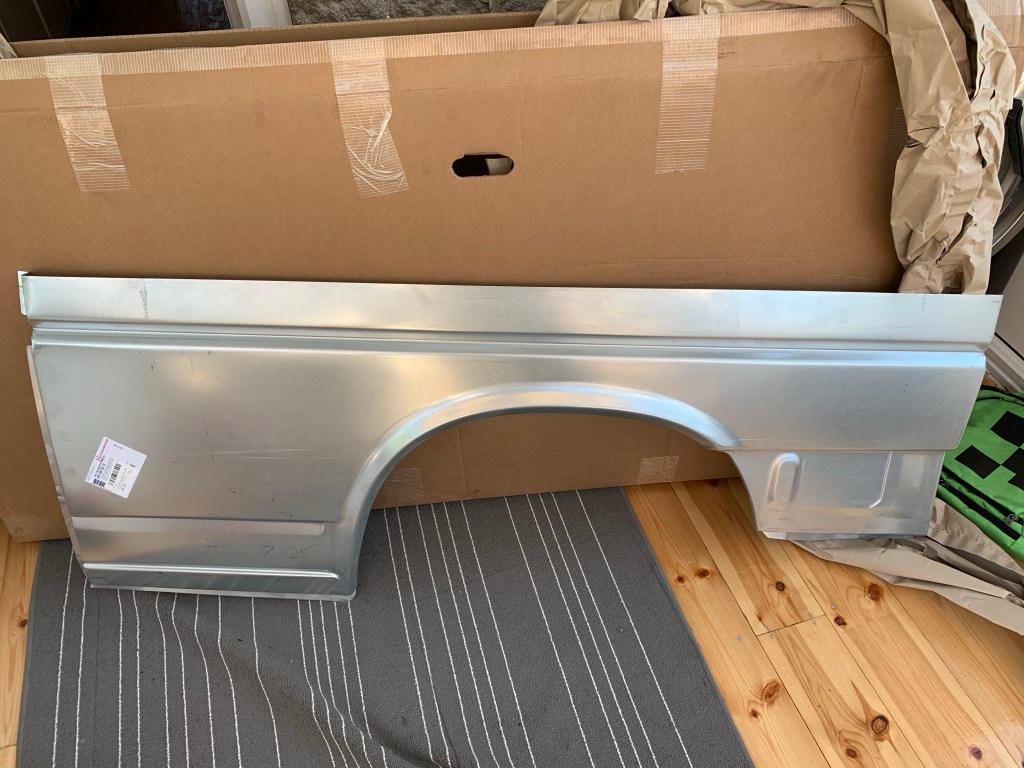
Getting hold of a new panel which relatively cheap and turned up very quickly.
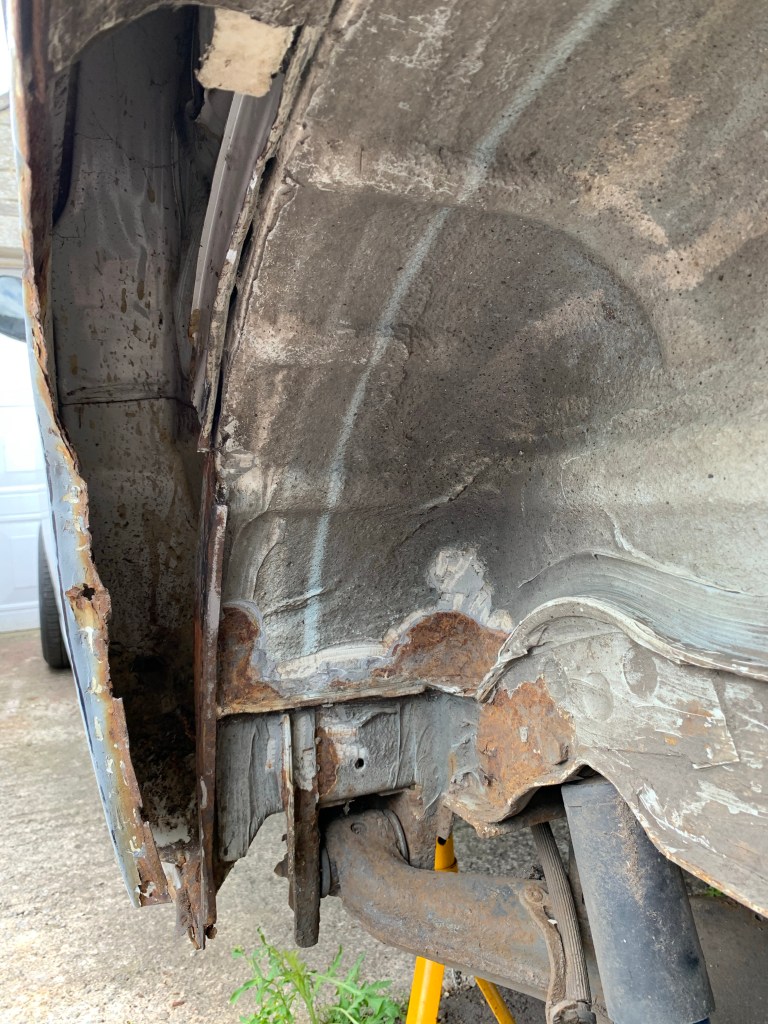
The inner arch is too expensive for me so knocking up sections out of sheet steel didn’t take too long. but had to remove the interior so I didn’t set light to the van. The carpet did catch fire but was quickly put out and removed. I made sure to keep the doors open and regularly check inside every few minutes of welding.
I didn’t need the full outer panel so using the off cut I transferred the dimensions over and added a few centimetres to give me some material to play with. Cutting a couple of slots on the angles gave me access to joggle the lip of the panel on the van. Lining up the difference took time and lots of trial and error.
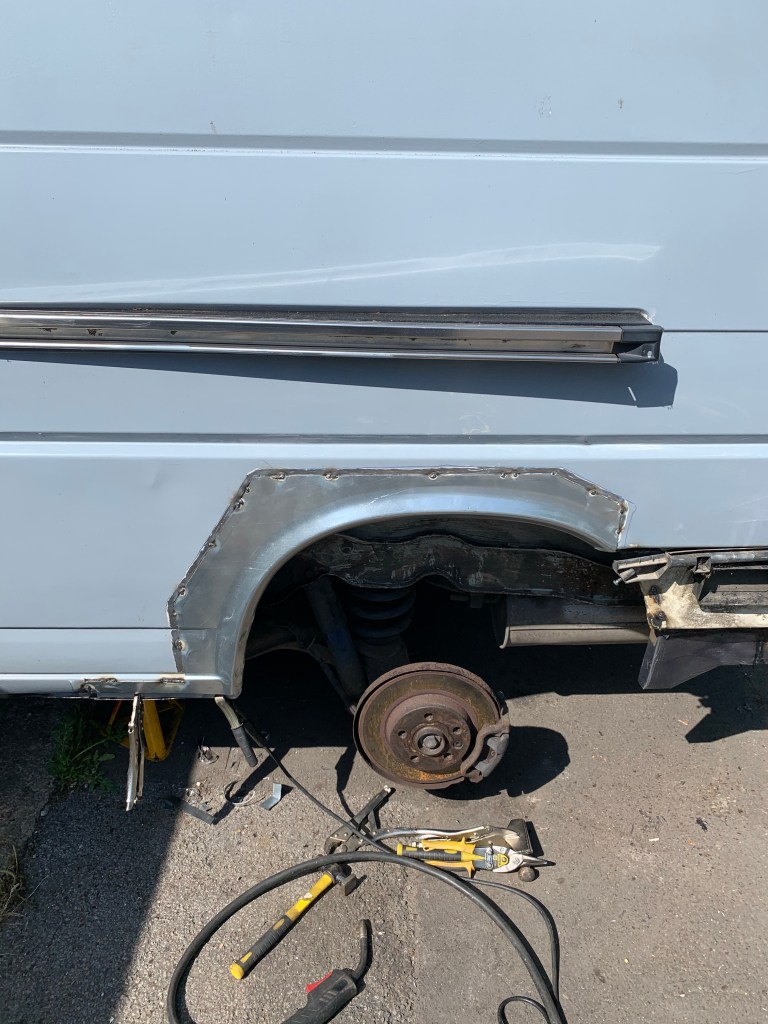
Welding and cleaning up didn’t take very long, except the thermal cut out on my welder kept kicking in so I had to wait between welds. This helped with keeping the heat down and warping the panels.
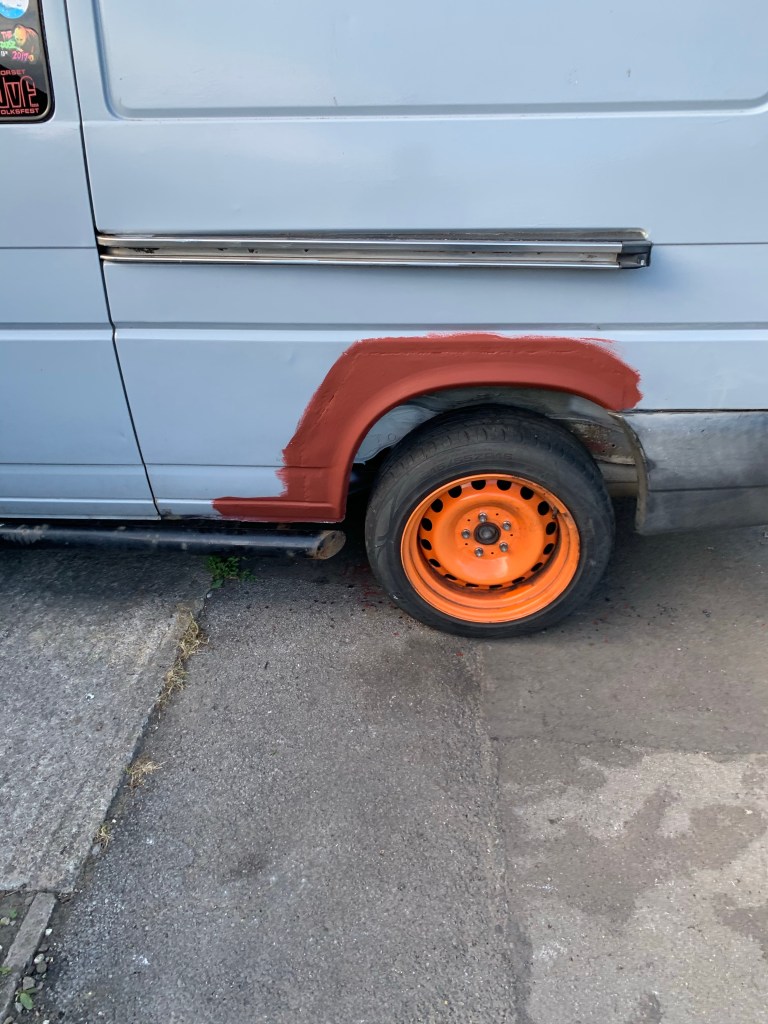
Quick coat of paint and all done ready for the MOT.
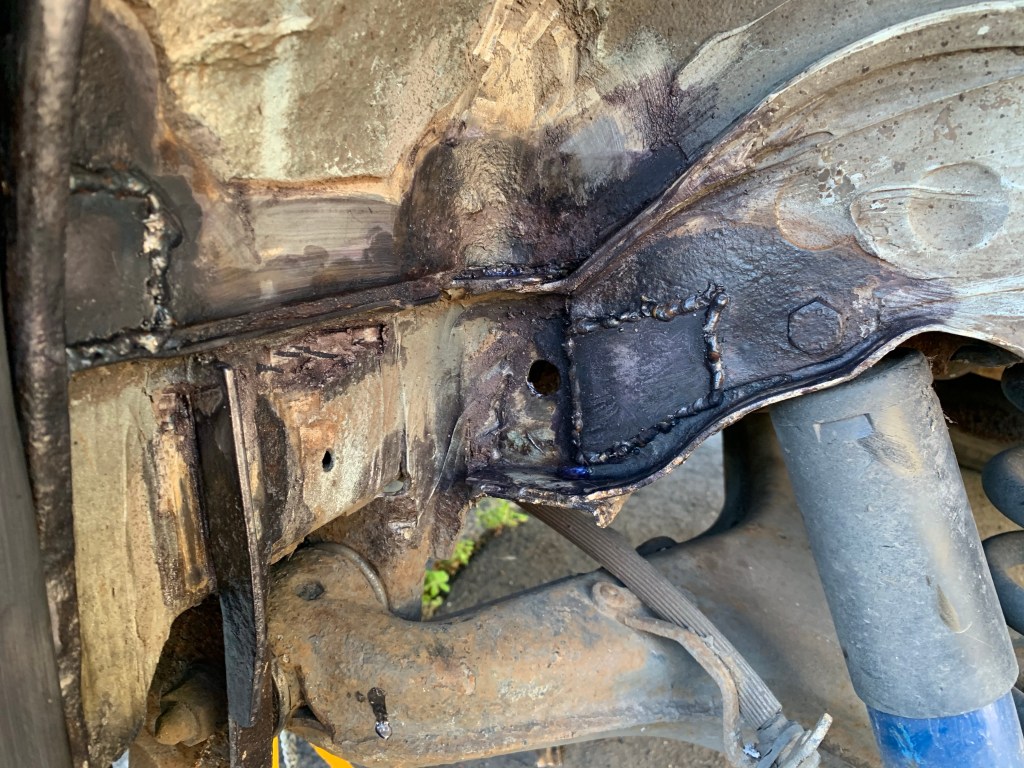
With all the other parts welded up as well. Going to apply a coat of seam sealer at some point soon to full seal the space under the arch.
I also made time to finish off the rock and roll bed, finally!
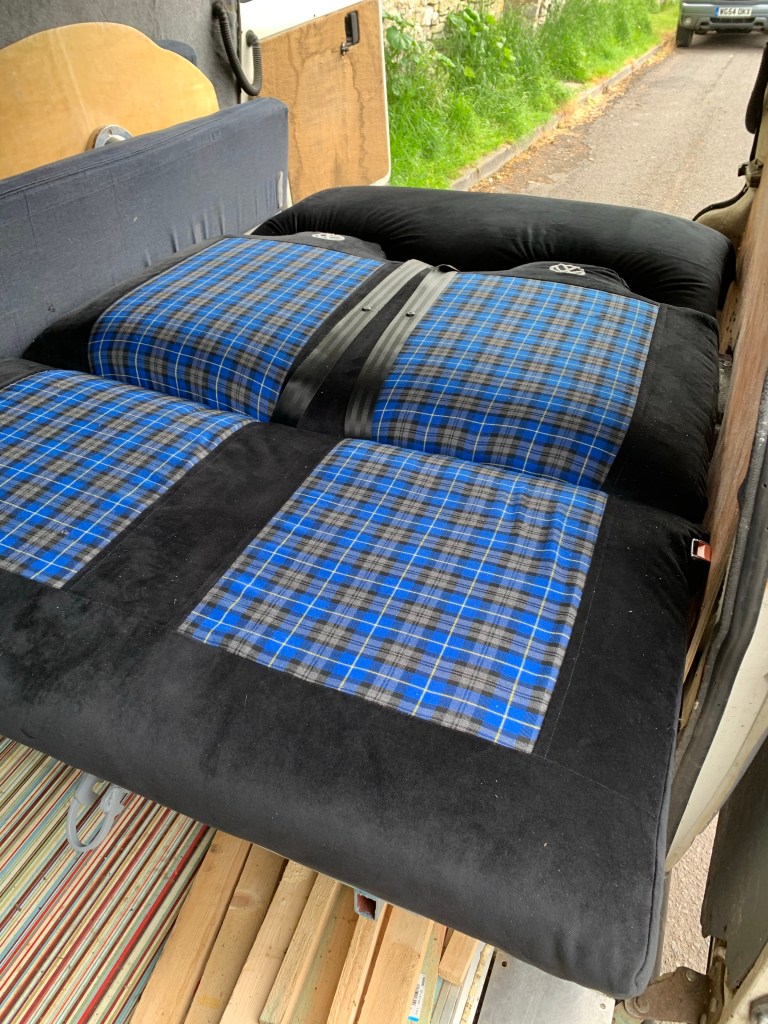
I still to to put in a strap to help with lifting it into the seat position. Still need to adjust it slightly to prevent the geometric lock when it slides flat. This should make it much easier to raise.
