Been a while but lots of things have been going on but the latest project is tracing a major oil leak on my van. The Aux belt was so contaminated with oil that it kept coming off. Loosing an aux belt makes power steering and alternator fail but also gives you a flashing oil pressure light.
So starting off you definitely need some specific tools, large torque wrench, two breaker bars (one to hold the bottom pulley, the other to undo the central bolt), the correct hold tool for your bottom pulley (otherwise you’ll be putting a lot of strain through the clutch and gearbox), a sprocket holding tool for the camshaft sprockets, socket set, Allen keys (get some for a ratchet), a jack and axel stand, lots of rags and it’s handy to have latex gloves and a manual with the correct torque values.
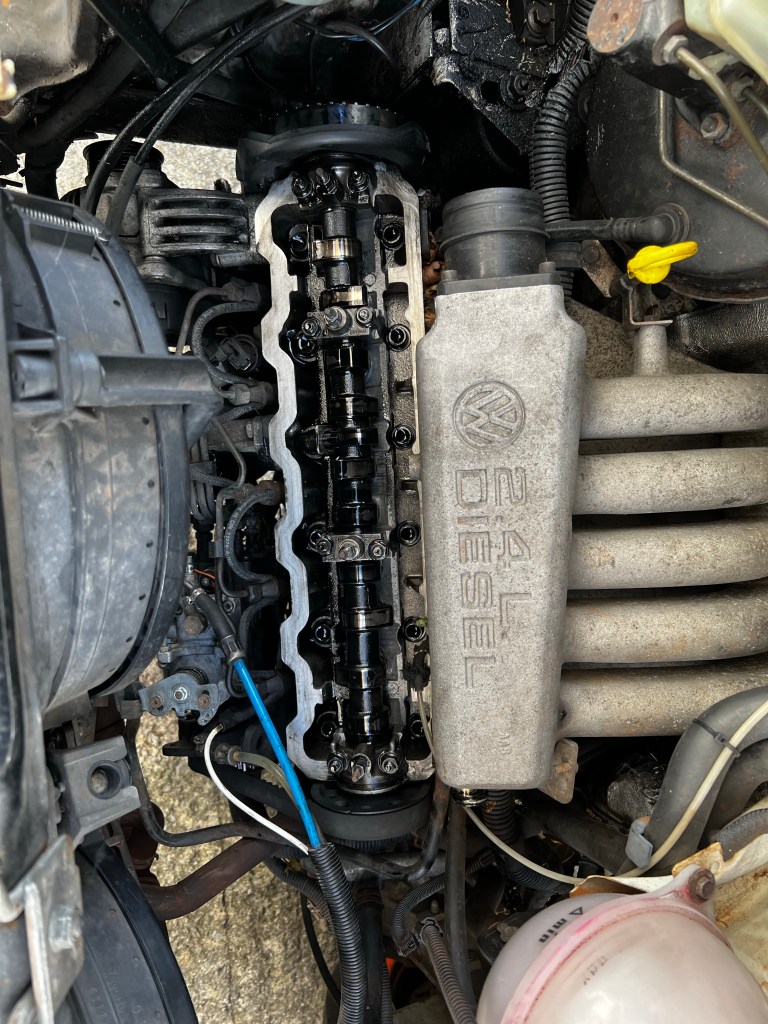
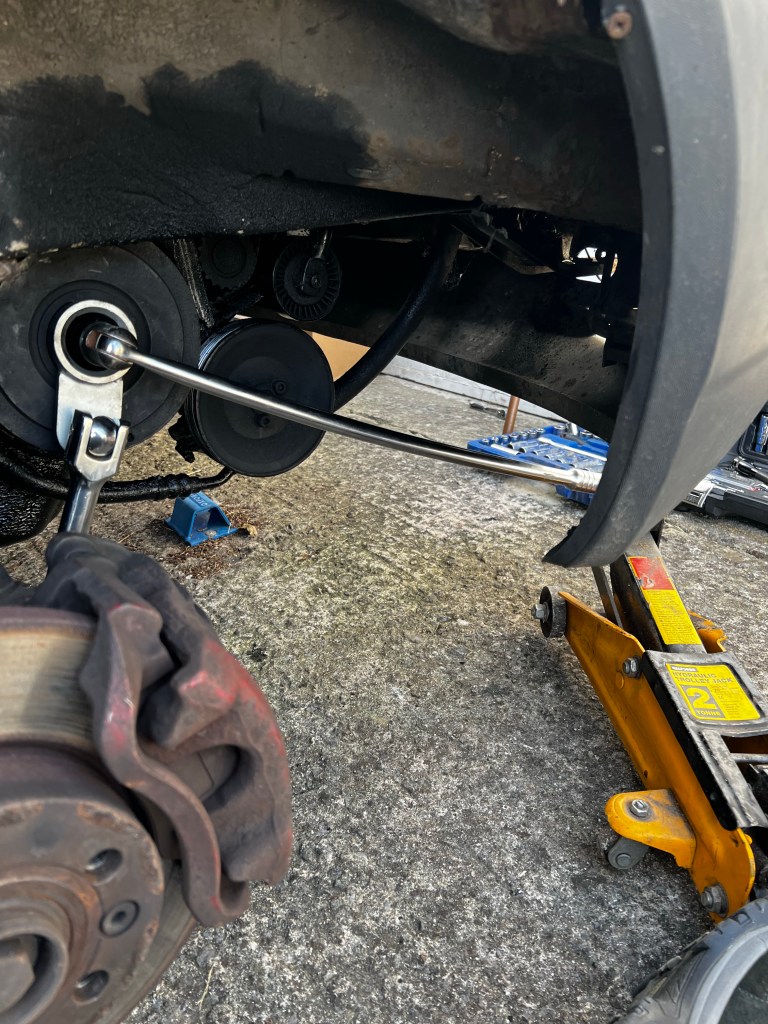
Starting off, put the van i a good place to work on it mine took a week to sort so best somewhere safe. Then jack up the right hand side, place on axle stand and remove the wheel. Next remove the air intake filter pipe and cam/rocker cover.
Next remove the aux belt, tensioner pulley and power steering pump pulley. These bolts a hard to remove with just an Allen key so invest in ones that can be fitted to your ratchet handle. I found it easier with a impact gun.
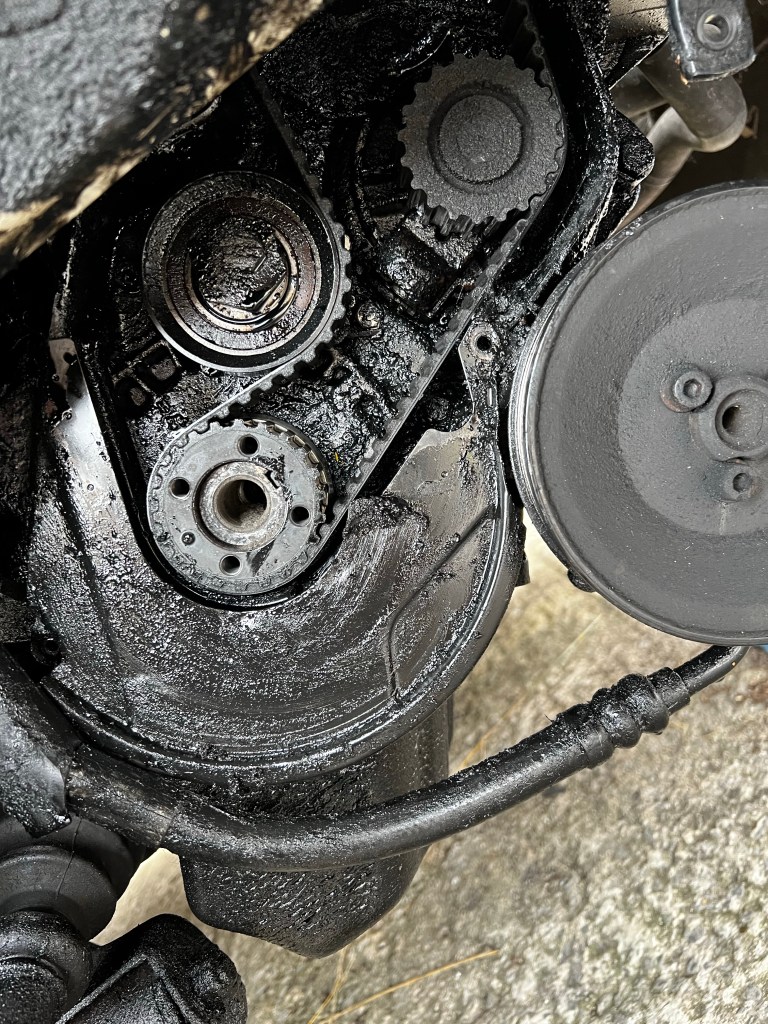
Now time to set top dead centre. The book says to remove the glow plugs for ease but you can turn the engine over with them in but you have to be able to nudge the engine into TDC. Turn clockwise until both cams on No1 cylinder are pointing up and level with each other then check the hole in top of the gearbox for the mark. Mine is painted white, it’s much easier to see.
Then if you have the correct engine timing kit you can pin the fuel pump sprocket. A bit of white paint on the fuel pump timing marks helps and making sure the top sprocket lines up with the rocker cover stud and the fuel pump lines up with the notch on the mount you can now remove the sprocket and belt. This is where the sprocket removal tool helps hold it while the central bolt is undone. You will need this tool to do it back up again!
The sprocket is only located onto the cam shaft via a tapered end so as soon as the bolt is undone it’s very easy to remove(might need a light tap). Now you can check the TDC with the slot in the end of the camshaft.
Now it’s time to remove the bottom pulley.
It took me 4 hours to undo this bolt and I had to take the engine out of TDC to get a good angle on the locking tool. A piece of wood under the breaker bar help take the load and a jack took the torque off the bolt, very slow progress but it worked. The other bolts are very easy to remove after that.
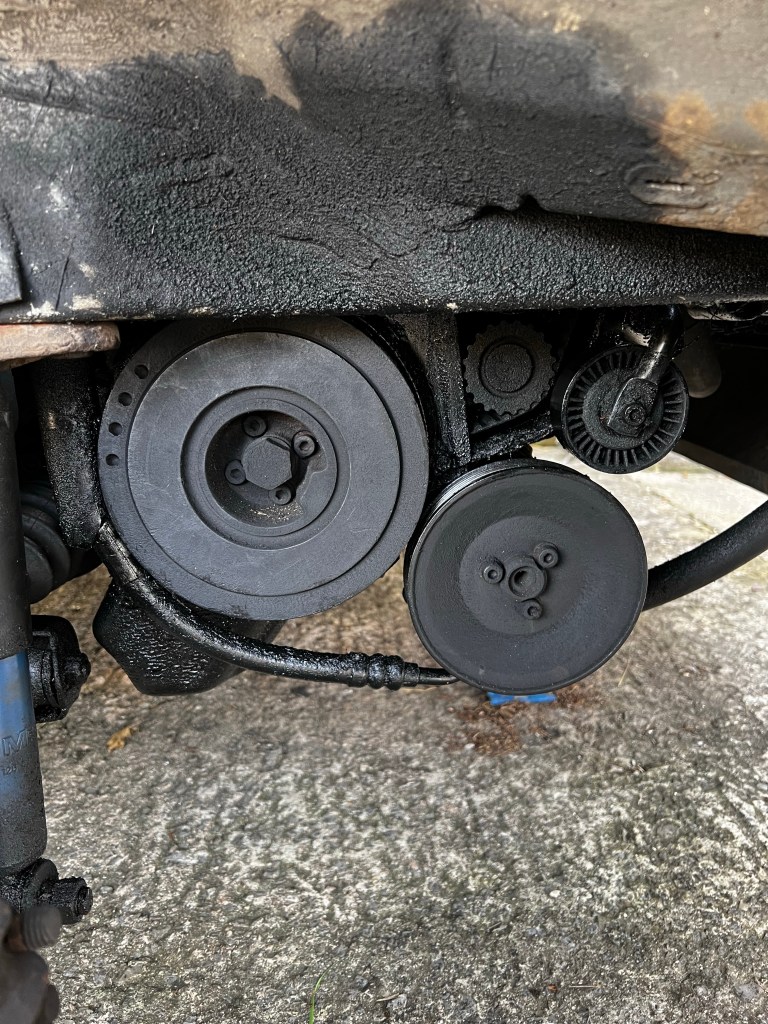
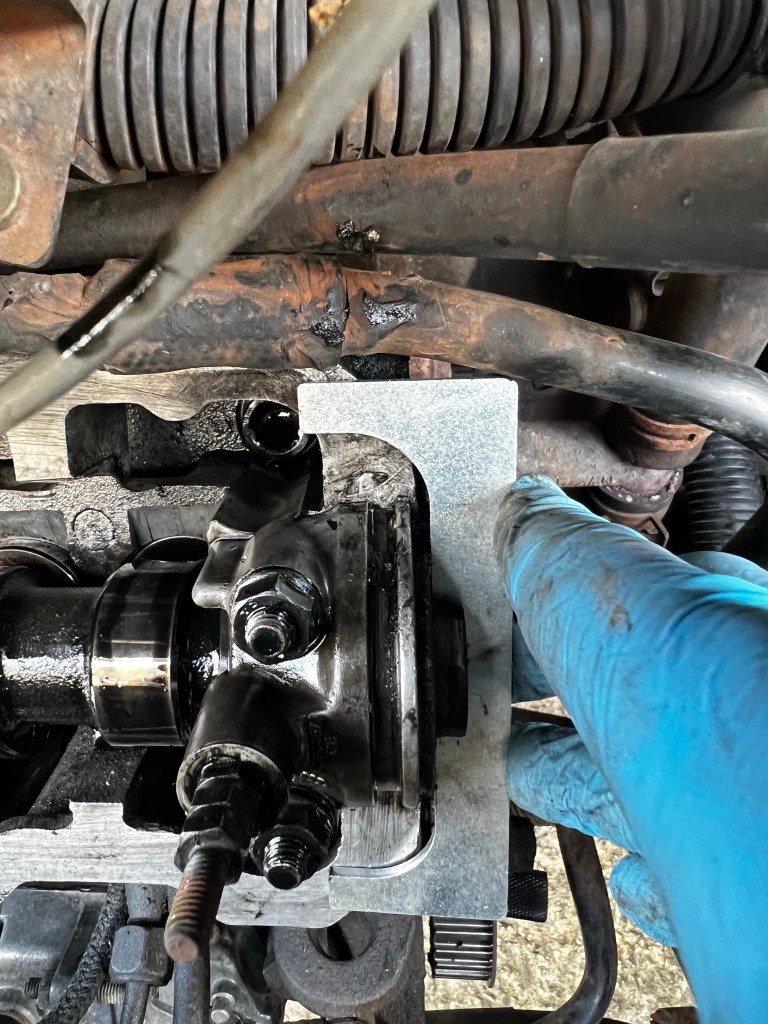
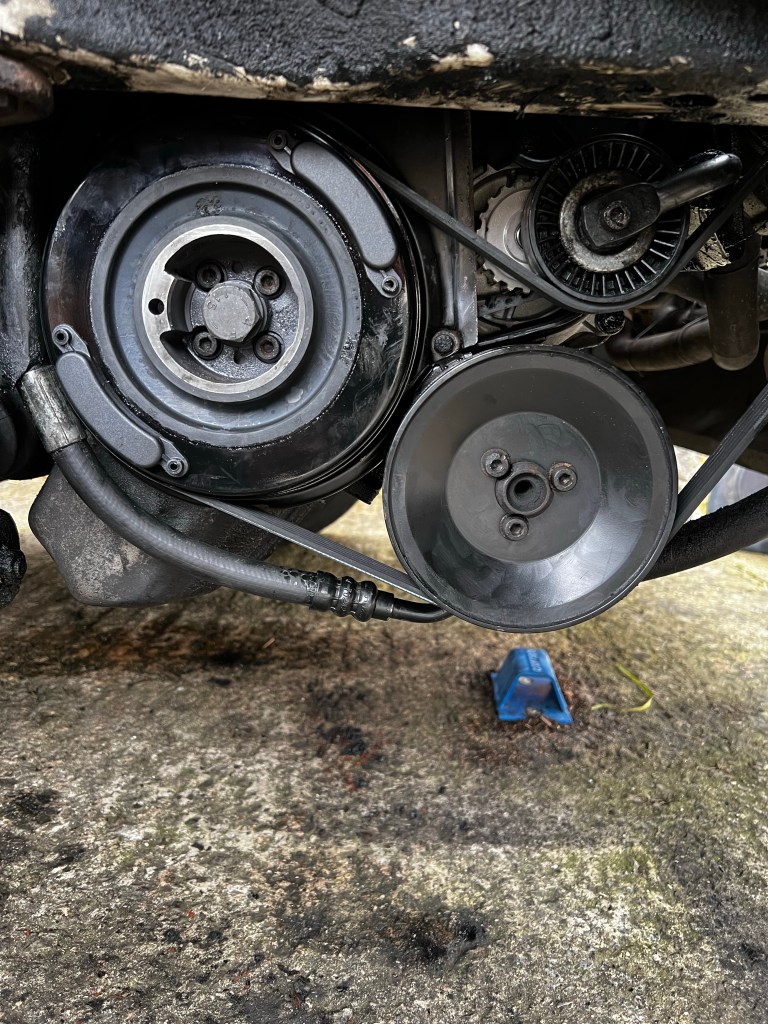
My bottom pulley was trashed from the oil leak. Expensive to replace.

Time to remove the rest of the covers, finding all the bolts is hard because of the dirt and oil. Engine cleaner and rags are very helpful here.

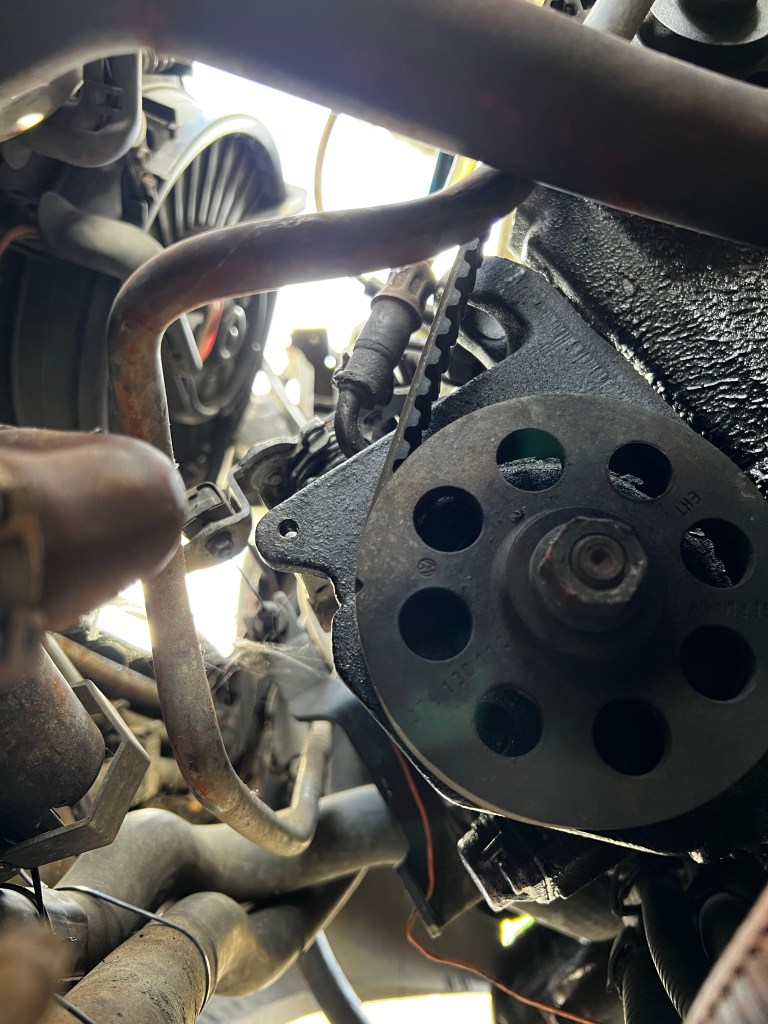
Water pump is easy to change now. The bolts hold the covers as well as the pump. Be prepare for the gush of coolant.
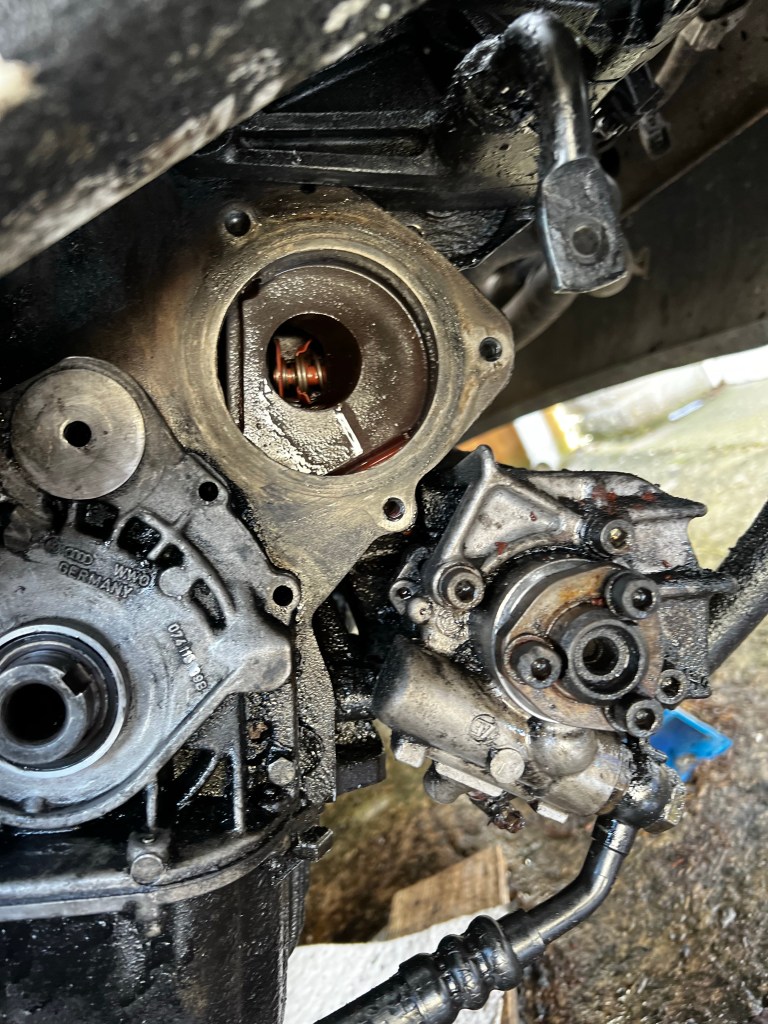
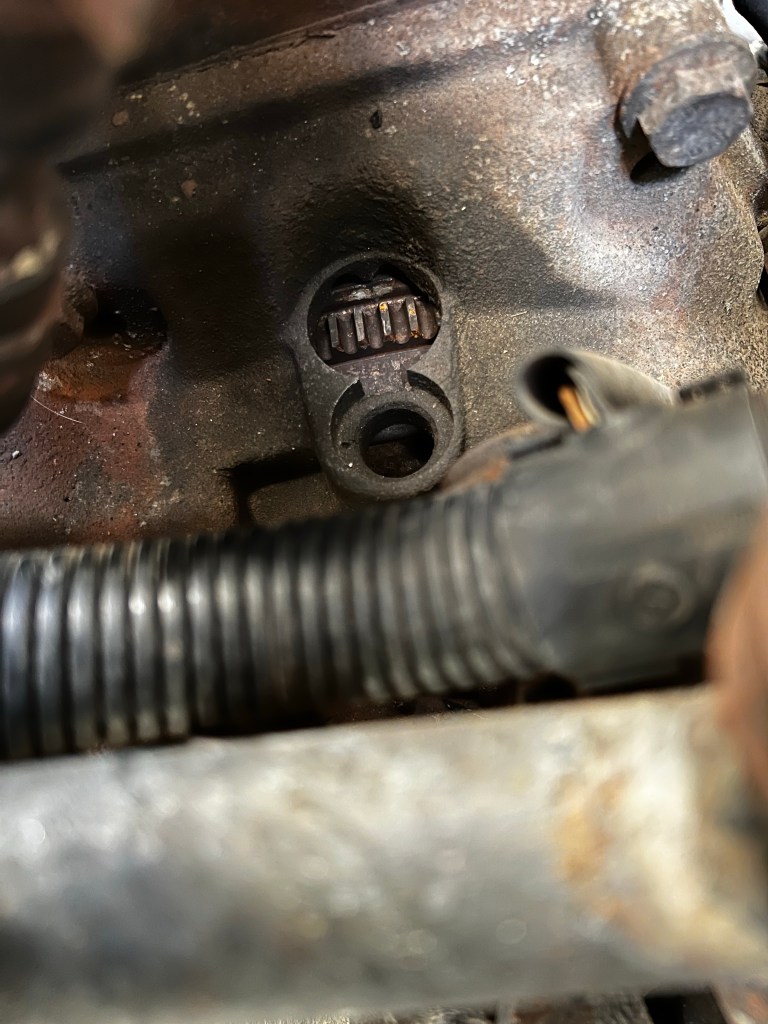
Then a new seal for the crankshaft. Unfortunately someone has previous replaced this but scored the inner race.
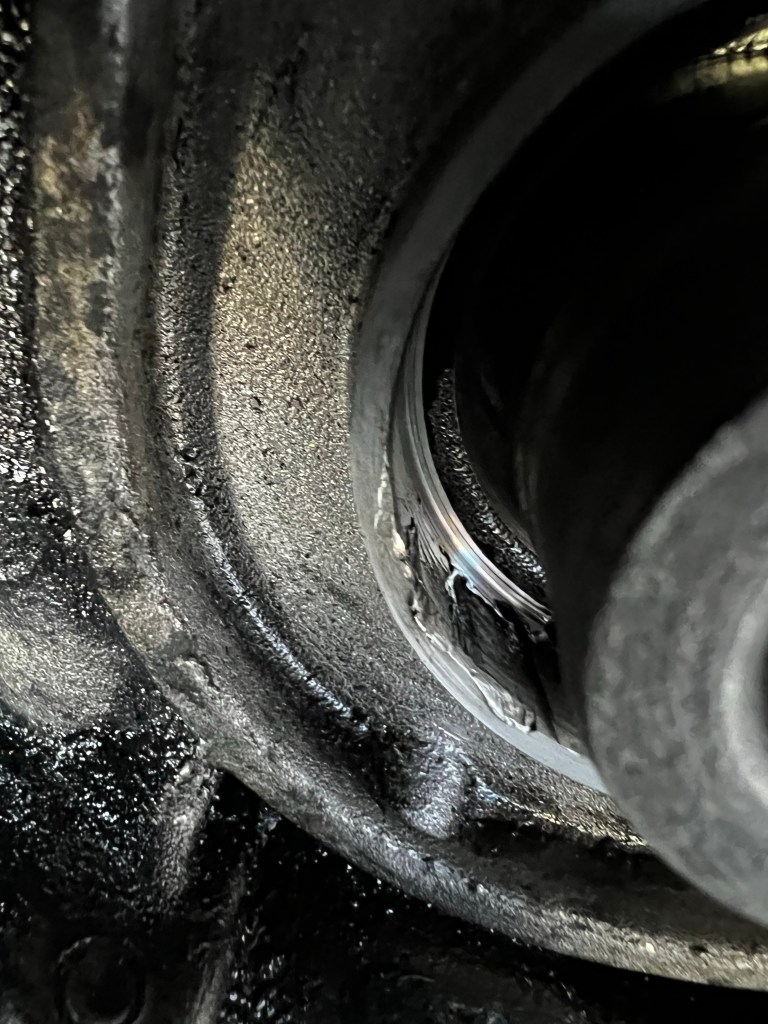
Fitting a new seal with a bit of sealant should sort the problem but it looks like I probably will have to replace the oil pump if it continues to leak.
New pump with o-ring is easy to fit and it’s time to start to rebuild.

To fit the timing belt you must slacken the camshaft sprocket so the tension can be set correctly and the timing can be spot on. Don’t forget to put the engine back into TDC before fully removed the bottom pulley.

Applying tension is really easy and I had a helpful tool to turn the tensioner nut to align the marks then tighten and checking. I’m using the new tensioner that came with the new belt. With the tensioner on and torqued up it’s time to check all the alignment marks and then tighten the camshaft sprocket.
Fitting the new bottom pulley was relatively straightforward with the new washer and new bolt (this has to be replaced every time due to being stretched when fitted). The pulley only goes on one way and tightening the centre bolt requires so effort and a bit of time. I managed to brace myself against a wall, in front of the van, and using my feet I was able to get the correct torque plus the 180 degree turn to fully torque it up.
Fitting the fuel pump belt was a case of aligning the marks I added to the pulleys and belt then tightening up using the sprocket hold tool. Changing the oil and topping up the coolant were the final jobs. Turning the key got the engine going straight away but very roughly so I eased the fuel pump top sprocket bolt and moved the sprocket ever so slightly (very very small movement) towards myself then retighten. Checking again the engine ran much better. I didn’t have a long enough Dial test indicator to correctly set the fuel pump (I did try but the plunger wasn’t long enough) so trial and error worked in the end.
Unfortunately disturbing the engine timing seams to disturb the oil pump gasket so I now have a bigger oil leak! My next job will be to remove everything again and change the gasket and maybe the pump as well. So I have to also buy another central bolt for the bottom pulley. After doing this once the second time should be quicker. December’s project because I’m going away again…..
