Still work to do on the house before going back to the car but making progress in the garage. So decided to tackle a couple of problems i discovered when I first started doing my downstairs floor.
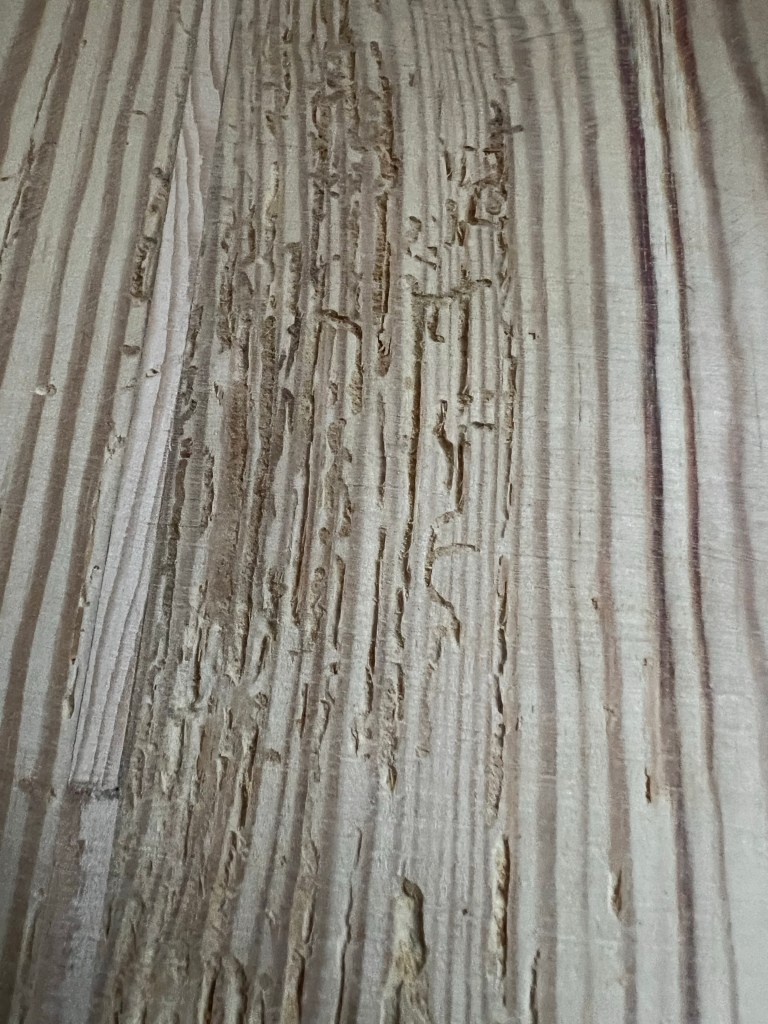
I’ve been going around the house filling gaps and varnishing the floor and the living room was one of the first places I did. At the time I noticed a couple of boards were showing signs of wood worm, so I sanded, treated and varnished them.
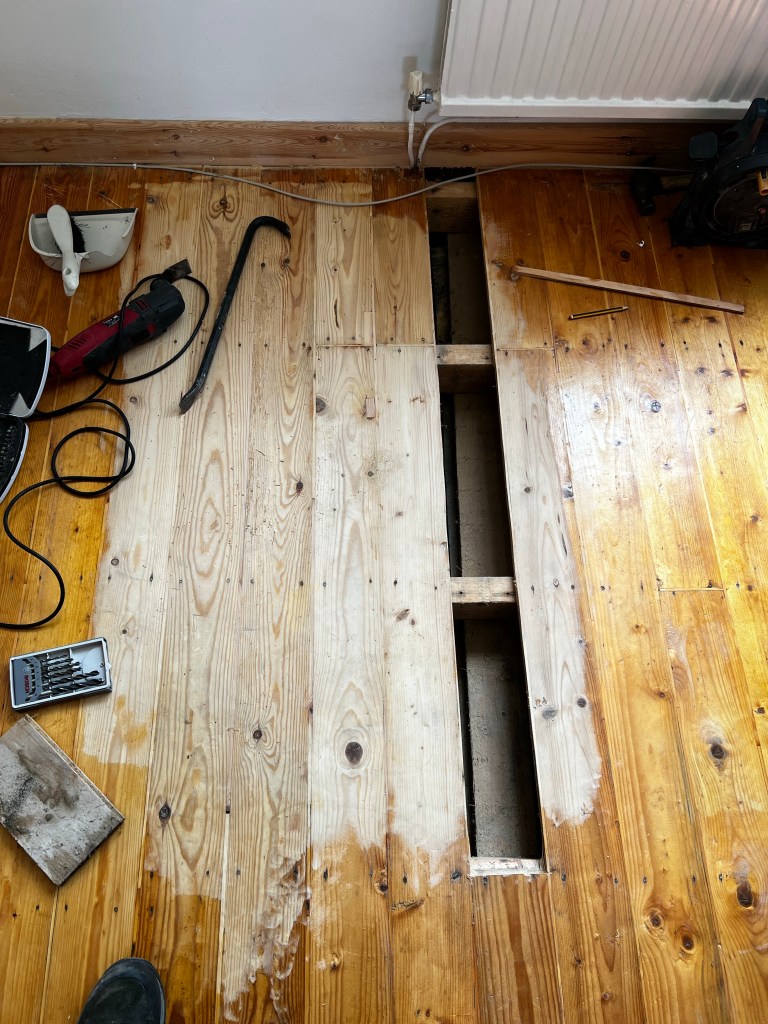
Over the last couple of months I decided to go back to these boards and replace them. I know there has been no additional holes from wood worm and no other areas in the living room have been affected. I also made sure that the floor vents were clear and the area is nice a dry.
This page I dedicated to how I lift the floor boards neatly so they still look good once varnished.
I’m replacing these boards so I don’t need to be too careful about lifting them but I have used this technique before to lift and re fit boards to get at pipe work and electric cable.
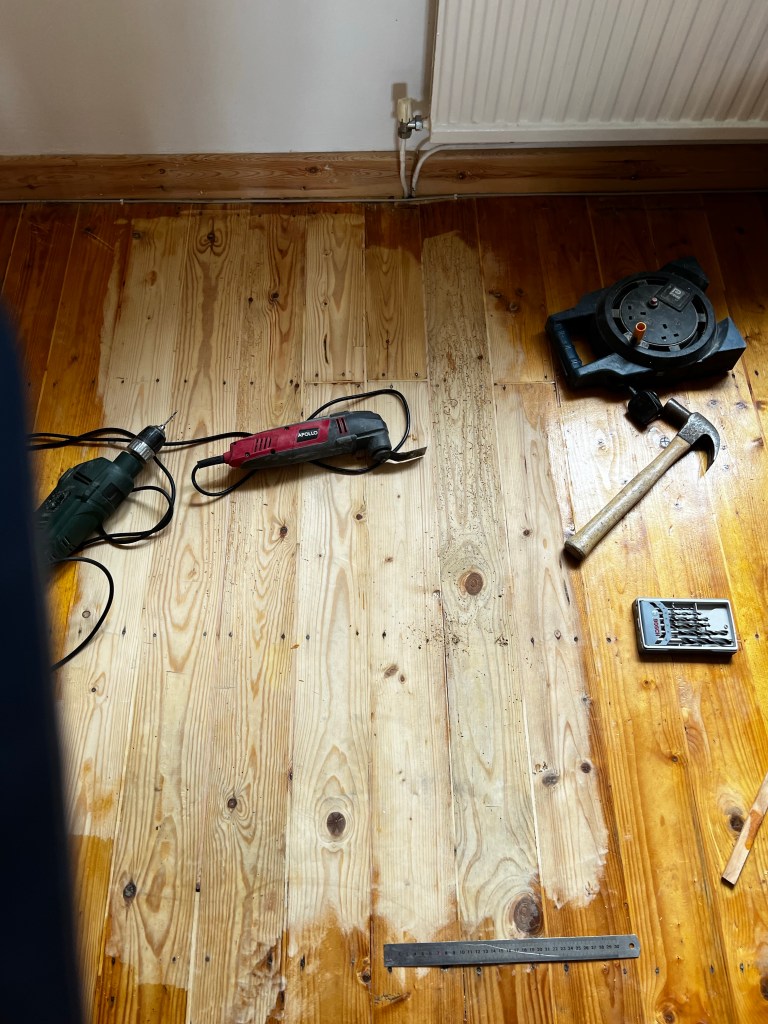
I tools I used are, reciprocating saw with wood blade, a crowbar and a drill.
Marking close to the nails on the end I wish to cut out I use the saw to cut a straight slot across the board.

Then carefully travel the saw down both sides of the board cutting through the tongue on both planks. In my case I have filled the gap with a wood sliver so I cut to the inside of this as well.
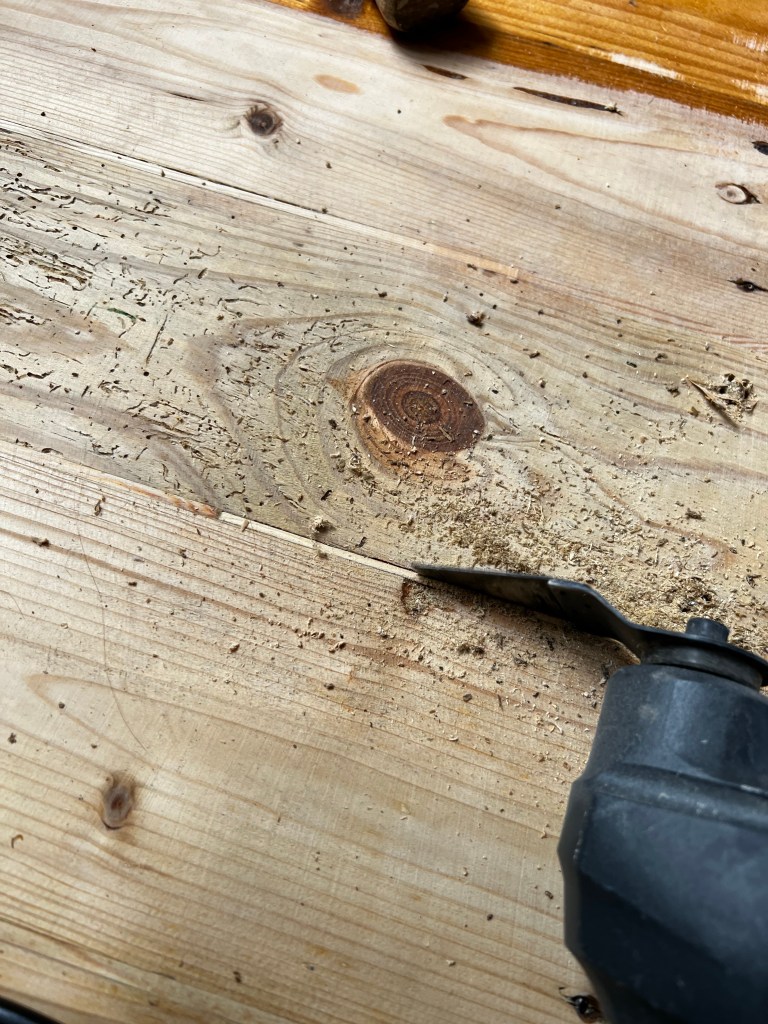
Taking my time and letting the saw do the work it doesn’t take long to cut the length I need. going around again to check if I cut completely through.
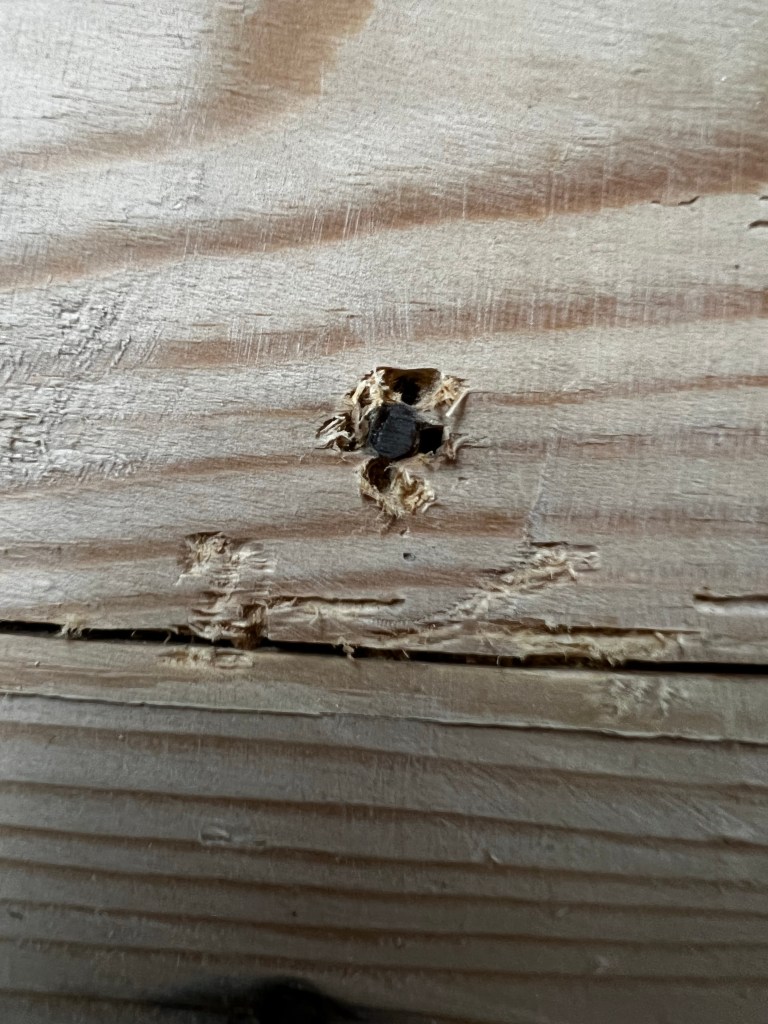
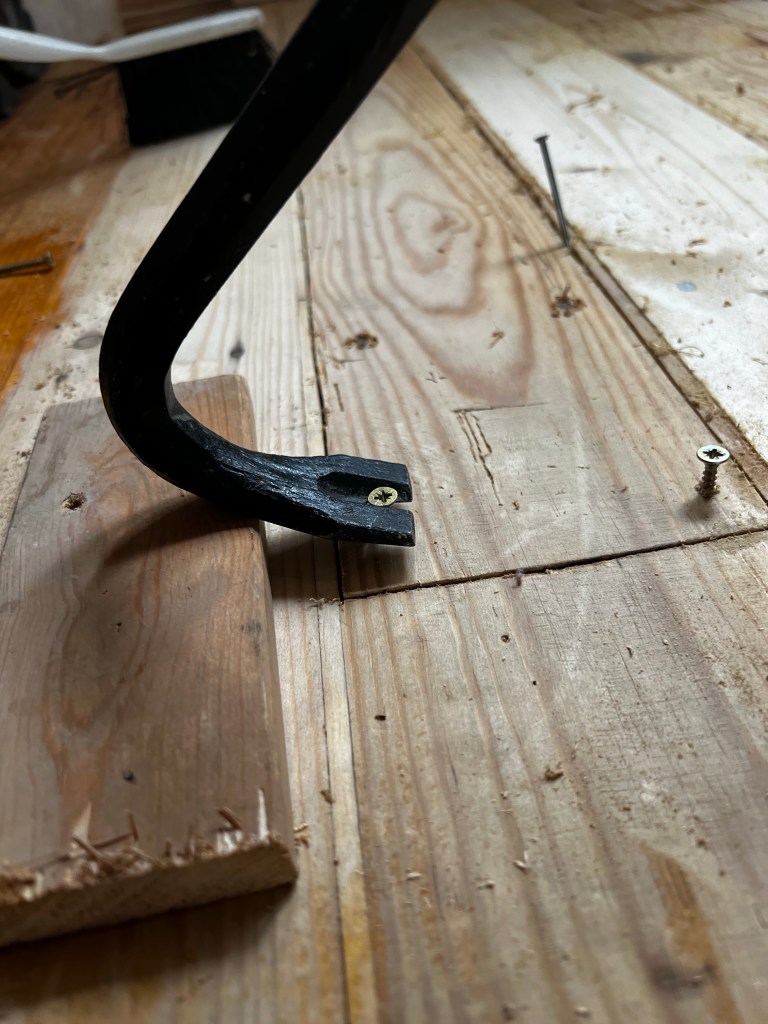
Lifting the board is tricky and can easily damage what you want to keep. This time I’m replacing the board so I can be a bit more brutal. Using the drill I make holes around the nail heads, miss this step if you are reusing the board. Then I screw in a couple of screw at one end getting them in as far as possible but leaving the head proud so the crowbar fork can slot underneath. Then using the crowbar with a bit of sacrificial wood to lever against (stops denting the good bit of floor) I can gently lift the board, resetting the screws in additional areas to continue the lift. These screw holes can be filled if you are reusing the board or you can try and leaver the board at the cross cut slot at the first cut, this way you can cross cut again to remove any witness makes from levering against it. Just remember you will need a packer/ sliver of wood to fill the gap.
Refitting is straight fwd. using a new floorboard you will have to cut the tongue off to fit and I like glueing it along the sides to give it a bit more security once in place.
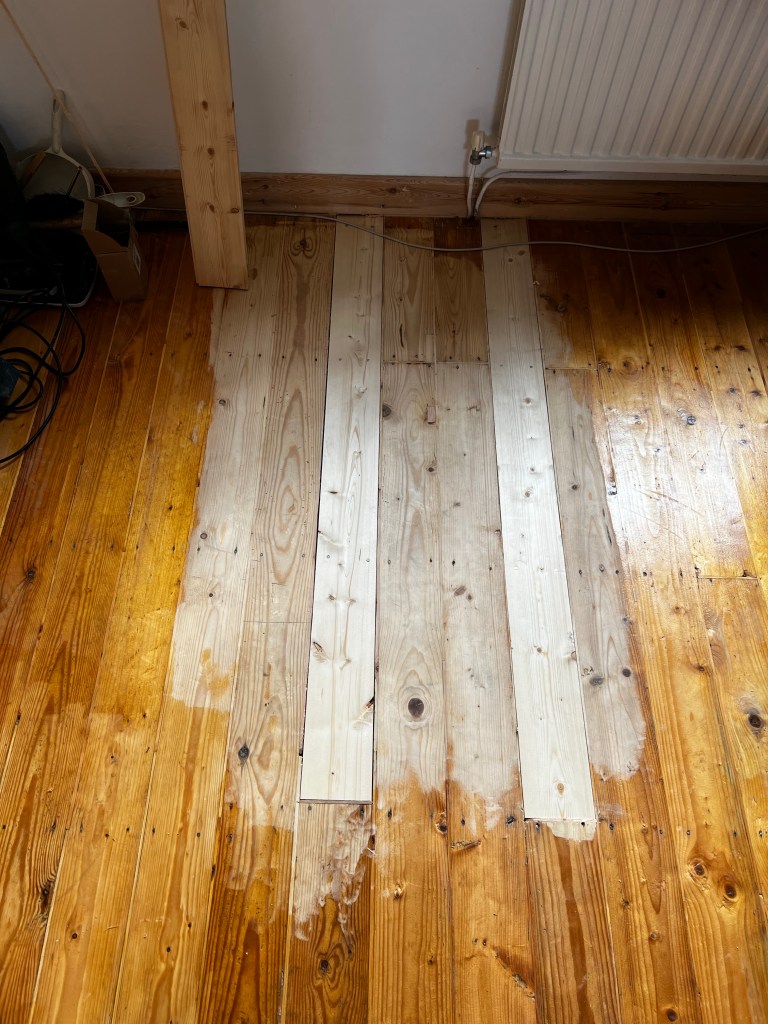
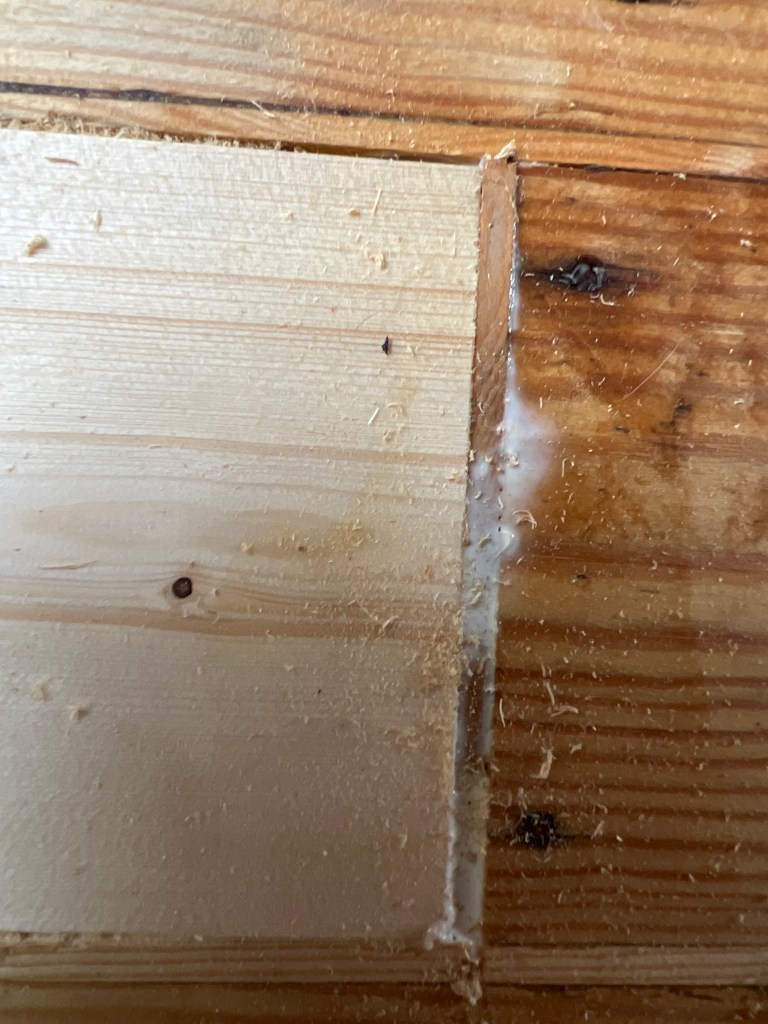
You can see the sliver of wood I used to give a nicer finish between the butt joints of the wood.
Final job is to sand and varnish. Before sand though, give the nails a tap with a punch to lower the heads a bit, otherwise you will rip and sanding pads you use.
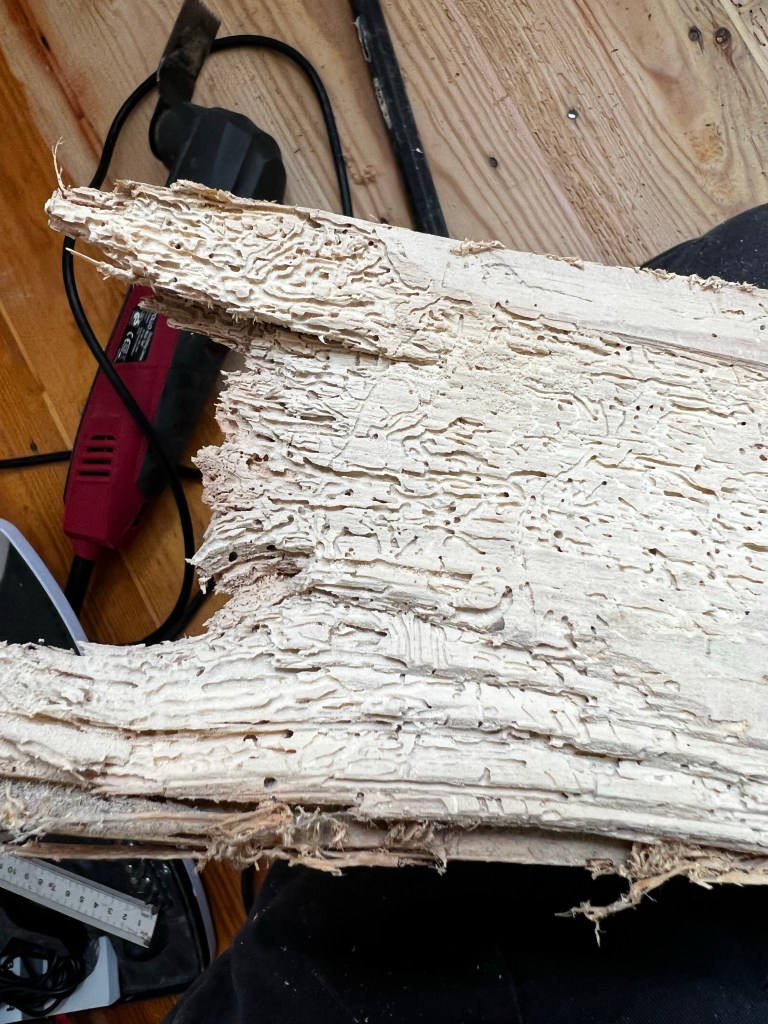
The board did have extensive woodworm damage but the joists below were clear of any holes.
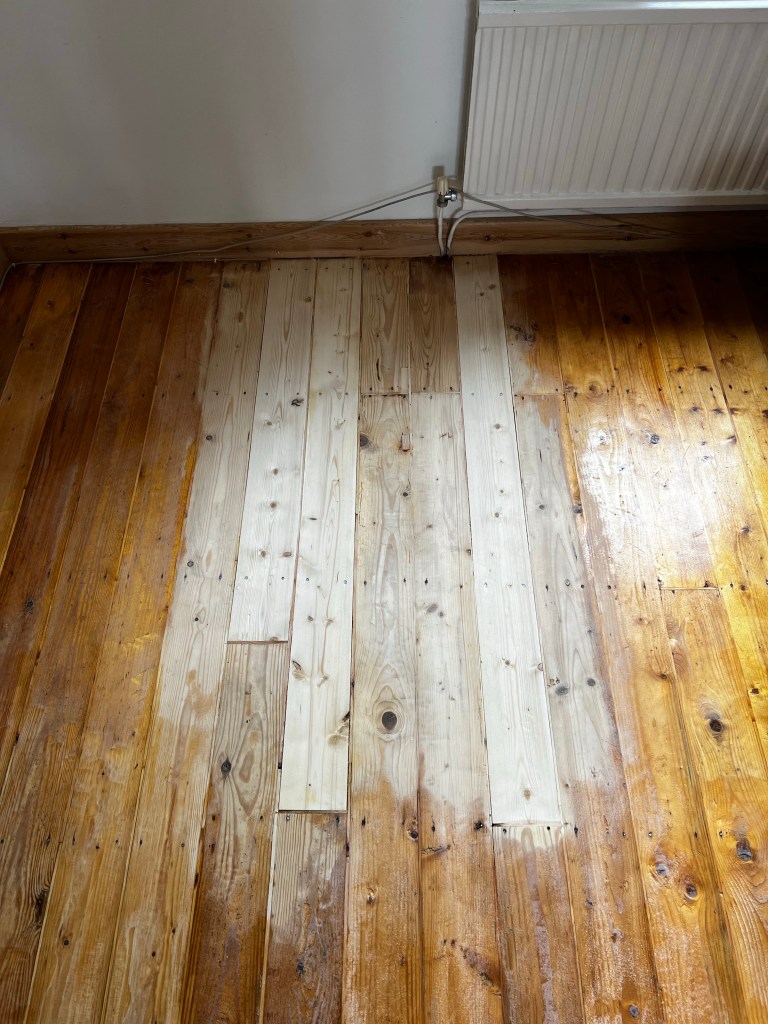
Sanded and ready for varnish. The new boards will show up as new after varnishing but depending how n the look you’re going for these can be stained to match the older wood. Personally I like the contrast of the different wood.
