Managed a full morning on the car, finished the welding on the repair to the front inner wing and start repairing the A pillar. I also repaired one of the wing mounting bolt holes by welding a nut to the inside of my replacement material.
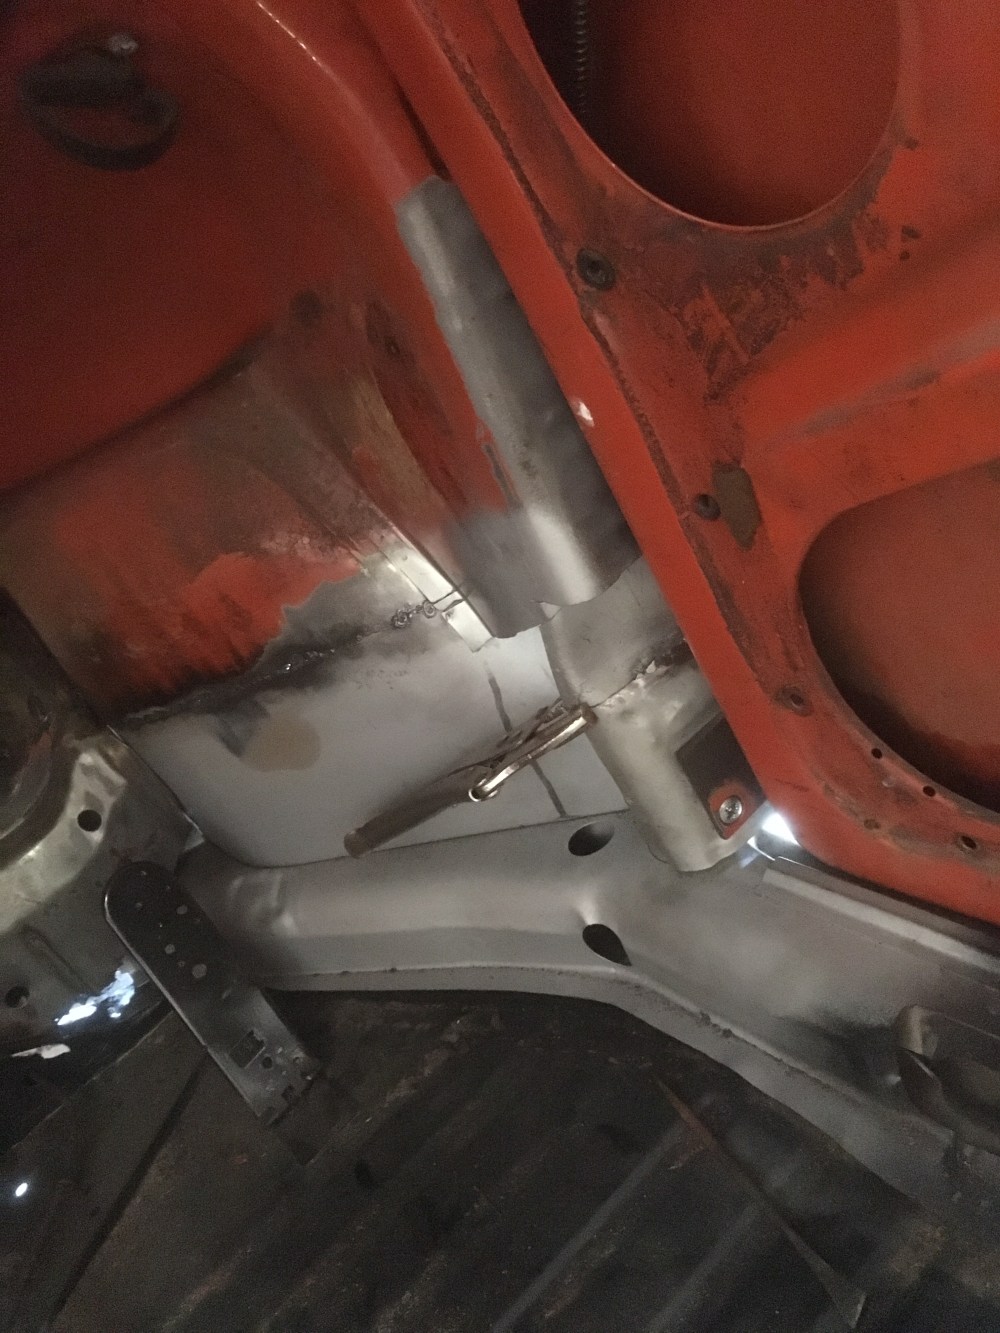
Cutting the bottom of the A pillar was a bit tricky, especially trying to avoid cutting through the inner wing I just repaired. A couple of spot welds held me up as well. I don’t want the inner panel repair lining up with the outer repair so I created a large overlap. I want some strength here to support the door.
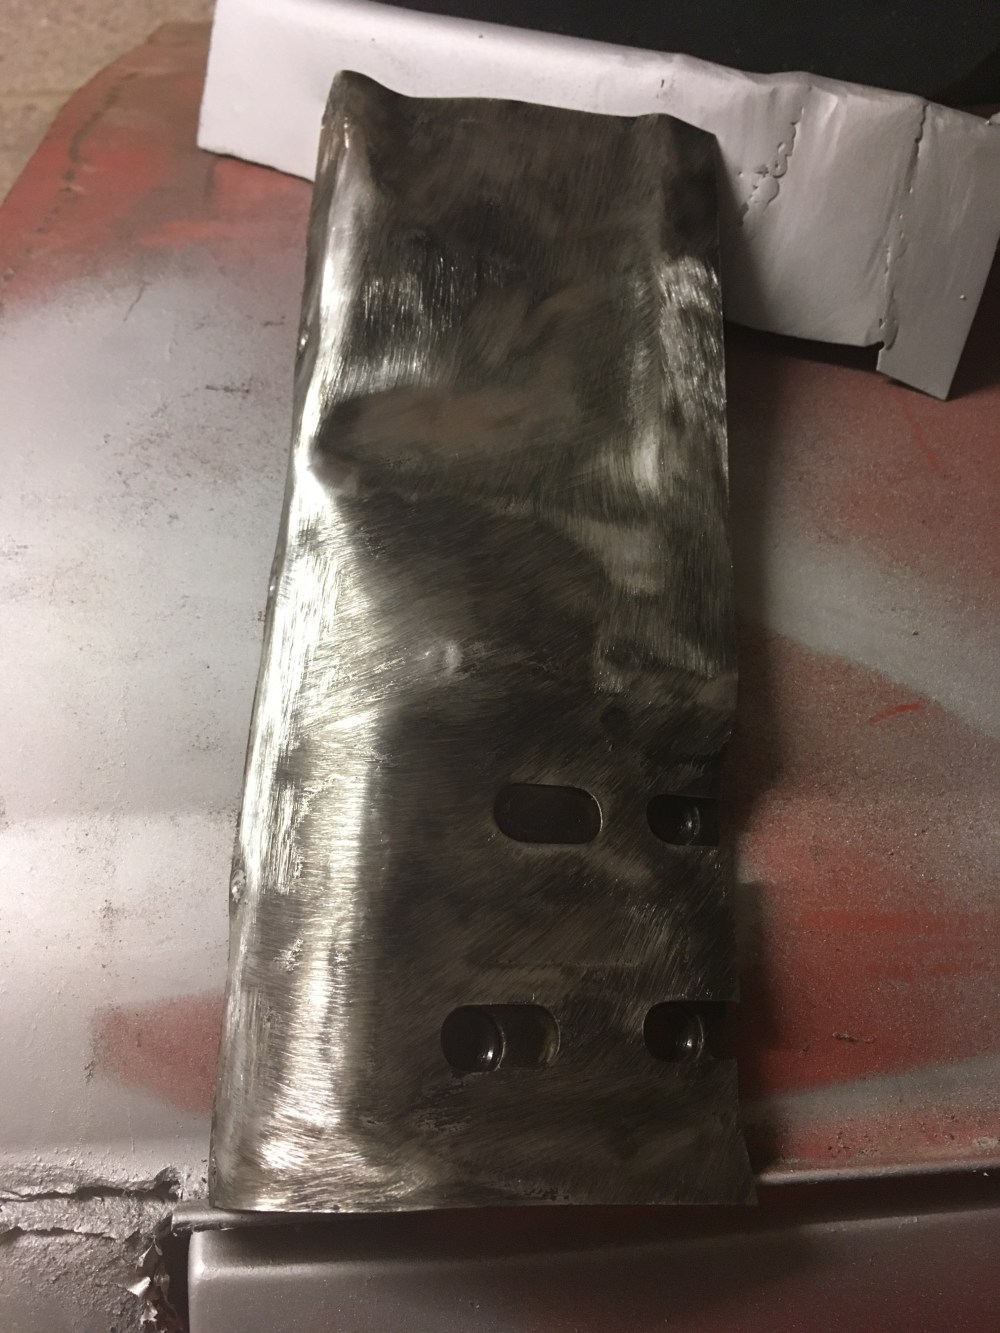
I separated the repair panel earlier, by drilling out spot welds and gave the two parts a coat of weld through primer
With the outer panel removed but the inner panel still in place I refitted the door (which is completely bare to reduce the weight while I weld). Had a problem with a stuck door hinge so took some time to free it up but I do need a new hinge pin soon. With the door in the correct position I cut out the inner A-pillar , making sure the cut was lower than the one for the outer.
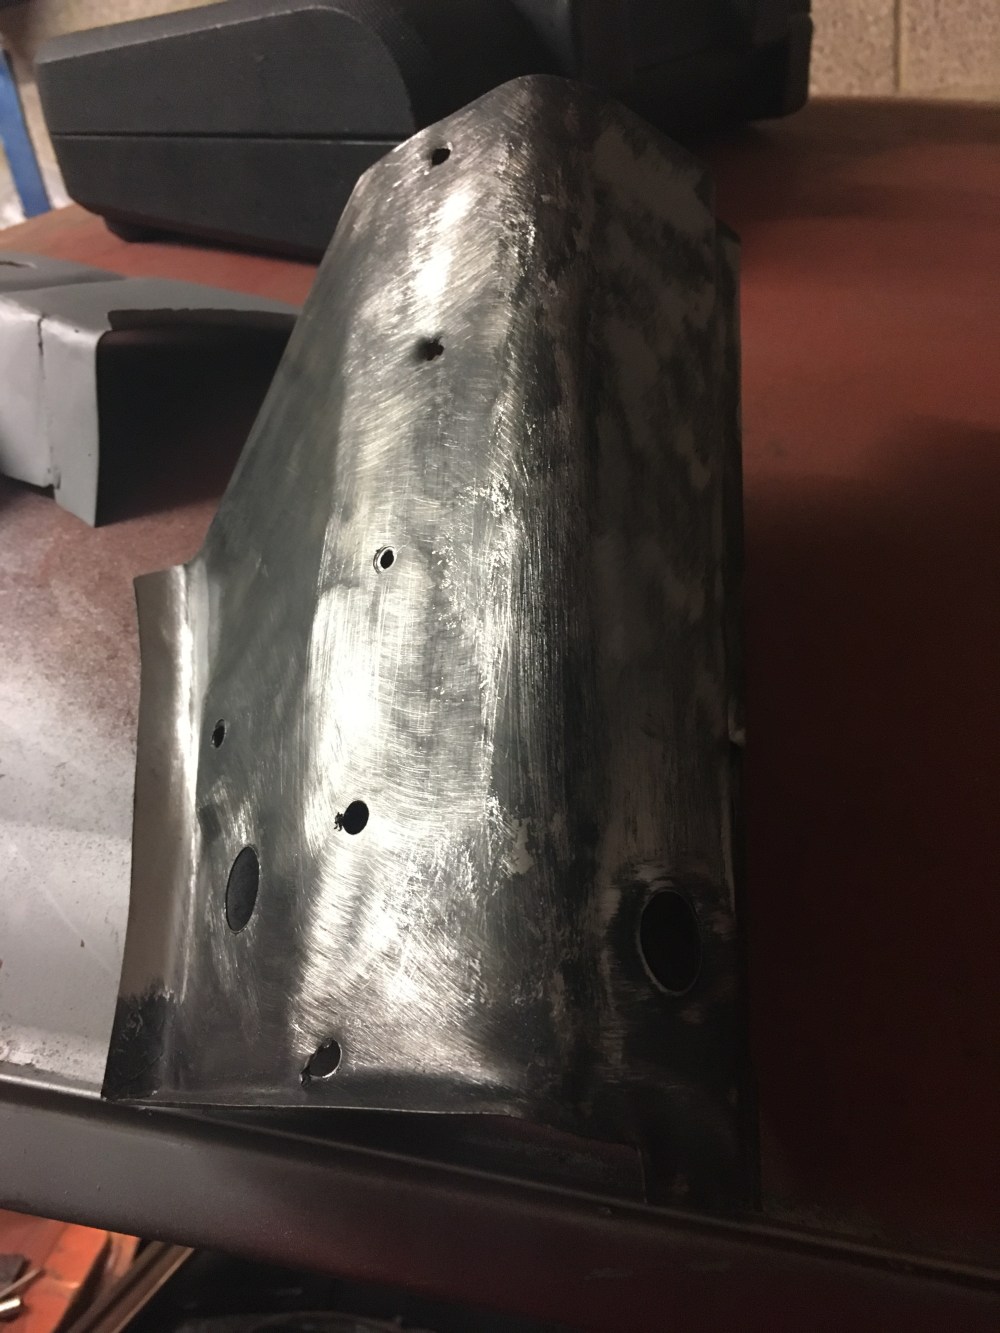
Then I measured up the repair panel and cut it to the correct length and bolted it to the lower hinge.
Welding it in place was straight forward after that, you can buy a hinge alignment tool but I made do with the door. I didn’t butt weld this panel, I slightly joggled the old panel lip and overlapped the new repair. Welding both sides gives a good solid mount for the lower door hinge to be bolted on.
I had to leave it at this point due to running out of time. I did make a quick repair to the inner wing while I was at it but it took two tries due to welding the nut on the wrong side of the repair.
 Carrying on the next day I managed to complete some of the welding needed and a bit of grinding/cleaning.
Having the inner A pillar panel in position and fully welded and cleaned up, I spent some time giving it a good coat of weld through primer. I don’t want rot after all the work I’m doing so I’m cleaning and priming as I go, especially on the double layered panels. I now regret not separating the bottom of the heater channel before I fitted it because the interior needs a good prime and some rust prevention. Before I start the passenger side I will spend some time drilling out spot welds and removing the bottom plate of the heater channel. With the bottom plate off I can give it a good prime.
Back to it.
The outer A pillar panel needs fitting but due to the repair panel being a cheap after market item, none of the bends lined up with the car. Also the radius on each bend are much larger than the original so I tightened these up as well.
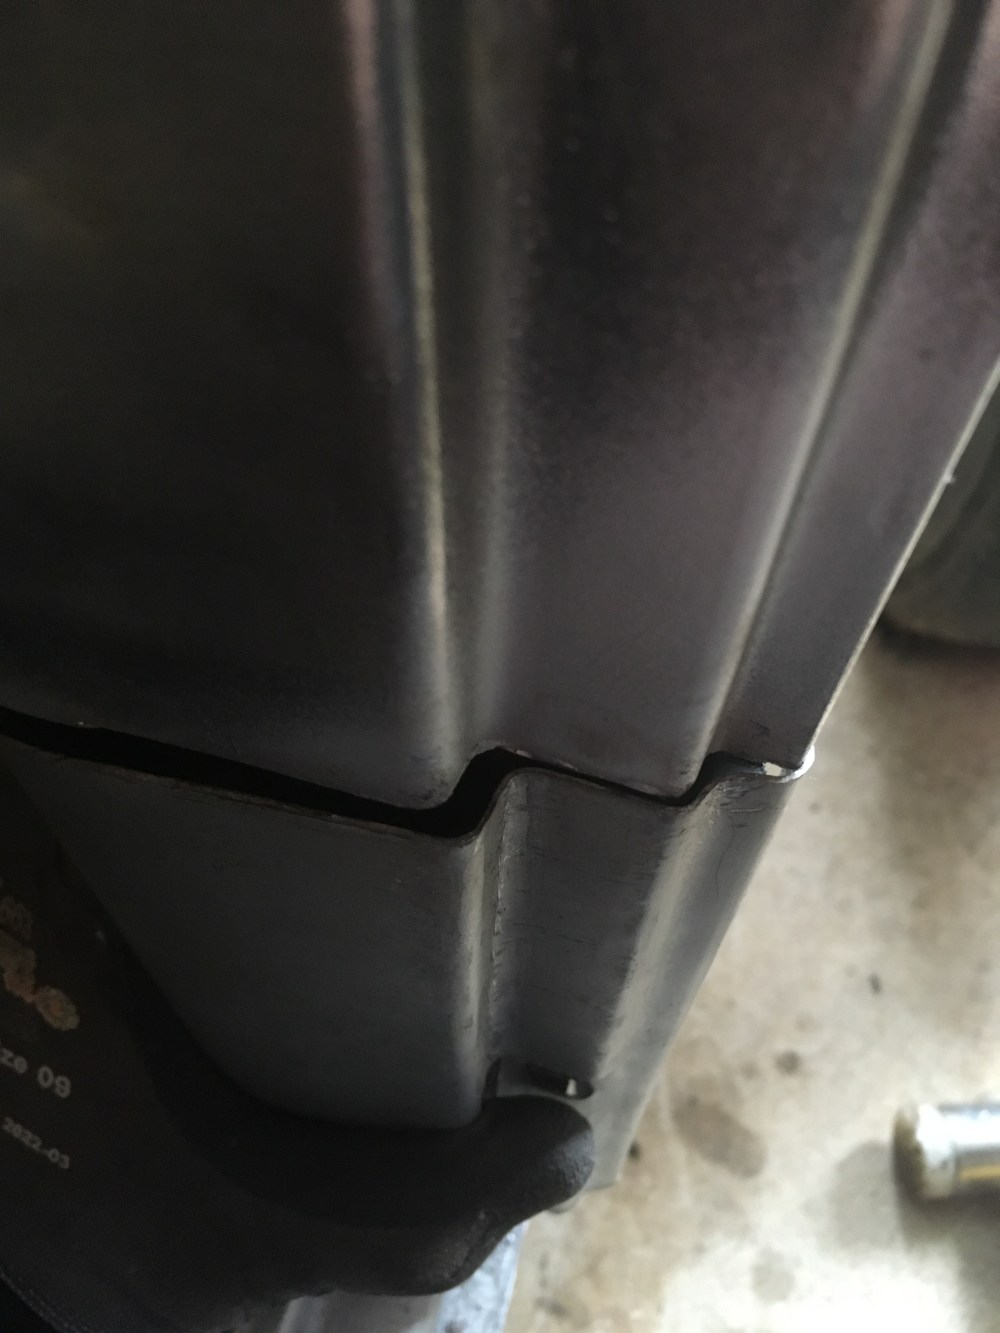
Since the panel fits perfectly on the inside I decided to reduce the outer lip to move the bends further in.
I started by straightening the first large bend (the bit where my thumb sits in the picture above) and using various tools and pencil marks, I moved the bend into the corect position. This is a case of check it and mark and check it again. Then using the same technique, I moved the other bends. This left me short of metal for the seam fold but I can sort that later.
While I was at it with hammers and chisels I improved the lip on the hole for the hinge bolt and adjusted the lower flange. Getting it into position on the car, I drilled and pined the inner and outer parts of the A Pillar together ( this bit is normally missed by others) to give a good solid mount for the door.
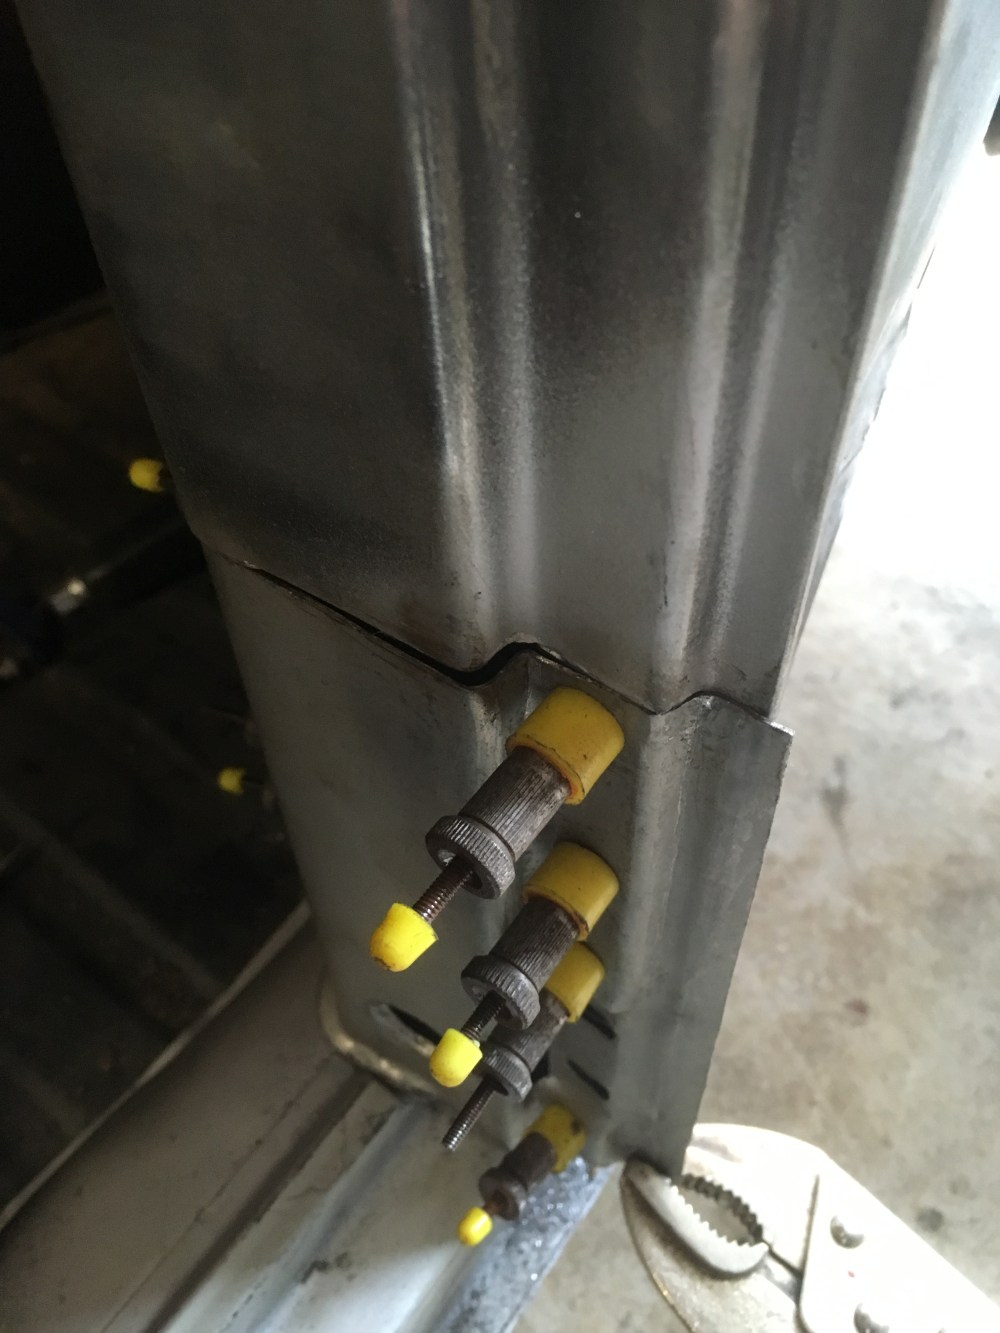
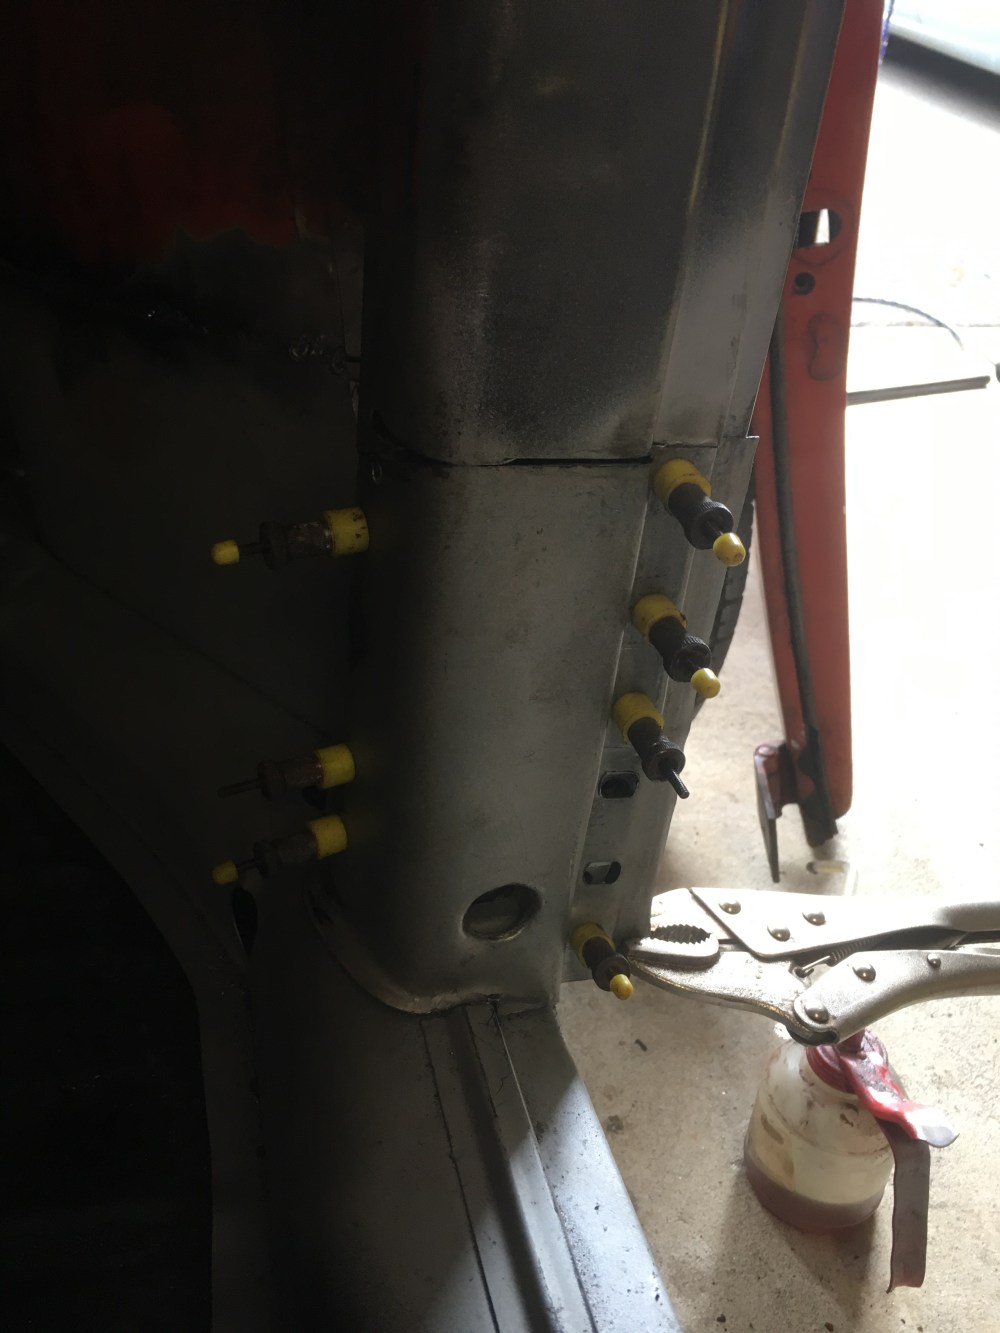
Tack welds to hold it
And some more

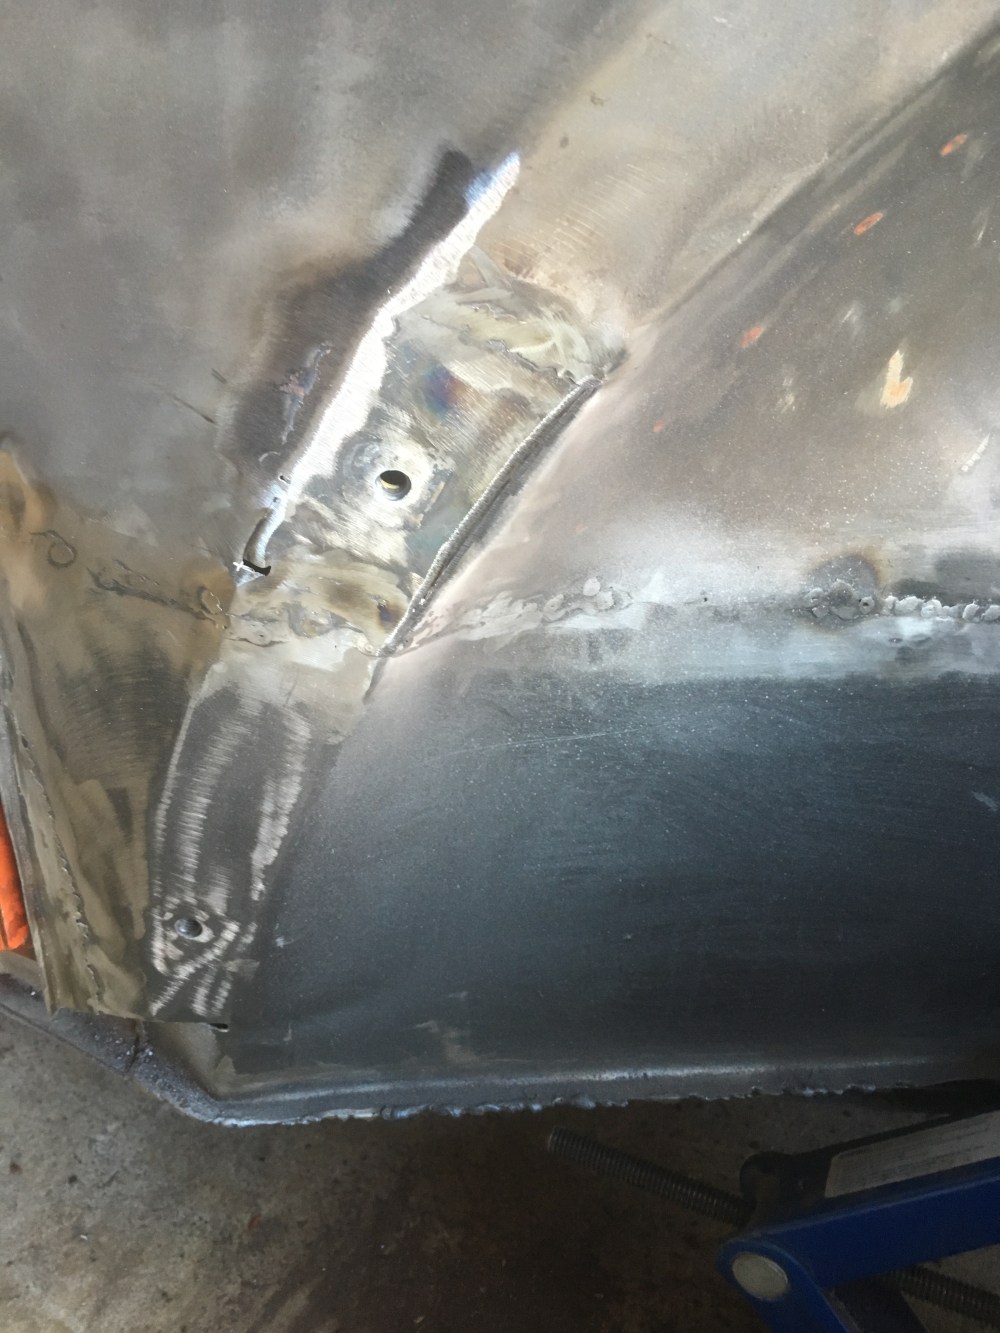
Then a good seam weld

Got to take care with heat here, I don’t want to warp anything so lightly does it.
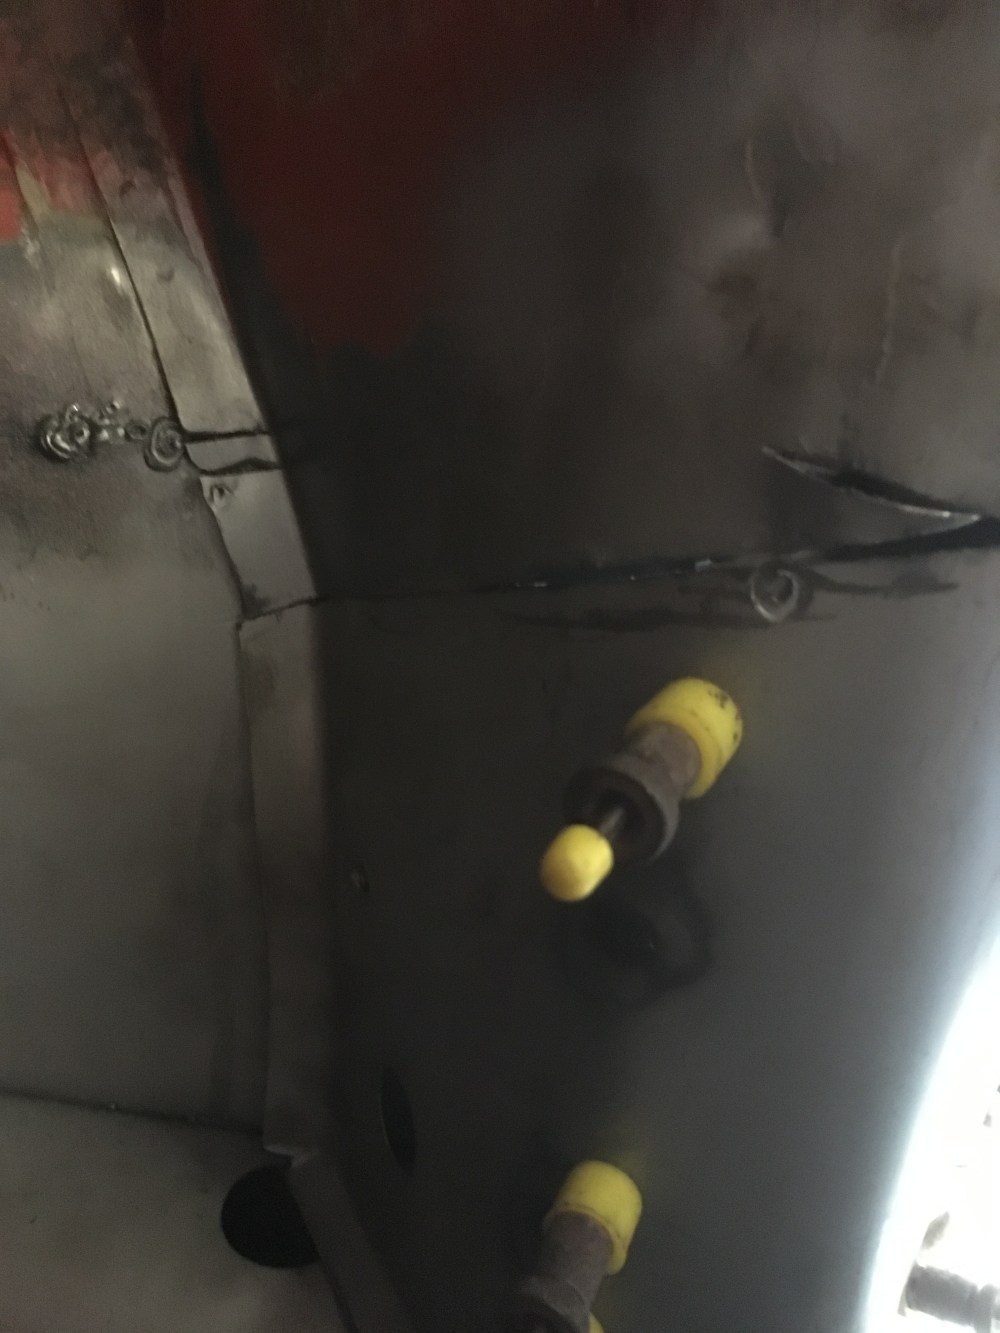
Plug welding the drill holes joins the two panels. With the outer parts welded, the inner can be pulled and bent into position.

A quick run with the grinder and it looks great. Finally some strength is back into the car.
Next job is to finish the seam on the outside. I did think about removing it and completely de-seaming the car but after a cup of tea and five minutes to think about it I decided against it. I like the look of the seam and I probably want to fit a roof rack later on so I want to keep the seams and roof channels (might regret it latter due to the about of repairs needed on it).
