Since I’ve already done the drivers side, I thought it would be a good idea to have a dedicated page in replacing the Beetle’s heater channel.
Step 1 (replace or repair)
I’ve done both on different cars and found a quick fix will need more repairs at a later date so if you’re patching a good percentage of the channel then it’s time to think about replacing. Removing this panel is very daunting. If the heater channel is rusty then the floor pan is going to be too, So expect the worse. Mine is completely shot but I’ve already replaced the floor pan which gives me something to build on.
Step 2 (panels needed for the job)
My car is slightly different due to the modifications I’m doing but with a standard car you need a complete heater channel, A post repair, front inner wing, rear closing and if it hasn’t been replaced, the floor pan/ at least the line of bolt holes for the heater channel to bolt too. Other parts you may need are front bulkhead, door hinge bolts, bottom of rear quarter panel and some metal to repair the b pillar. This is a big list but like I said expect the worse!
Step 3 (prepare the repair panels)
I found it very frustrating to find the repair panels not ready to use when I wanted to use them so take some time over this step to prepare these new parts. Remove the rubbish black primer and get some weld through primer on them. Also take apart the heater channel and the A post repair because these won’t have any protection on the inside spaces and panel overlaps which will rust straight away see the previous blog page.


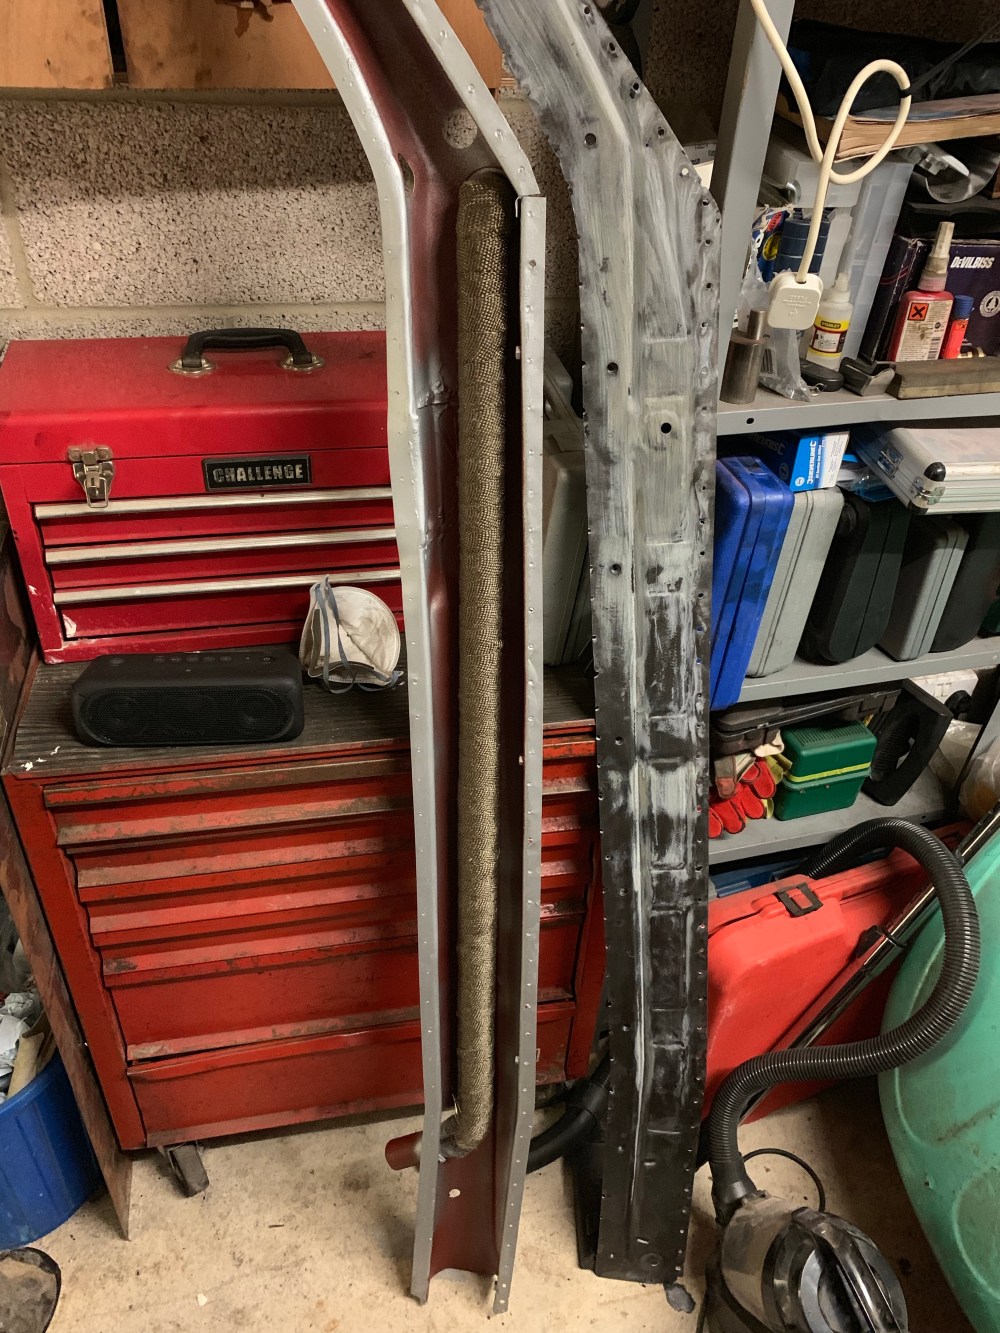
With the panels prepared, painted, sealed and the heater channel put back together I’m ready to start the repair.
Step 4 (tools, time and space)
This is a big job so allocate a dry clean area for doing the work. All jobs like this will over run so plan for at least a weeks work. This is not a job you rush and it will take longer than a day. You will need a socket set to remove the underside bolts, a good large cross head screw driver to remove the door (I used my impact wrench for this as well) An angle grinder with cutting, sanding and grinding discs. Welding equipment and a good jack to do some lifting.
Step 5 (strip)
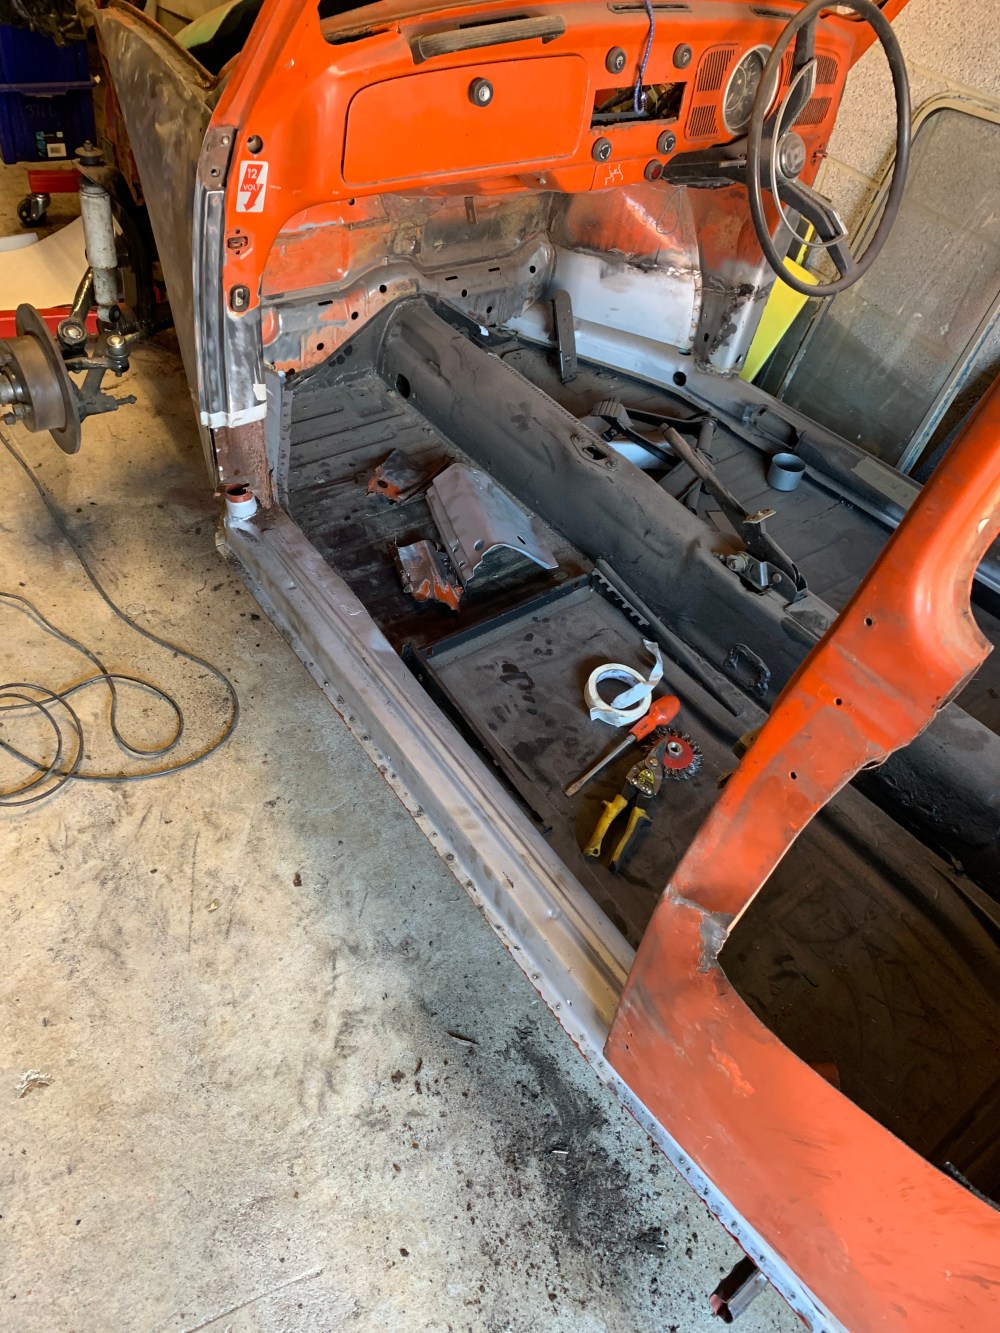
Remove the door (if you’re on your own might be worth removing the glass out of it first to lighten the weight). Unbolt the floor bolts for the channel and the front and rear cross members to get some movement of the body for clearance to get the heater channel in and out of the space. My whole body tub is unbolted already due to the amount of work I’m doing on the car which does make it much easier.
Remove seats, carpets and if you’re replacing the LH side then the loom needs removing as well. The loom and, if fitted, voltage stabiliser needs to be completely removed from the area you’re welding, if you don’t then you’ll have to start replacing melted wires. Anything you leave in the car cover over and protect from grinding dust and weld splatter especially the windscreen.
Step 6 (cutting and cleaning)
Before you start cutting think about bracing. The channel holds most of the structural strength of the car so to prevent any movement then weld a strut across the door opening and maybe another across the width of the car but don’t forget you need access to refit the door during the repair to ensure your clearances and you need access to get at the channel with your power tools. I haven’t braces mine because nothing in in the correct position due to the lack of strength in the whole tub so my problem will be panel alignment and keeping the body from twisting.
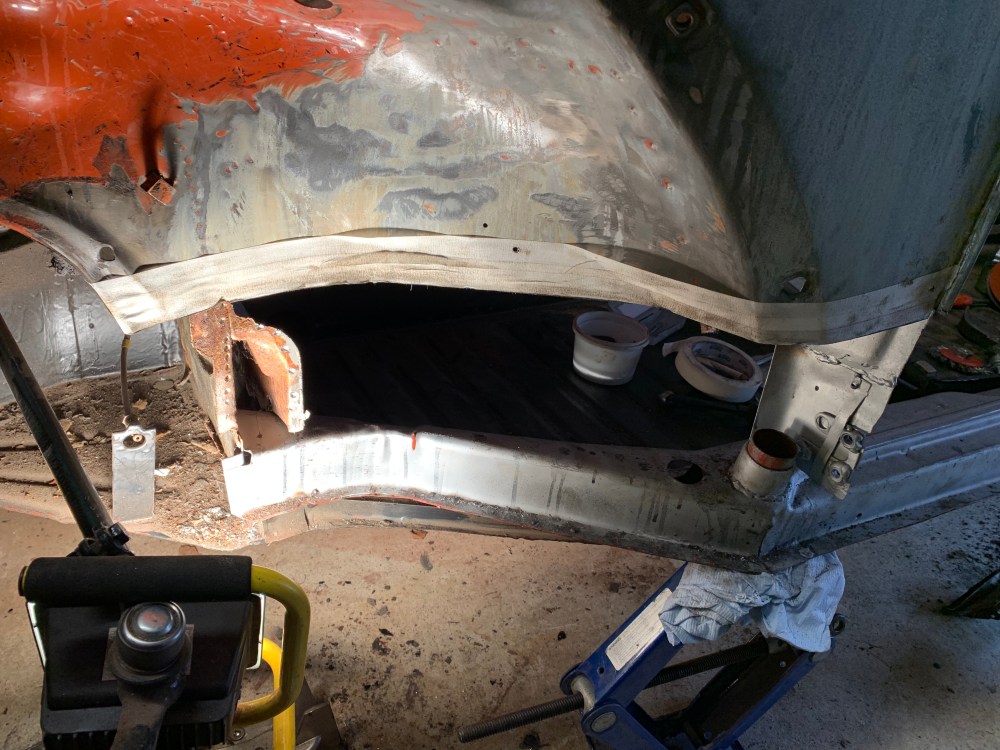
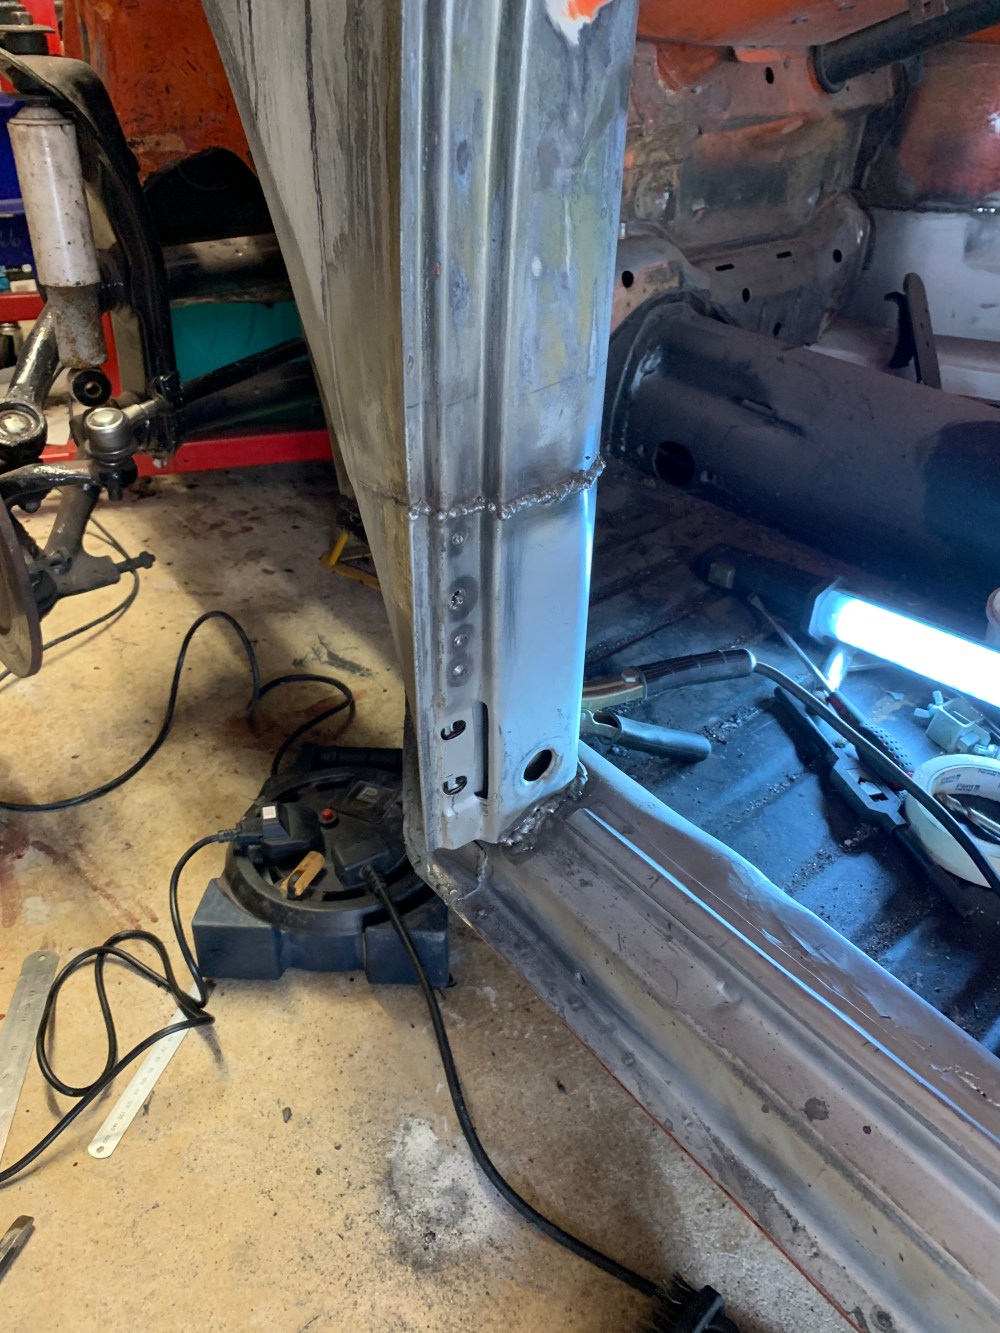
The first cut is always daunting but think of the strength you’re about to put back into the car. I always like to start at the A post cutting straight down towards the floor pan but don’t cut the pan itself. On my car this area doesn’t exist due to rust so that’s one less cut to make. The second place to cut is the B pillar straight down again. You have to be careful not to cut through the tongue of metal that is welded around the channel under the seatbelt mounting hole.

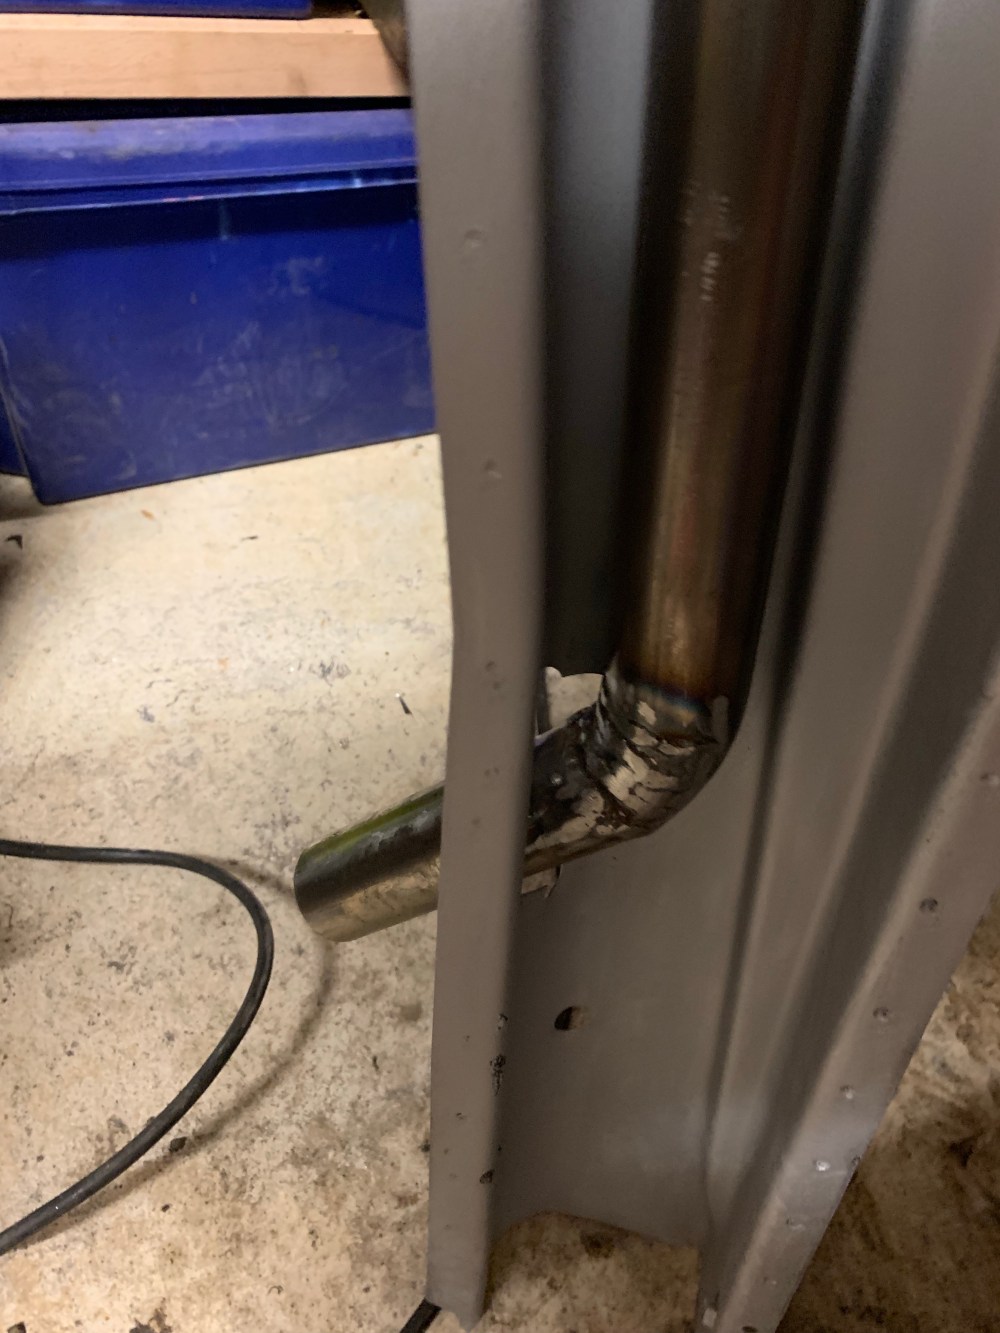
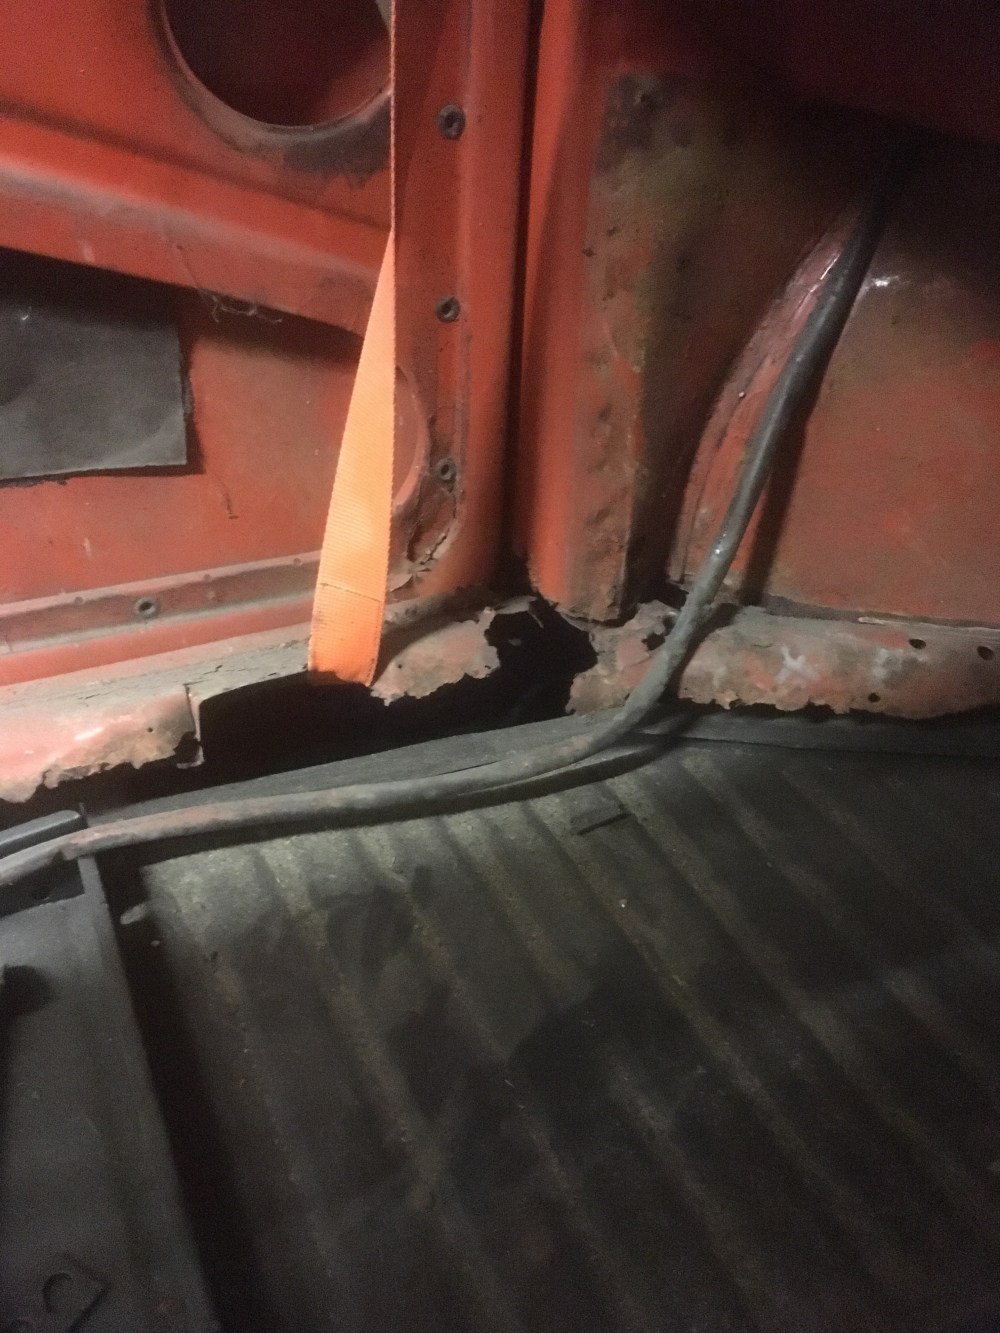
In the picture I still have the wiring loom in place but it has been removed before I started using the grinder. The tongue of metal I mentioned starts at the edge of the saw blade finishing about where the orange wire is sticking out.
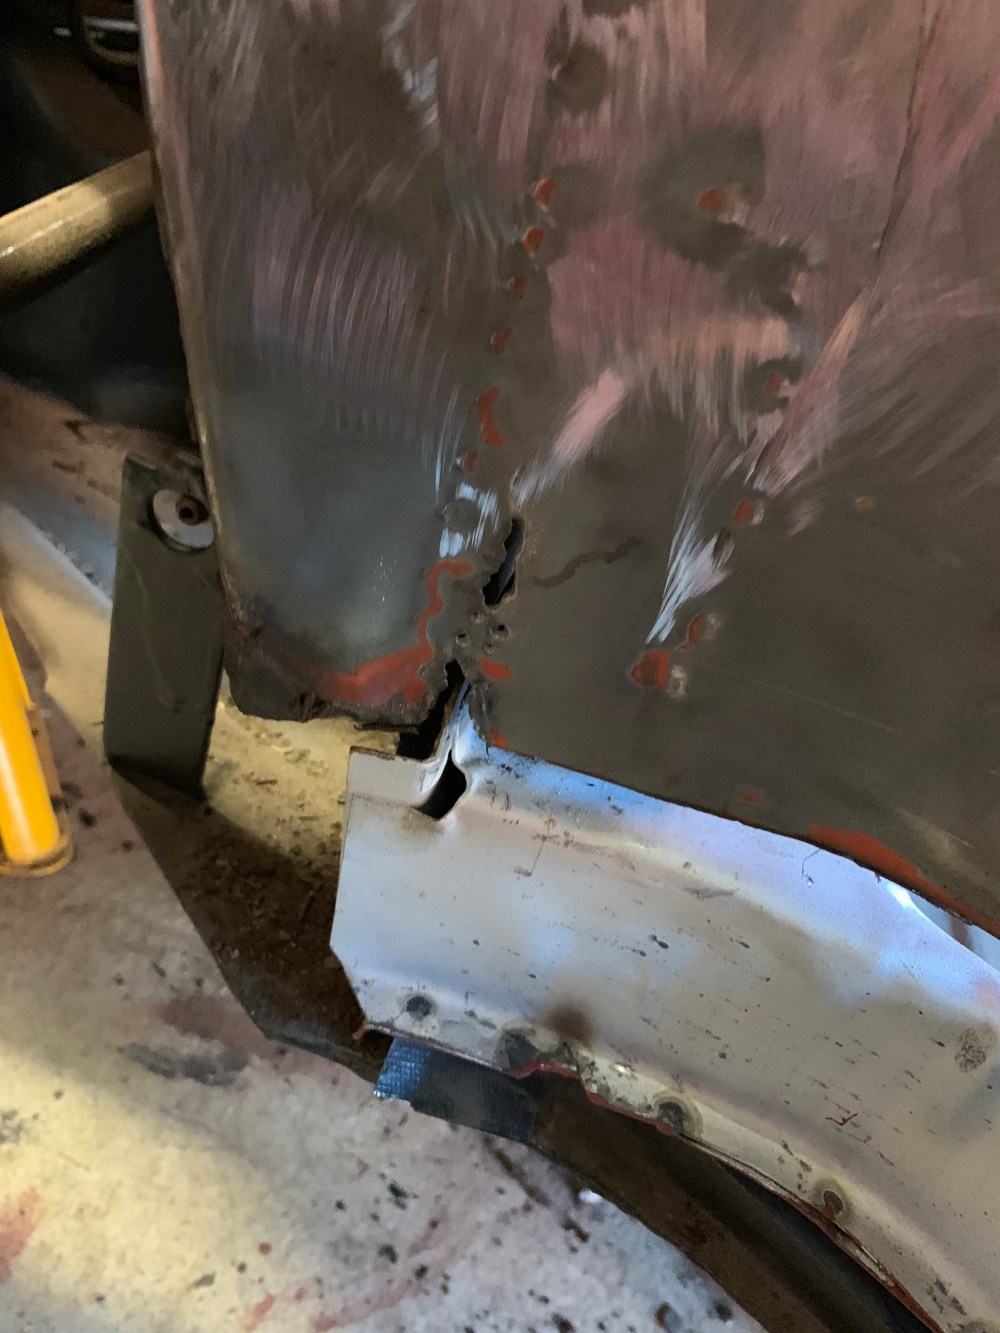
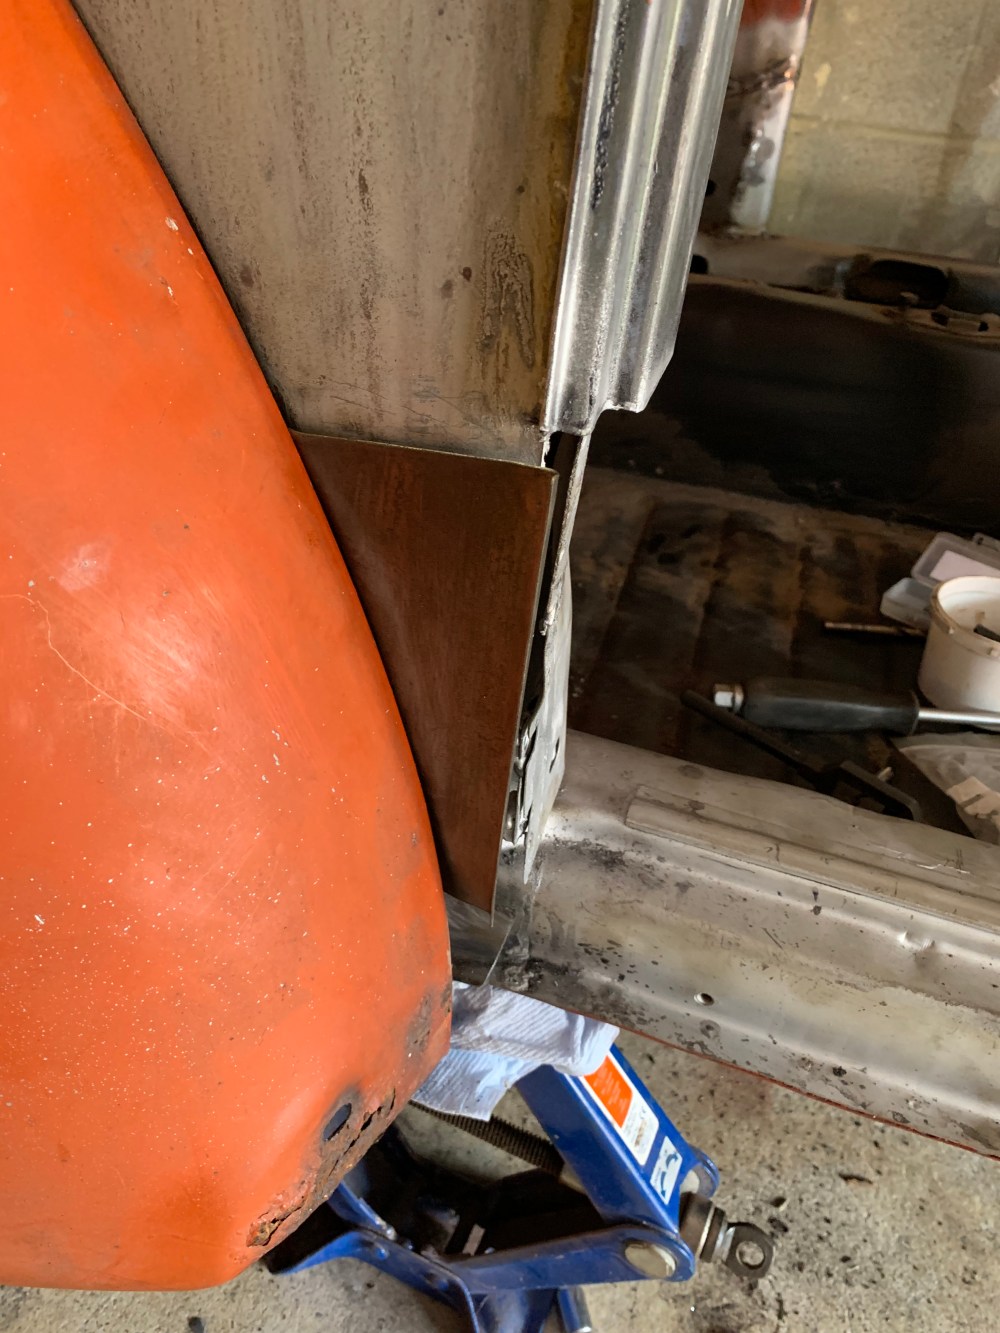
The next place to work on is grinding down the welds around the tongue and drilling the spot welds along the lip of inside rear of the channel. This will nearly free up the rear section. The closing panel at the front of the rear wheel arch is welded to the heater channel so a cut is needed there as well since the flanges overlap each other. Mine is non existent here so I need a full replacement repair. Then the final part to remove is the lower lip of the outside rear quarter panel. This is also spot welded if original…..

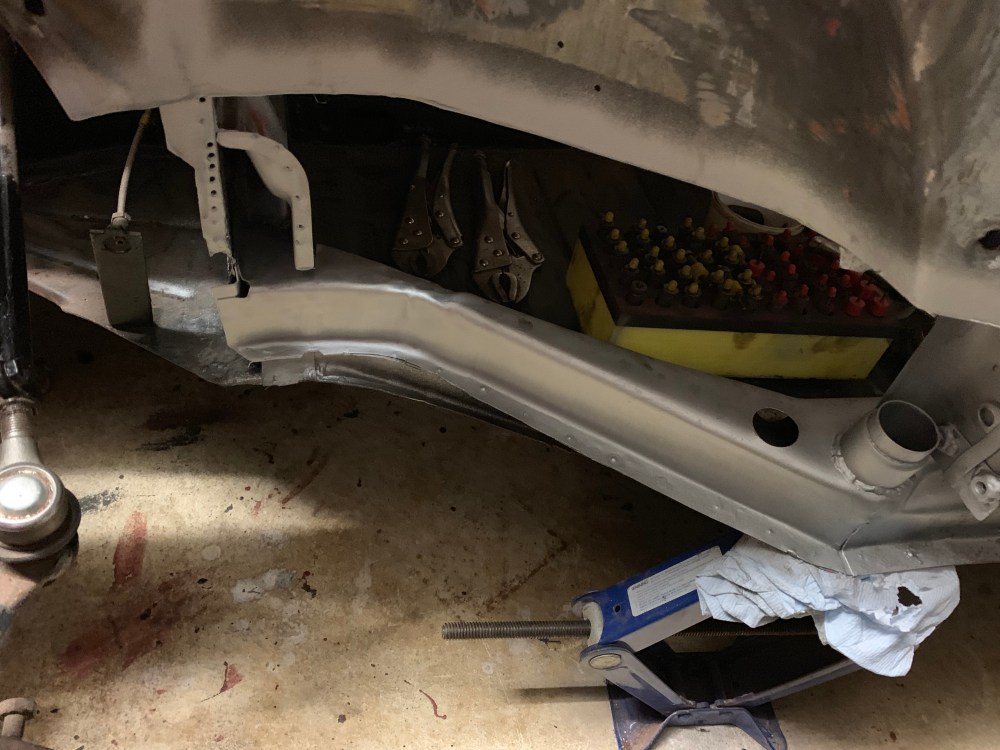
This is a picture of the new channel in place but it shows the tongue and the spot welds you need to remove. Also my non existent rear closing panel.
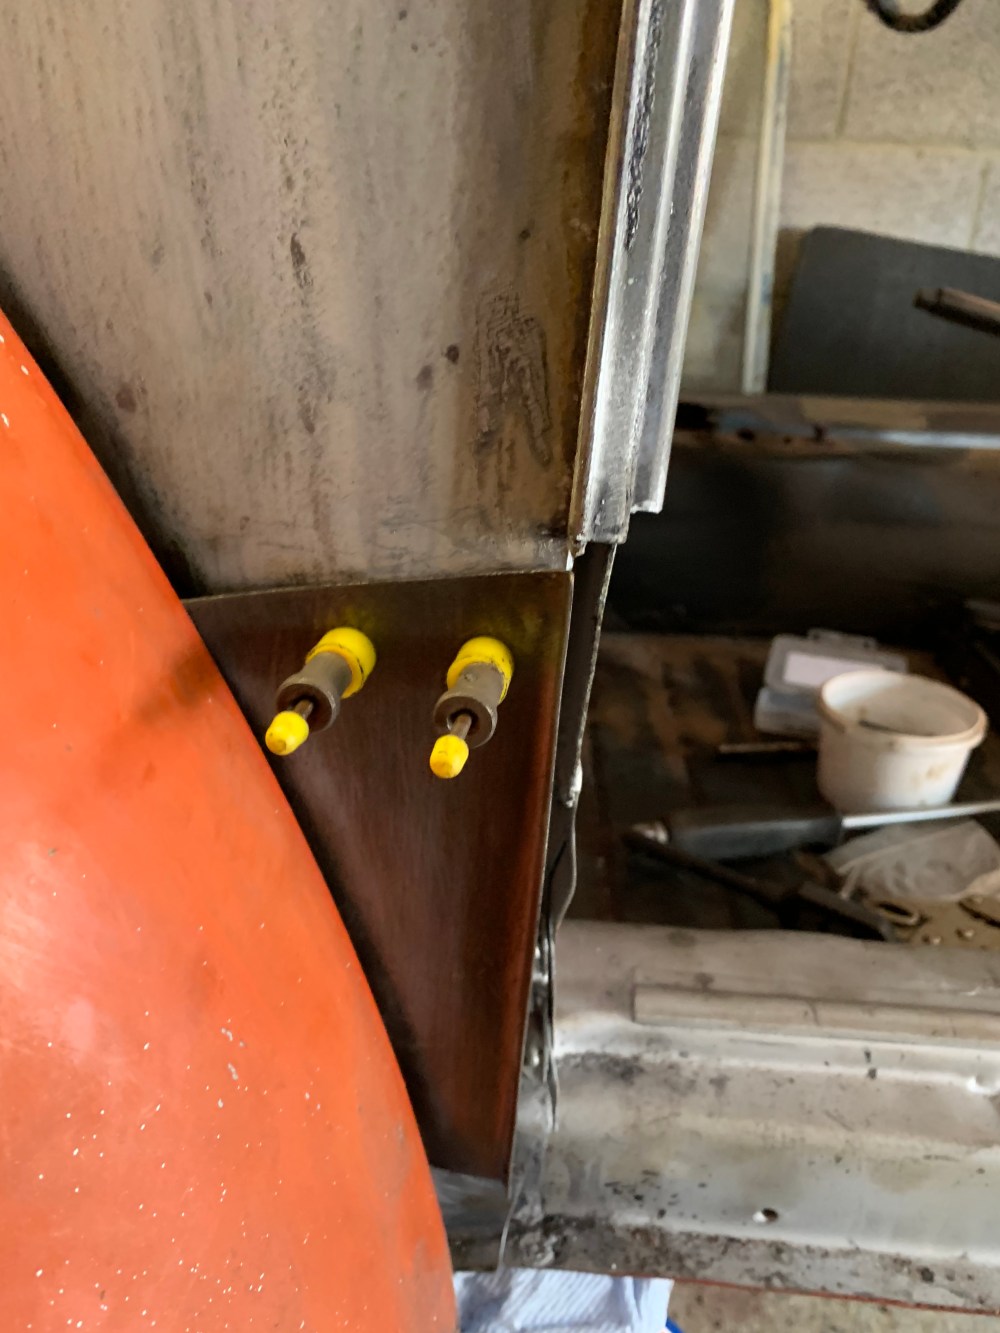
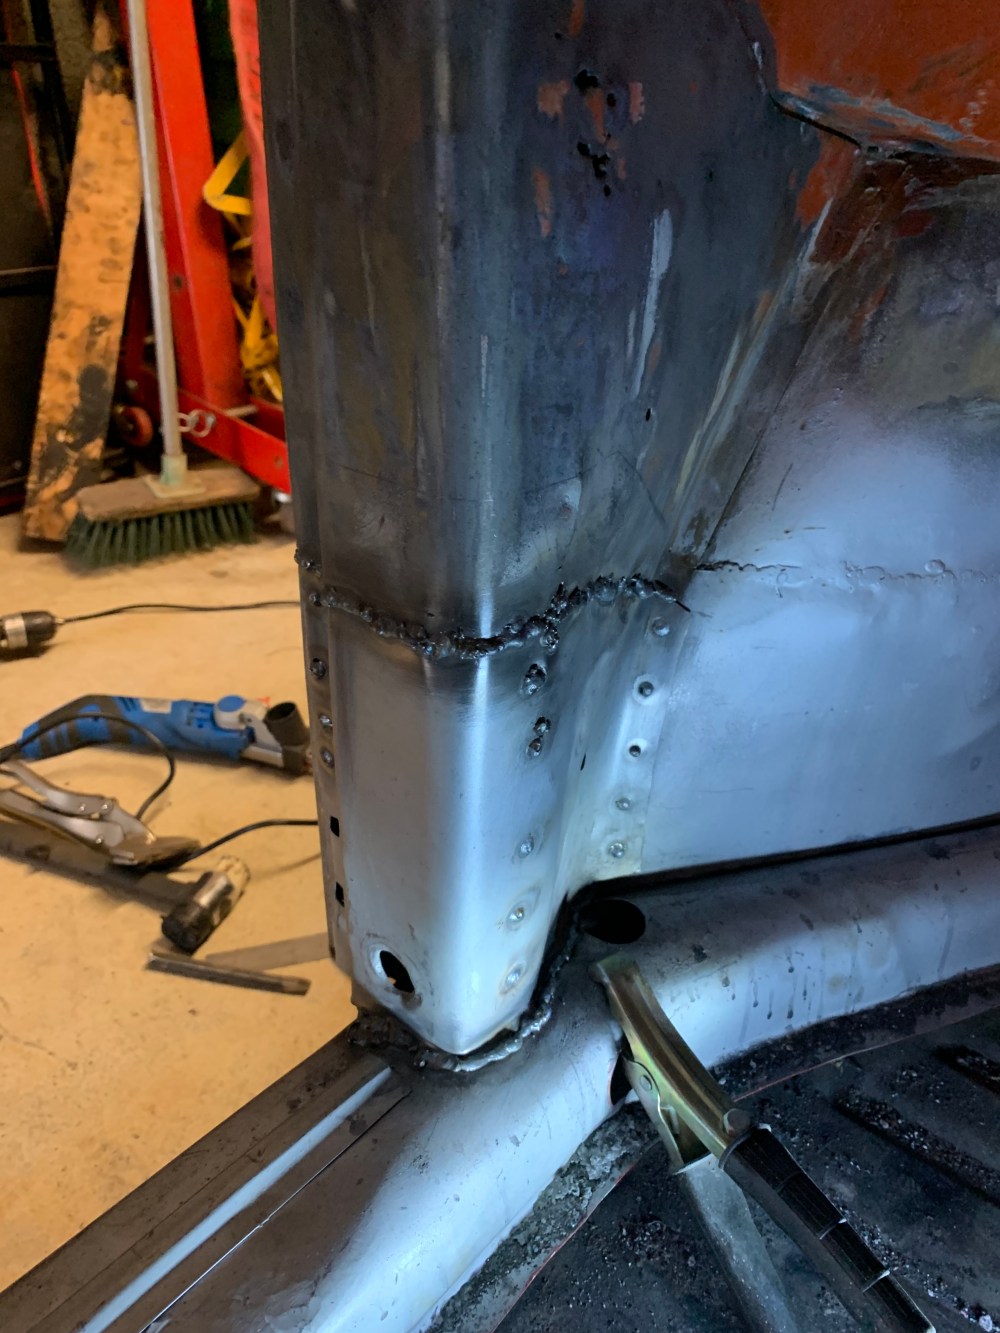
Next is the front foot well. Since there is repair panels for this area, the only pace to be really careful here is the bulkhead. Remove the spot welds around the flange for the forward end of the heater channel. The rust can be cut out by cutting through the front inner wing and A post.
Another picture with the new channel in place but shows the areas to cut on the front inner wing. The line of spot welds can been seen here for the double skinned front bulkhead. The new channel also over laps the flanges for the bulkhead .
Clean all the metal left with wire brush and sanding. Then treat all the metal with a rust remover/inhibitor.
Step 7 (repairs)
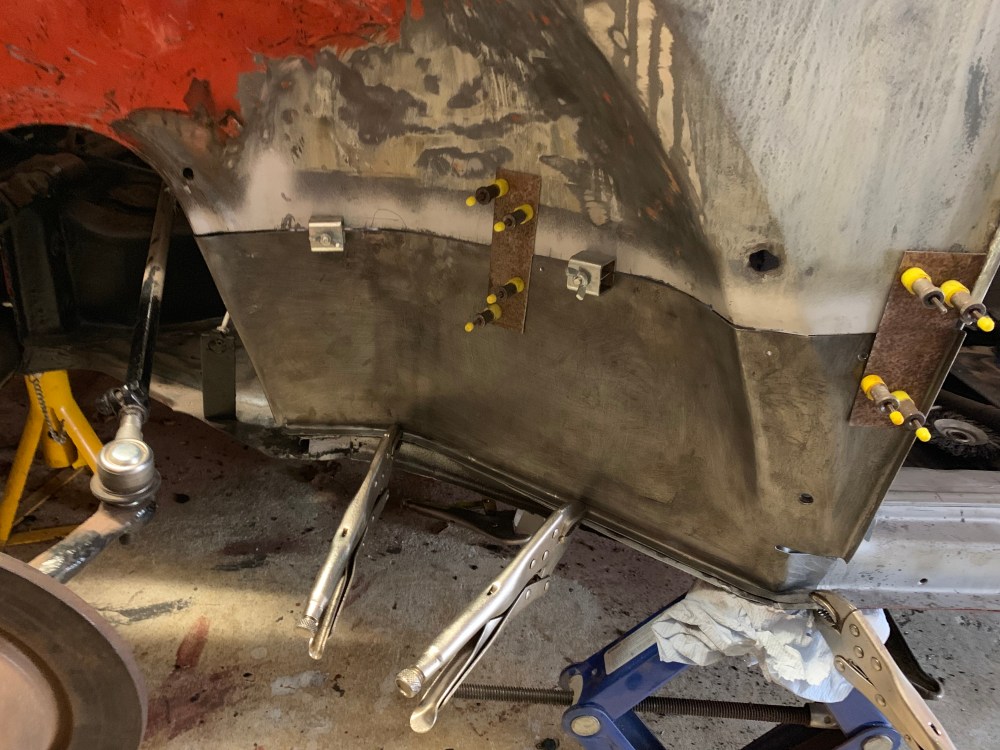
The picture above shows the new channel in place. As I’m modifying the back don’t worry too much about the missing parts here.
Start the repairs by carefully removing the outer layer of the lower A-post to revile the inner door support panel. This is where the door hinge is bolted and must be strong to support the door.
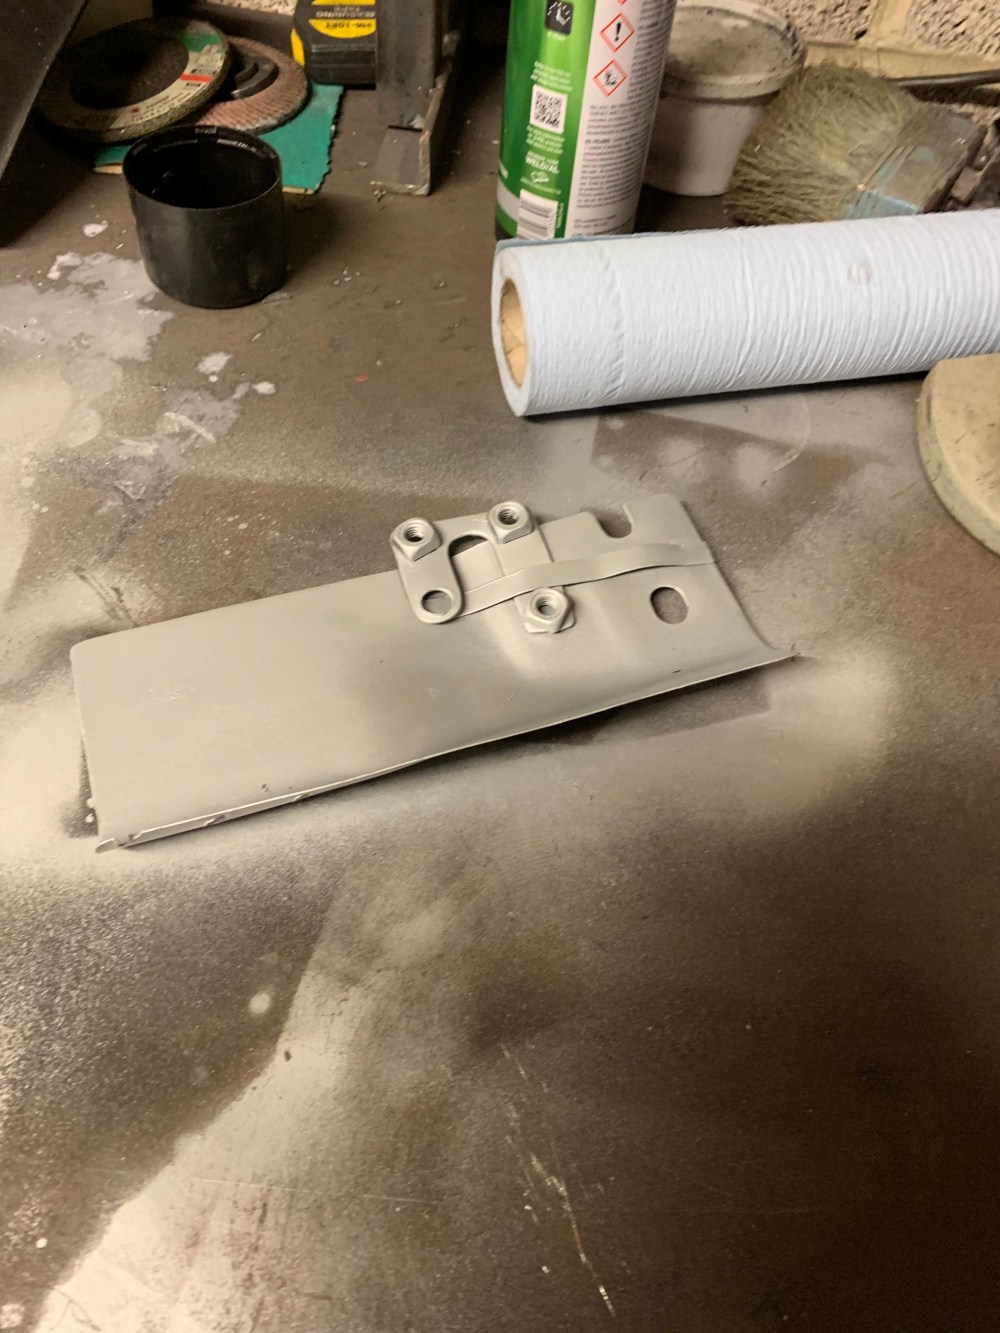
With your A-post repair panel split into two parts you can decide how much metal you need to cut off to repair the lower section. Mine just needs the bolt holes and anchor nuts so I’m cutting off just above these on my car and with a slight overlap on the repair panel. I don’t want a butt weld here because I want some strength so a 5-10 mm overlap weld is Perfect for my requirements. You can joggle this overlap if you want but since it’s covered over there is not much point.

Using either a lightened door or a hinge repair jig (easy to make or buy) the new inner repair A-post can be positioned clamped and then welded in place. I welded both sides of this overlap. A quick clean with the grinder, then a wipe with rust treatment and primed with weld through primer finished this area off ready for the outer repair but first the front inner wing closing panel needs on go on next.
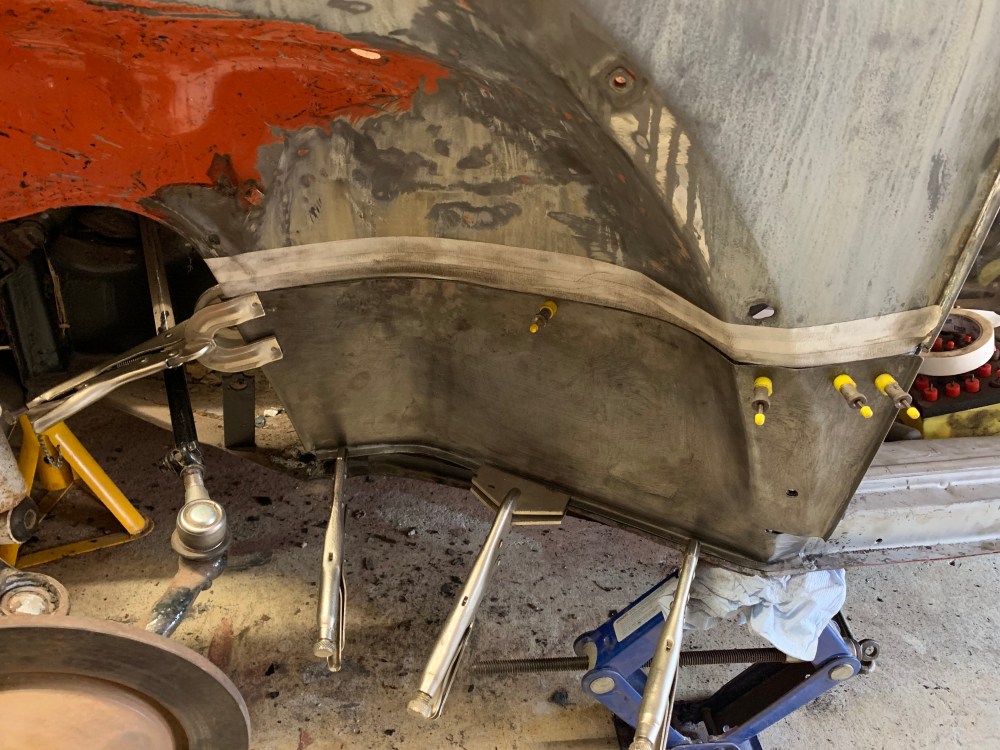
Before anything is welded on now it’s time to line up and bolt down the new heater channel. I’ve left the gasket out for now but if you’re putting in a channel back on a running car then get this in and sealed before bolting down but be aware any heat near the gasket area will damage it so protect it as you go. I’ve had to use a M8 tap to clean the threads on the new channel so I can get all the bolts in easily. Best to start at the front of the channel and work your way back to get all the bolts in. Leave everything loose until it all lines up and expect to adjust some of the holes if you need to depending on how well your replacement channel fits (normally build tolerance is proportional to how much you paid for the part). Don’t forget to reprotect/repaint any areas you have to adjust.
With the channel bolted down it is time to check the rest of the car and re-bolt anything you loosened originally, to get the channel in position. Now it’s time to measure and measure and measure then cut the front inner wing closing panel.
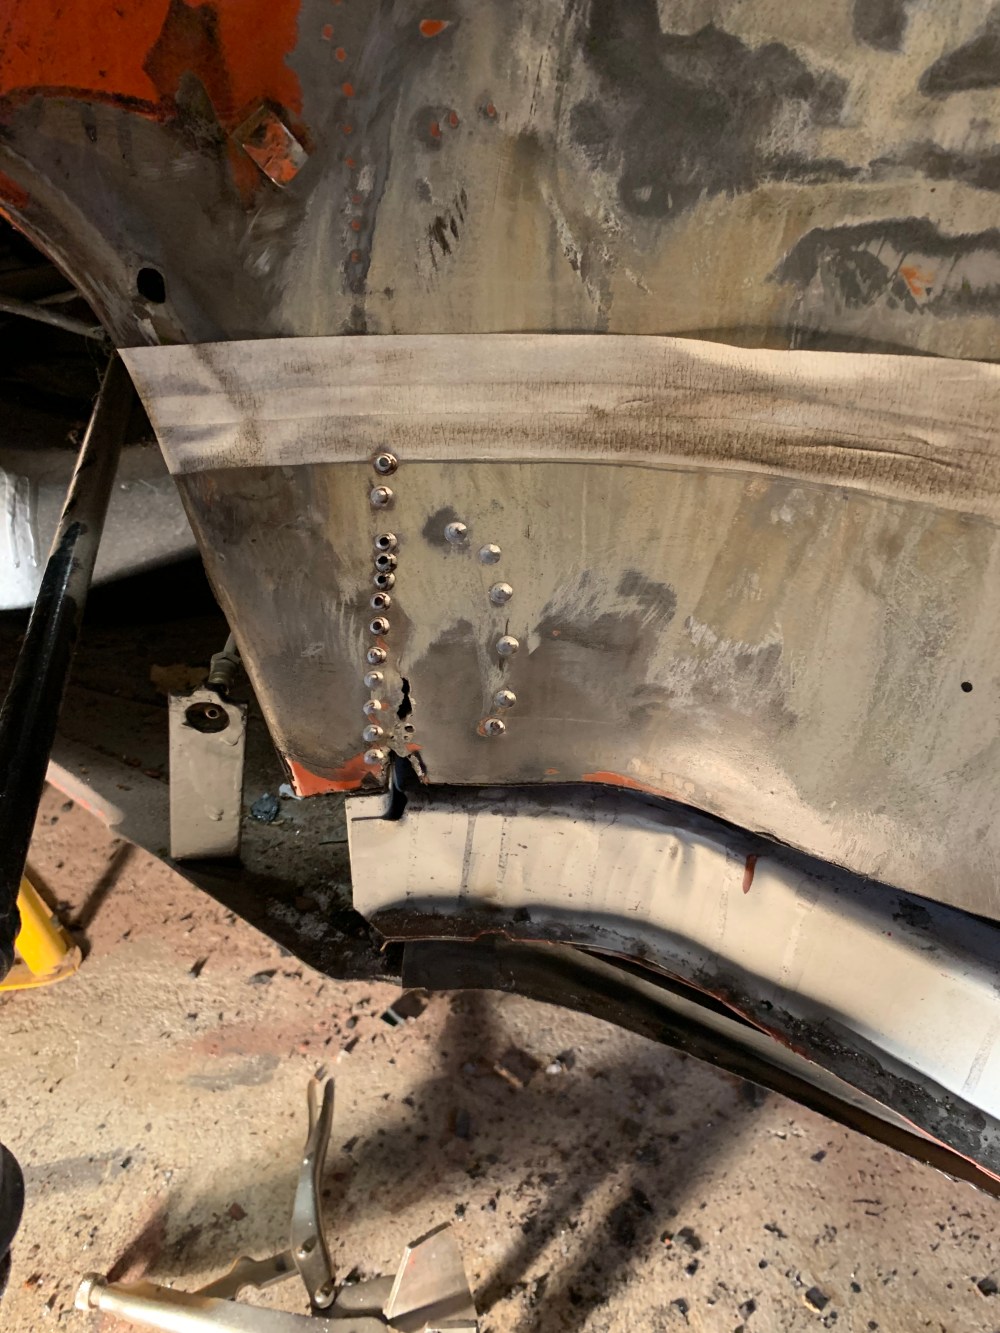
I normally want to keep as much original metal as possible but with this car I wont be trimming the repair panel down to fit the rusty parts. I want to butt weld this panel for appearance but creating a overlap is easier and gives a stronger join. I started by loosely fitting the front wing and bolting the lower rear end to the new panel. This gives me the correct distance between the wing bolt holes and allows for the correct highs on the channel, which I adjusted upwards using a handy jack.
I found that the new repair panel’s bend has been slightly flattened in the post so this left me metal over hanging the front and rear but Don’t be tempted to trim this because as you weld and put the bend back into the panel this excess will disappear.
By bending by hand I managed to remove this over hang and pin the panel into the correct position.
Removing the wing now gives me more space to mark up the area ready to cut.
Cutting starts with making sure I can refit the panel exactly as above by adding alignment marks or in this case I’m trying out a new technique of straps. Once the alignment straps have been drilled and pined I can remove the new panel.
Once removed I start by drilling out the spot welds on the front bulkhead.
Then simply cut along the line I marked with the tape. Lots of care and light needed here and a thin cutting disc is best on the grinder.
A quick clean up of the area and some rust protection and I’m ready to refit the repair panel.
I’m removing the inner bulkhead panel later so I can repair both properly because if these start to rust then you will always have problems here (and wet feet) so take your time while everything is accessible and get it cleaned and properly protected.
After the primer is dry then it’s time to refit your perfectly lined up repair panel……… it’s the first time I’ve used straps like this but it does help line everything up and hold in place while you clamp up. The butt joint clamps are very handy, available from Frost tools. Time to break out the welder.
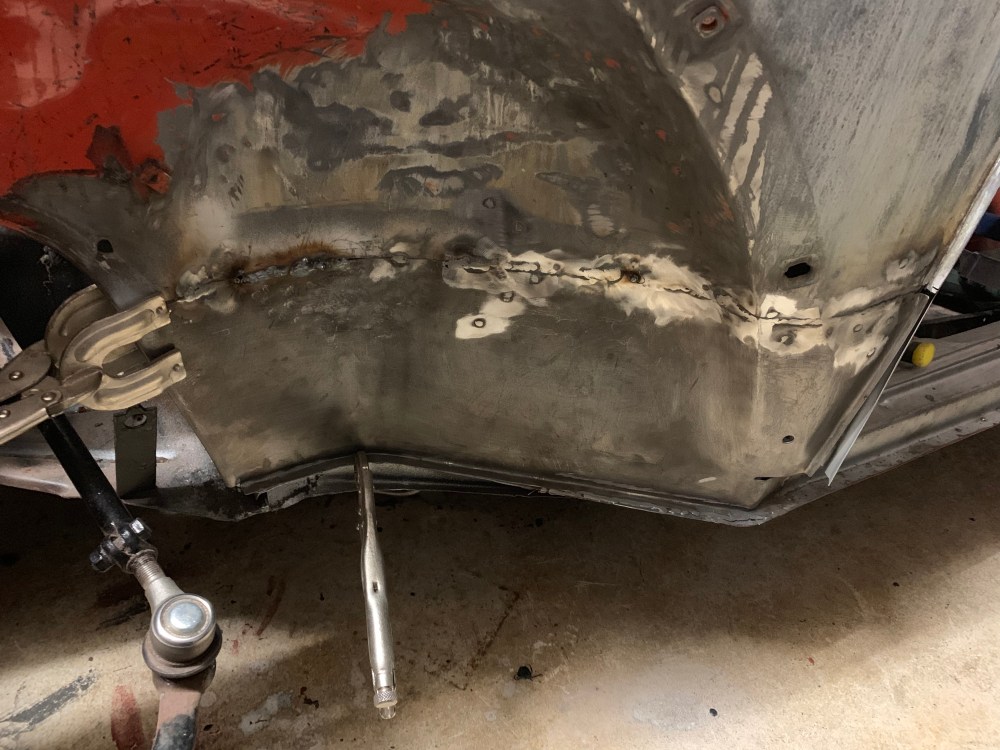
I would still recommend overlapping this joint because it’s a time consuming process to butt weld and making sure the seam is fully closed. I put a bright light behind the joint to find all the pin holes I missed on the first passes. Word of warning, keep the heat down here because the panel will warp!
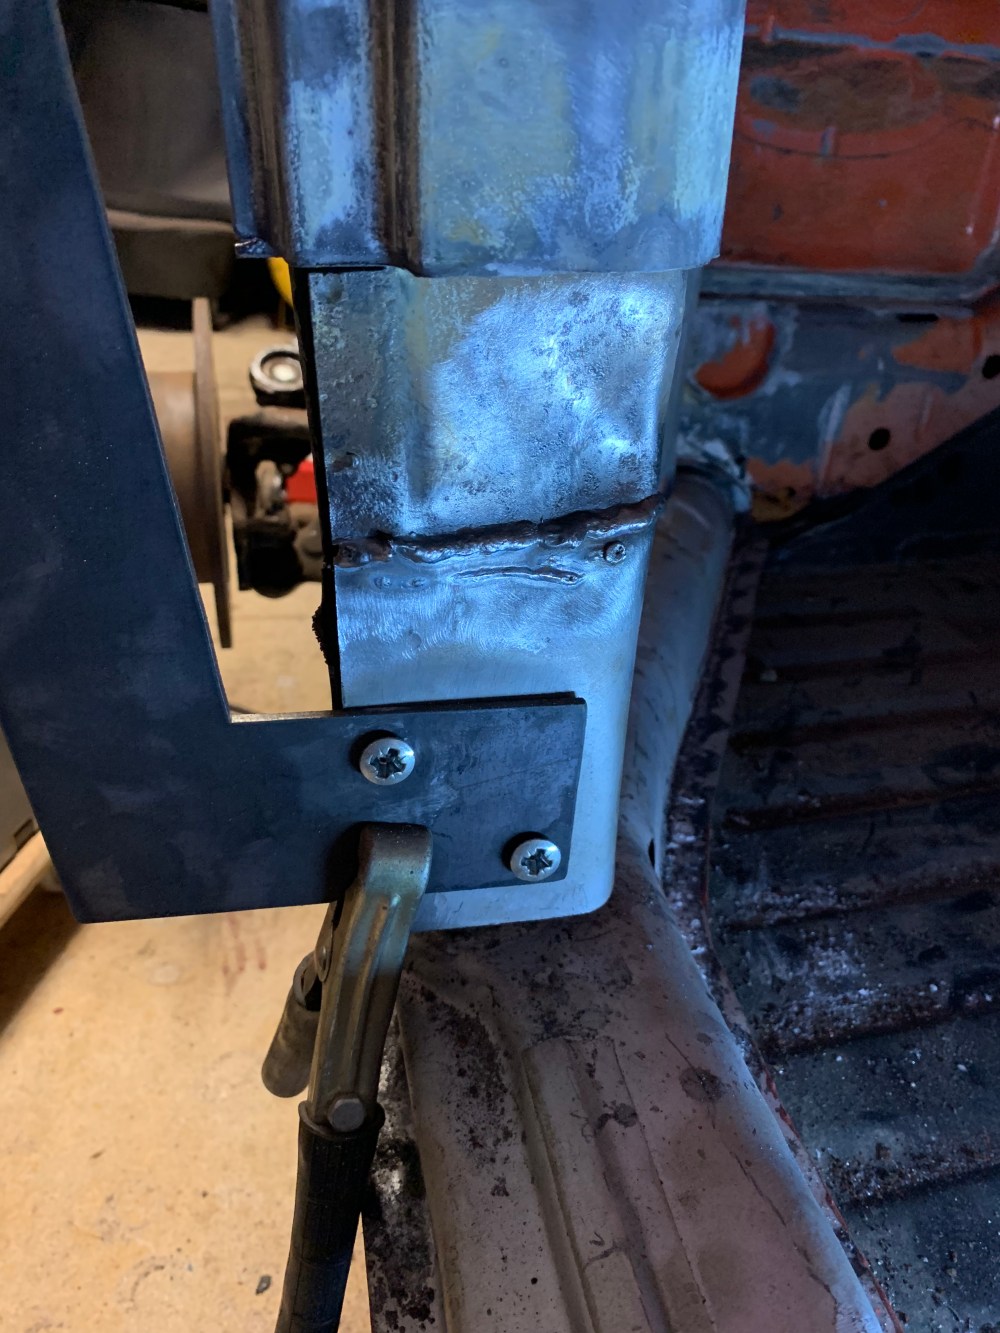
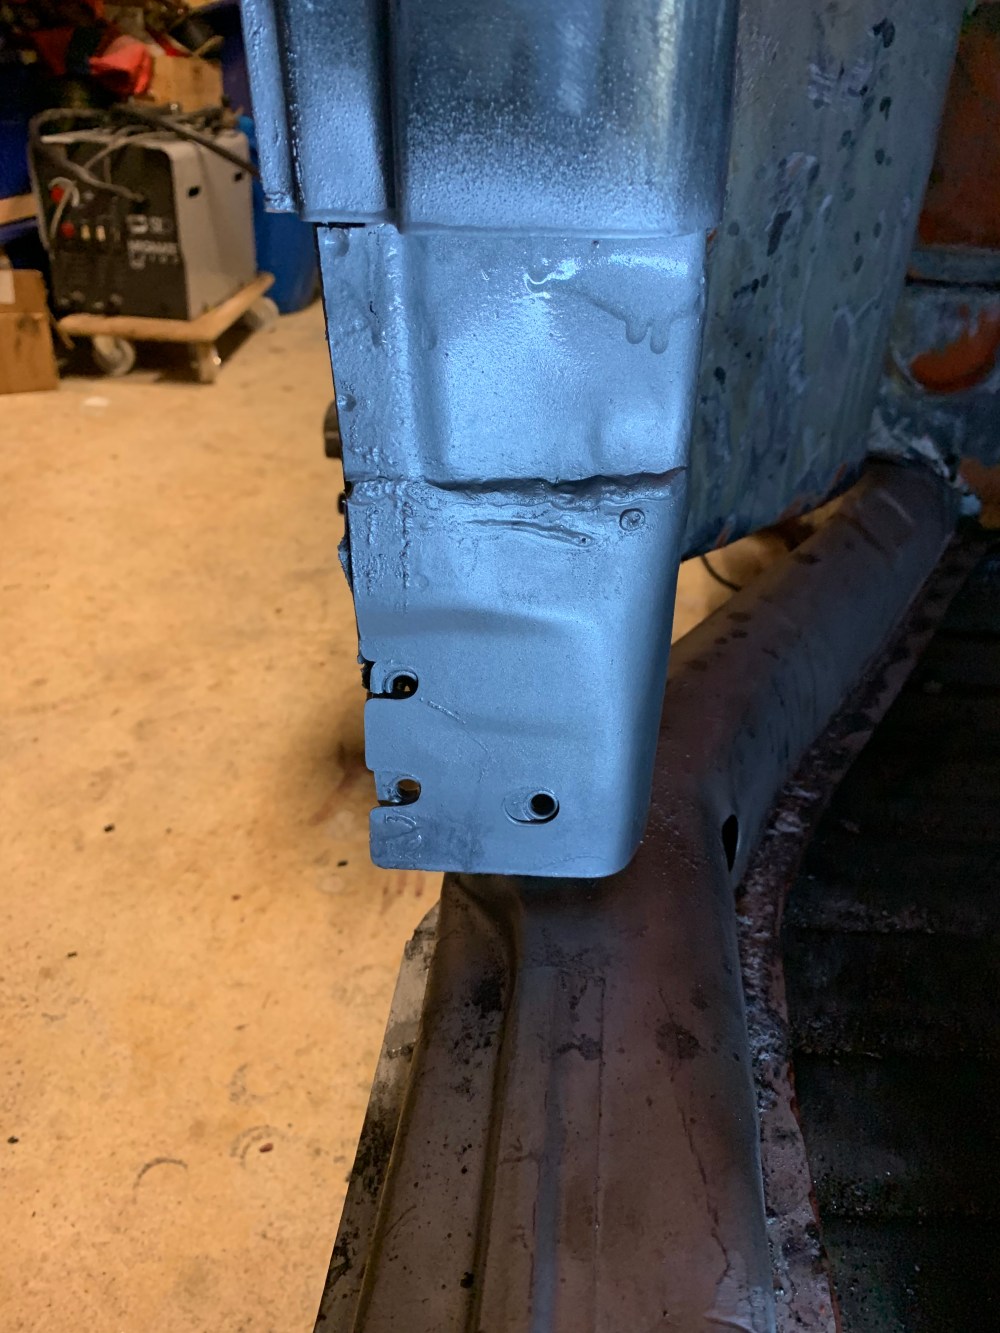
Once welded the next repair is the lower A pillar. Easy bit but take your time and line it all up. I’ve got a handy finger sander to fine tune the fit before welding. Use a steel rule’s straight edge to make sure it’s all in line and flat.
Drilling holes through both the inner and outer parts of the A pillar and welding through gives a good strong repair. I had to run a wide chisel down the outer bend to improve the radius for the outer panel seam. Also I used a socket and chisel to improve the hole for the door hinge bolt access.
My welding here got a bit raggedy due to finding rust and burning through the panel. Here’s a reminder of where I started.
Update Aug 19
Since I still haven’t finished off both heater channels I thought I would put a update on this blog.
The bits left to do…..
The front bulkhead will need attaching to the heater channel and I will be doing this but I need to have the back built first so the car doesn’t fold up on me because I’m planning on taking the whole inner panel off to sort out the extensive rot here. Normally you can just weld and seal but it depends on how long you want this area to last. The bulkhead gets most of the dirt and wet as you’re driving and my last beetle this became a yearly repair so I do recommend to spend some time in this area.
The B pillar. Don’t attempt without fitting the door! It’s a job of lining up and a simple weld inside and out but can lead to a world of problems if the door isn’t fitted and aligned.
The rear wing inner panels. This is where that weird repair goes, it’s the one that people normally put inside the car underneath the rear back seat by the wing. It actually goes around where the rear swing arm and torsion bar is as a second layer to the skin. Will attach photos later. The skin and reinforced repair panel closes off the end of the rear heater channel.
Now if you want a nightmare then have a look at my alignment issues on the named blog…..
