Each and every post I’m making is another slot of time I have to work on the car. It’s slow going and sometimes progress isn’t very noticeable but plodding through and keeping my enthusiasm going is the main thing, especially when family and work come first.
I got to the point where I had to start breaking down parts into their individual components, mainly for easy storage but also so I can clean and paint them when I can’t do work on the main car. So time to break down the rear axel assembly into hubs, axels and gearbox.
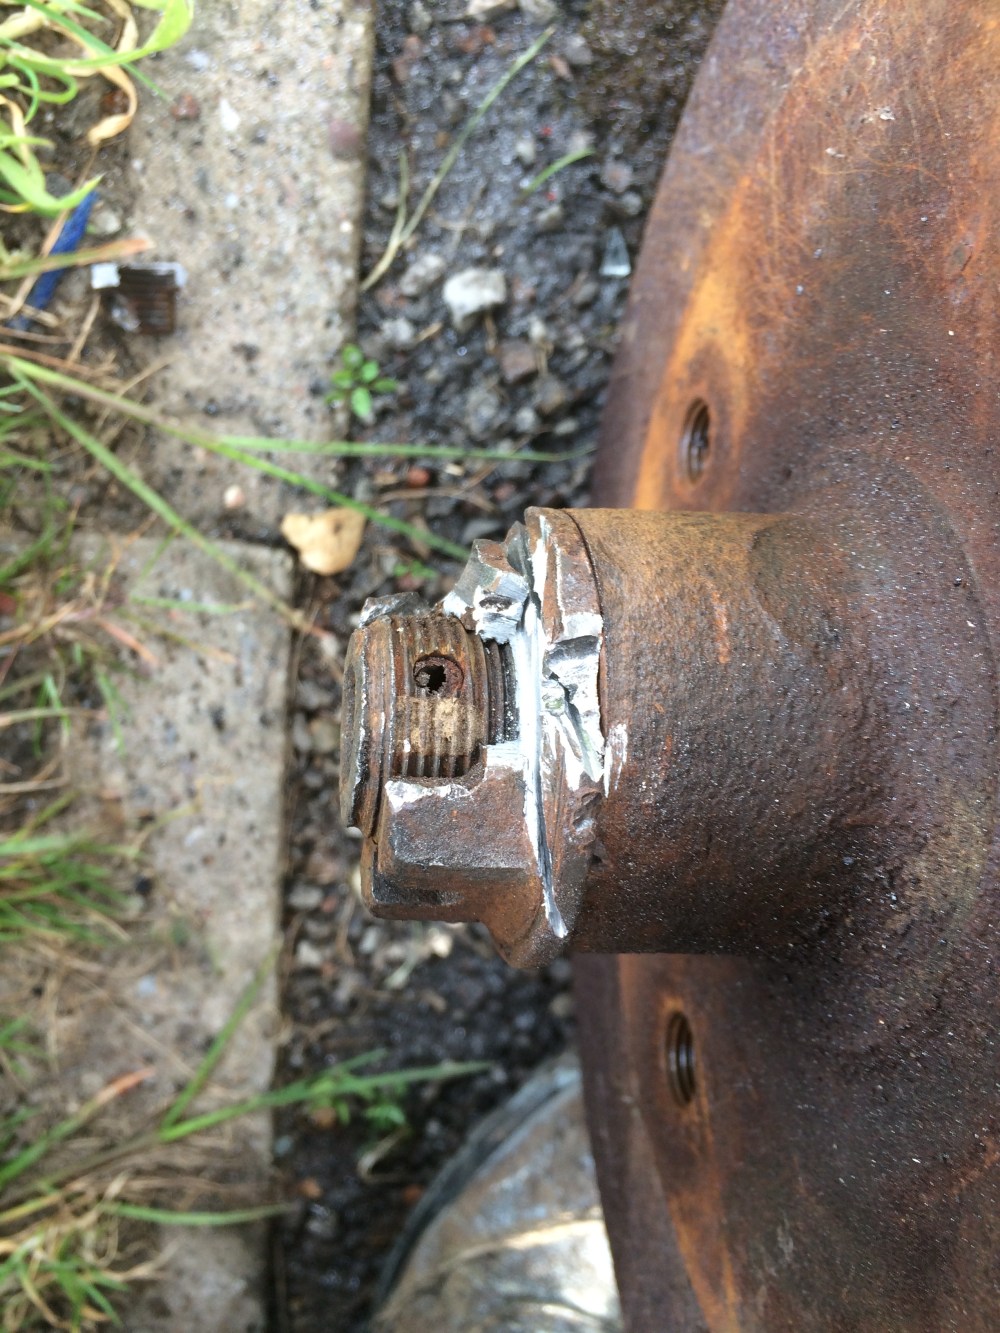
Getting the hubs off was the first problem. The nuts on the rear drums are torqued on very tightly and last time around I removed the nuts with a full car plus engine, a very large breaker bar (which I still have) and a long pipe to extend the breaker bar. Even with the weight and the leverage, the rear hub nuts took a lot of persistence to remove. This time I haven’t got any weight or the leverage I need but helpfully the previous owner had loosened one nut already so I only had one to do. HINT before any major restoration on a beetle, loosen the rear hub nuts first before taking anything else off the car! I had no choice but to cut mine off making sure I didn’t damage the threads.
A quick cut with the hacksaw and a hit with a cold chisel the nut was off. It was then a matter of removing the rear brake shoes (new springs needed here), wheel cylinders, handbrake cables and the last of the brake pipes. The back plates came off with undoing the four bolts either side and pulling the cover plate off. Next thing that had to come off is the axel tubes so starting at the gearbox the oil is drained ( has to be done or it goes everywhere). Then what was left of the axel gaiters were removed and then I unscrewed the little nuts on the gearbox for the outer plate. The axel tube won’t slide off due to the tight fit of the bearings so out came my four legged puller, attached to the square end of the axel tube and pushed against the threaded end of the axel inside. The outer tube slid off easily reviling the axel drive shaft, which is held into the gearbox with a very large circlip. HINT: get a good set of circlip pliers because you’ll spend ages getting circlips out without them. I had an adjustable pair of circlip pilers which weren’t solid enough to give me good hold and pull at the same time. I spent a good hour getting the first clip out, using various screwdrivers and pliers. By the time I did get it out it was getting dark and the second had to come out fast if I was to finish before I ran out of light. Practice made perfect and it only took 30 minutes but I do understand why I see lots of swing axel gearboxes for sale on eBay with the axels cut off instead of removing the circlip.
The next day I quickly cleaned the axel tube up with a wire brush on the angle grinder ready for some paint.


