Managed some time in the garage after a period of busy work and family life, which happens from time to time.
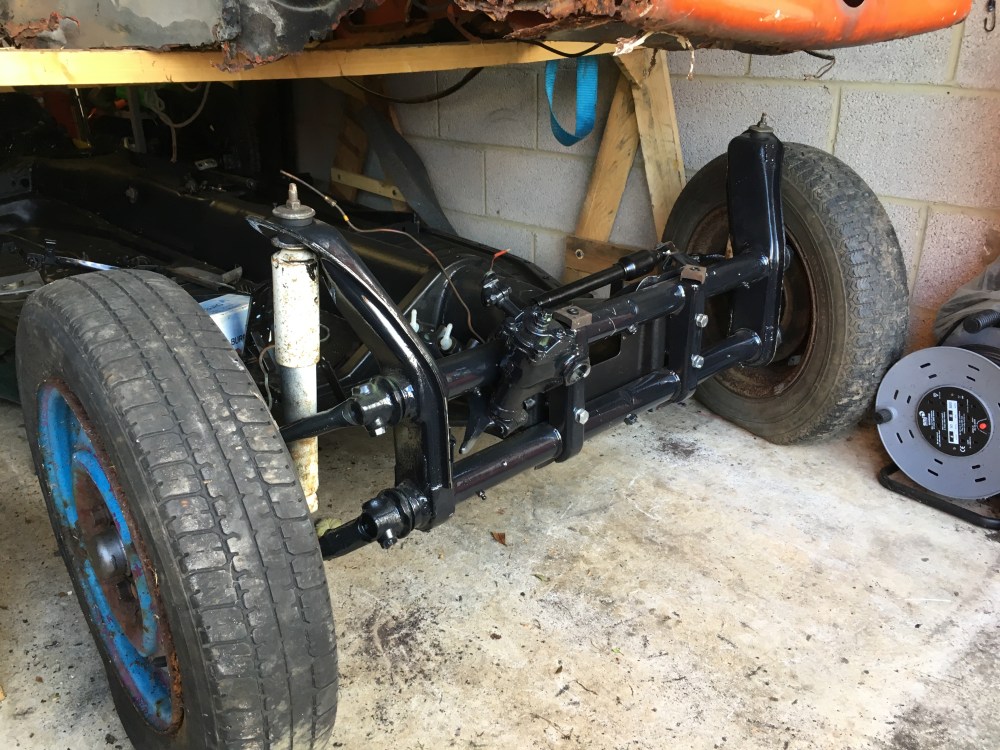
Finally got the last ball joint fitted to the car and finished the front beam with the addition of the steering, shocks and wheels so I now have a rolling chassis but I still had one job I had to do before i could move on.
Due to rust and damage i couldn’t replace the ball joints on the short tie bar so I had to source a new one but I couldn’t find a supplier who had one in stock for the right price.
Thinking a little outside the box I decided to buy a longer tie bar and try to shorten it to suit.

You can see in the picture I found one that was a close fit, I think it’s a short tie bar off a left hand drive beetle so using a jubilee clip (hose clamp), I marked the position where I wanted to cut and with a hacksaw it was quickly removed.
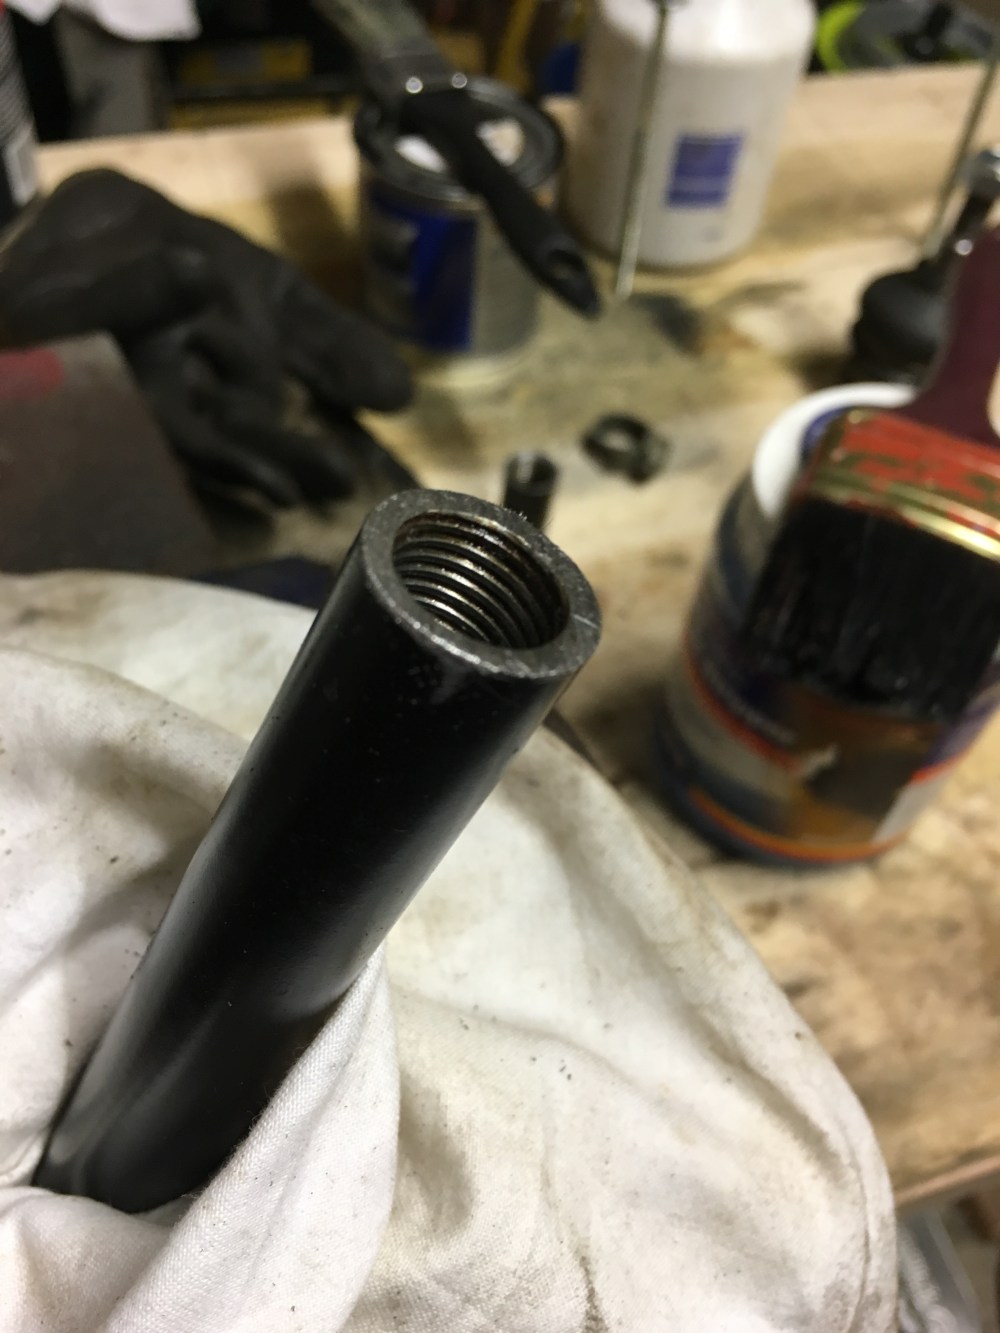 With the end deburred the next problem I had to solve was extending the threads further into the tube so I can fit the new ball joint. Since I’m working at the right hand thread end it was easy to get hold of the right thread tap tool and begin to cut.
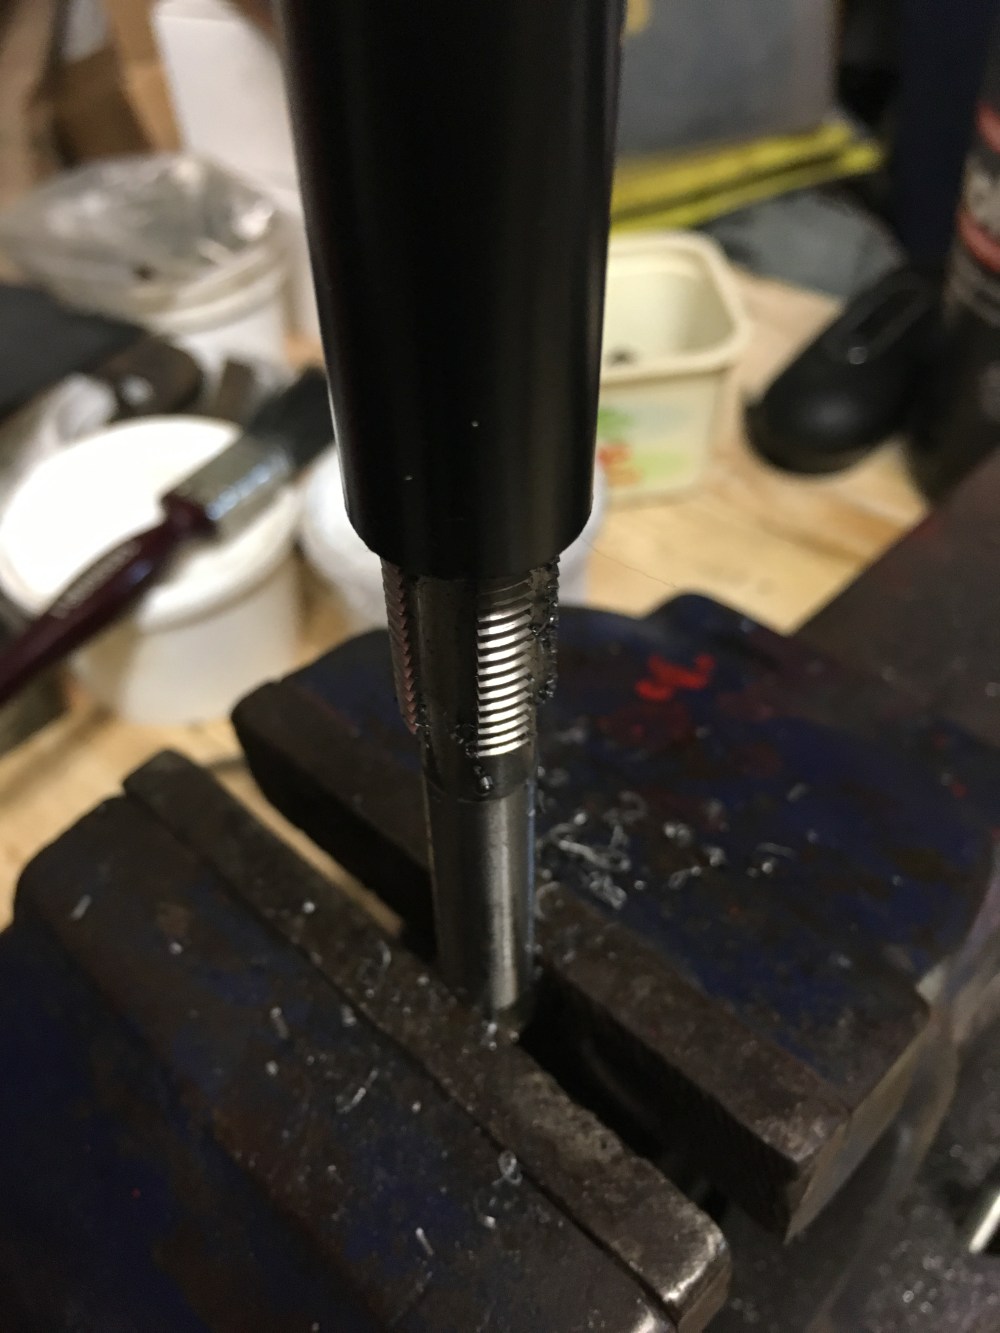
holding the tool in the vice and turning the tie bar using the other ball joint as leavage I managed to get the correct length of thread cut and on went the new ball joint with a locking nut this time, instead of a clamp which was fitted to the old one.
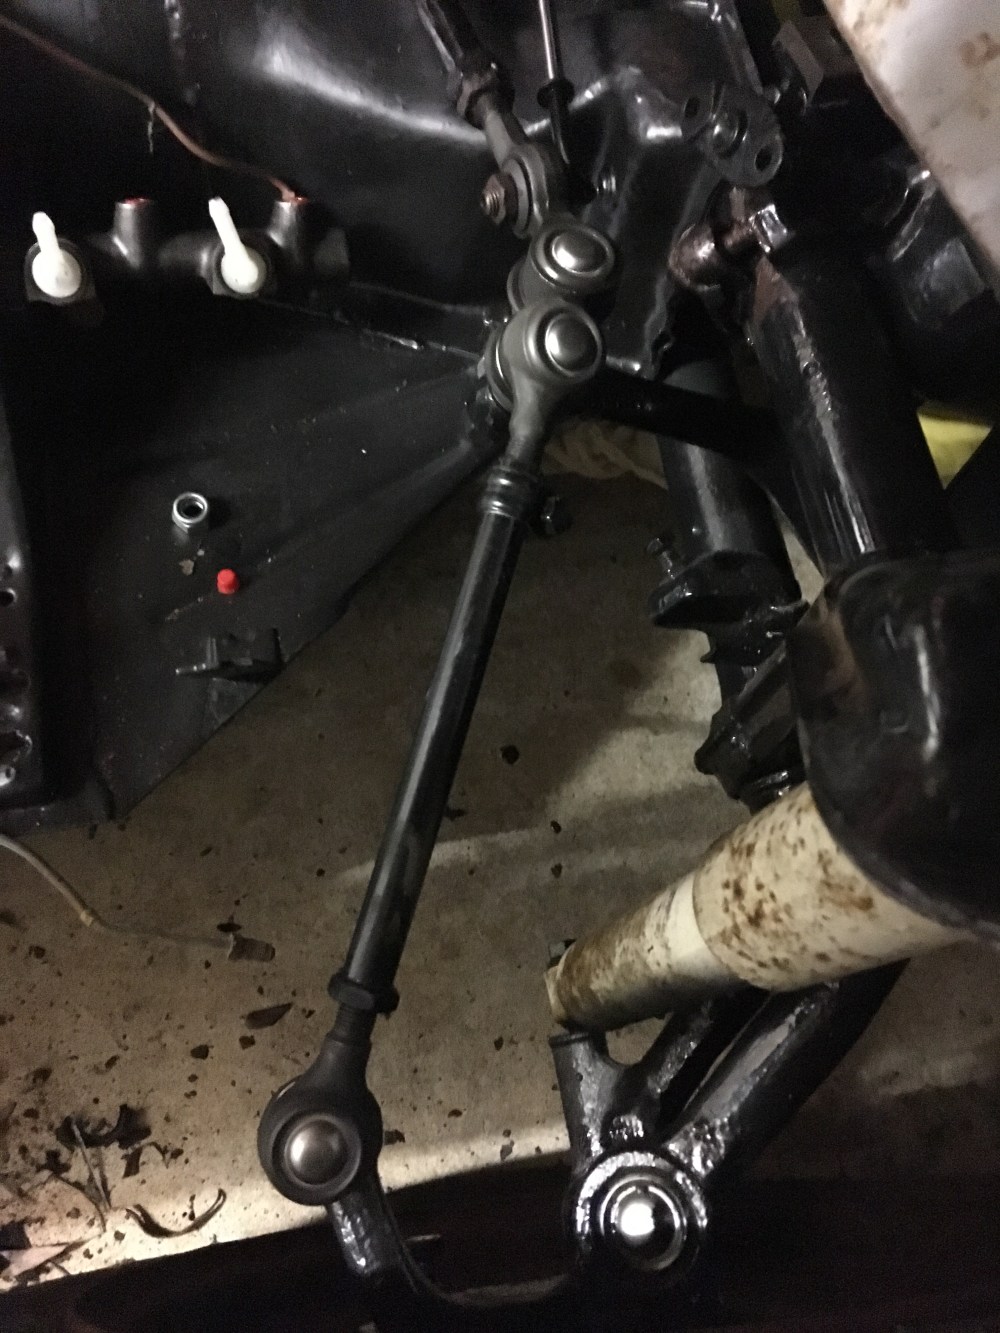
Installing it was simple after that. It did require some pressure to the ends to get the nuts tighted up but since the suspension hasn’t had any weight on it for over a year the chassis is sitting a bit high at the moment.
I’m planning on getting the front wheels aligned as soon as the car is back together but in the meantime I’m going by the original tie bar lengths which I measured and marked down. I also fitted the tie bar ball joints with a little locktight to prevent water getting in a rusting them again.
Next job was to install the brake master cylinder. I’ve brought a new one but in my cost cutting routine I managed to buy the left hand drive one so I got to rearrange to copper brake pipes to see if it will fit. So far it looks like there is enough clearance to get them in but I’ve left it loose for now so I can drag the chassis outside and fit it properly with more room.


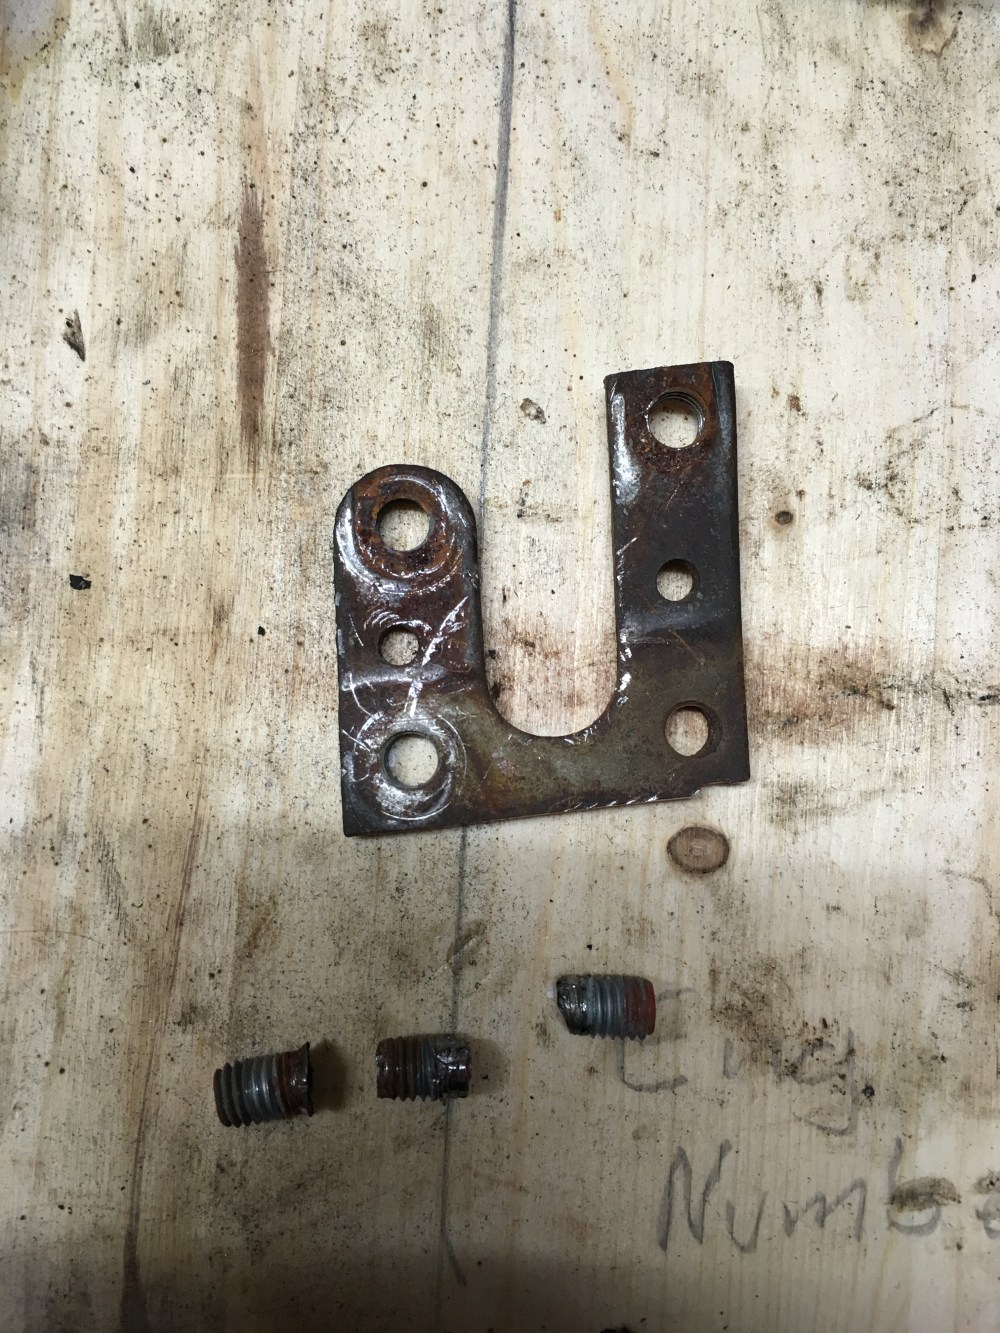
The next task was to remove the drivers door bolts I drilled out on day one. The top anchor plate was easy to remove and the bolts just unscrewed by hand, the lower one wasn’t as easy due to access so I’ll drill them out when I get a chance.
Also while I was in this area I decided to pull out the heater pipes that follow the A pillar up to the dash. It was a bit of a fiddly job because the pipe routing but it pulled out eventually. The pipes are pretty far gone so I’m replacing them with plastic items. Measuring the heater channel I now know the main pipe is 45mm internal diameter and about 500 mm in length.


The old pipes are going in my bits box for now because I’m bound to need the plastic branches off of it.
Still working around the A pillar I tried a bit of paint removal which reviled many layers of paint so it’s going to take some time to get it all off. I’m using some left over chemical remover from a previous job and cling film (food plastic wrappings), to keep it from drying out, to remove the paint at the moment.

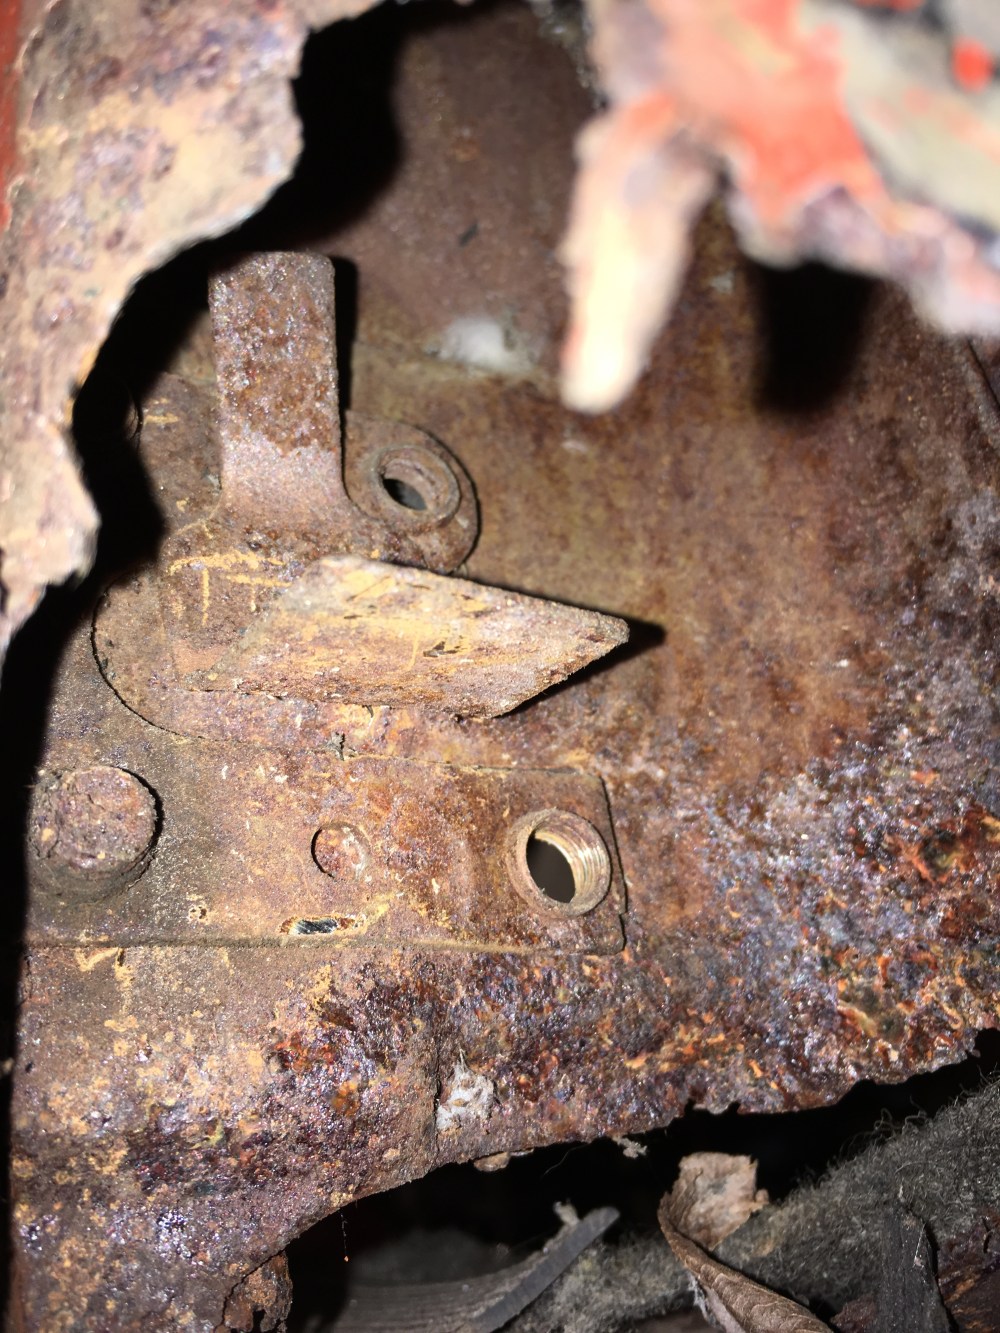
As I’ve been working on the car bits keep falling off and the latest has been another part of the terrible repair I found in the survey on day one.


Not too bothered about this because I’m planning on cutting off the back as soon as I get new heater channels in but it does still astound me that there are people out there that bodge repairs like this!
As Im getting on with the small jobs, I focused next on the rubber bump stops which I fitted with a bit of boiling water.


Next task in the list was making a new seal for the frame head panel. Starting with a bit of thin rubber I had lying around I shaped it with scissors and then punched out the bolt holes with a air hose connection and hammer.


After a bit of tidying up I decided to move the engine into position ready to fit. But before that I need to see if the clutch plate will slide freely up the gearbox input shaft due to the rust I had to remove earlier, but that will be next time.
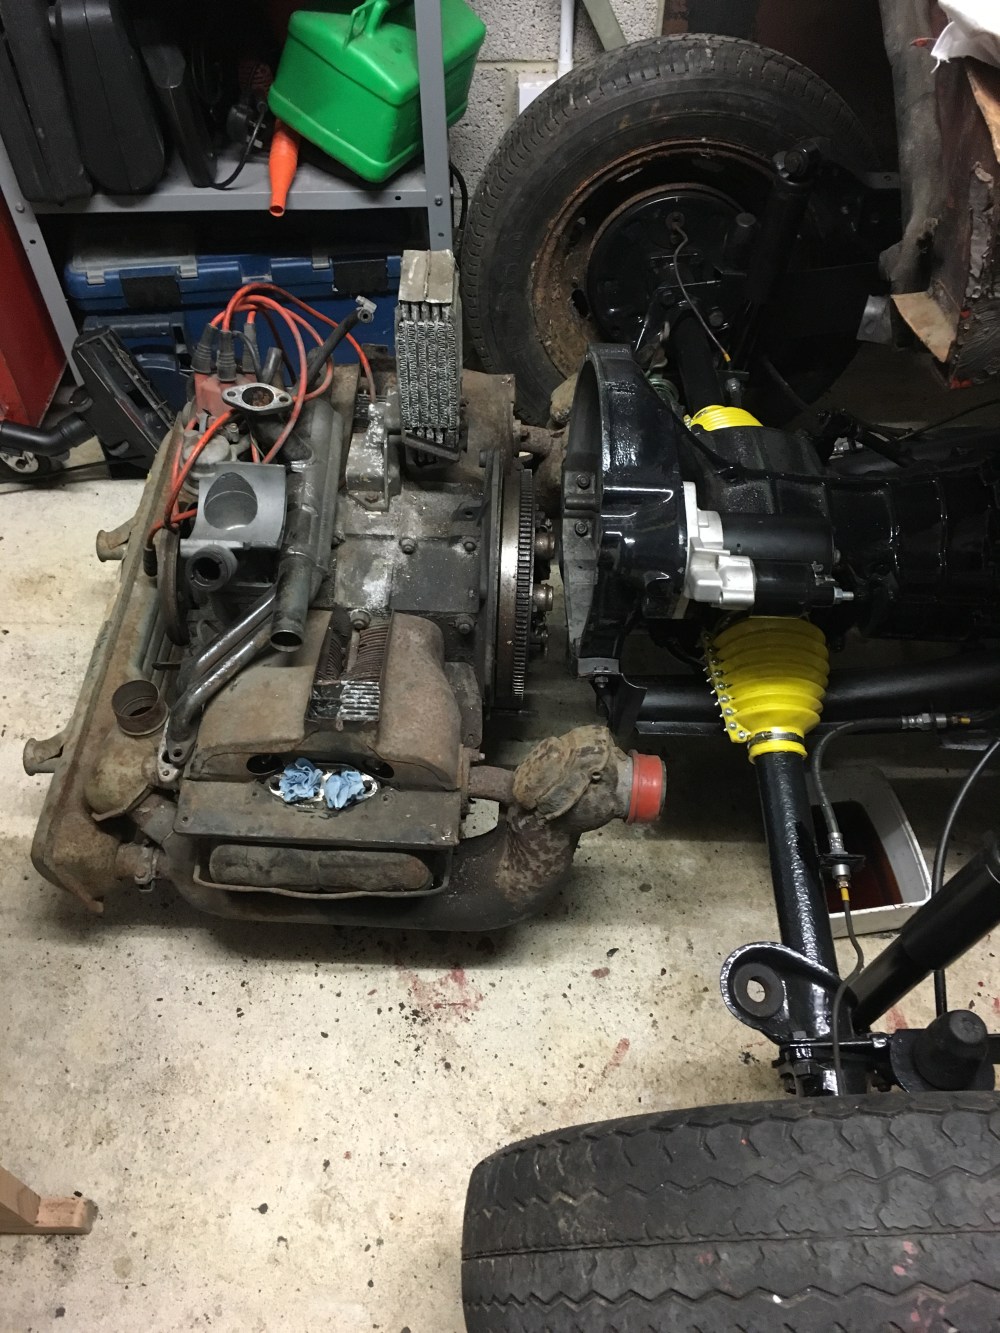
I’ll give the engine a proper clean up when it’s fitted because it’s easy to work on that way.
