This post is a combination of five evenings working in the garage due to mistakes and supplies of new bits.
Since I had the rear of the chassis ready to go with some red oxide primer I thought I would take the opportunity to put the top coat on (non smelly chassis paint off eBay), and start to put parts back on the car.
But first the troublesome chassis bolts from week one!
If you’ve been reading this from the beginning, you’ll remember I have the tendency to leave jobs till a later date. This is the first job I left and now it’s time to fix.
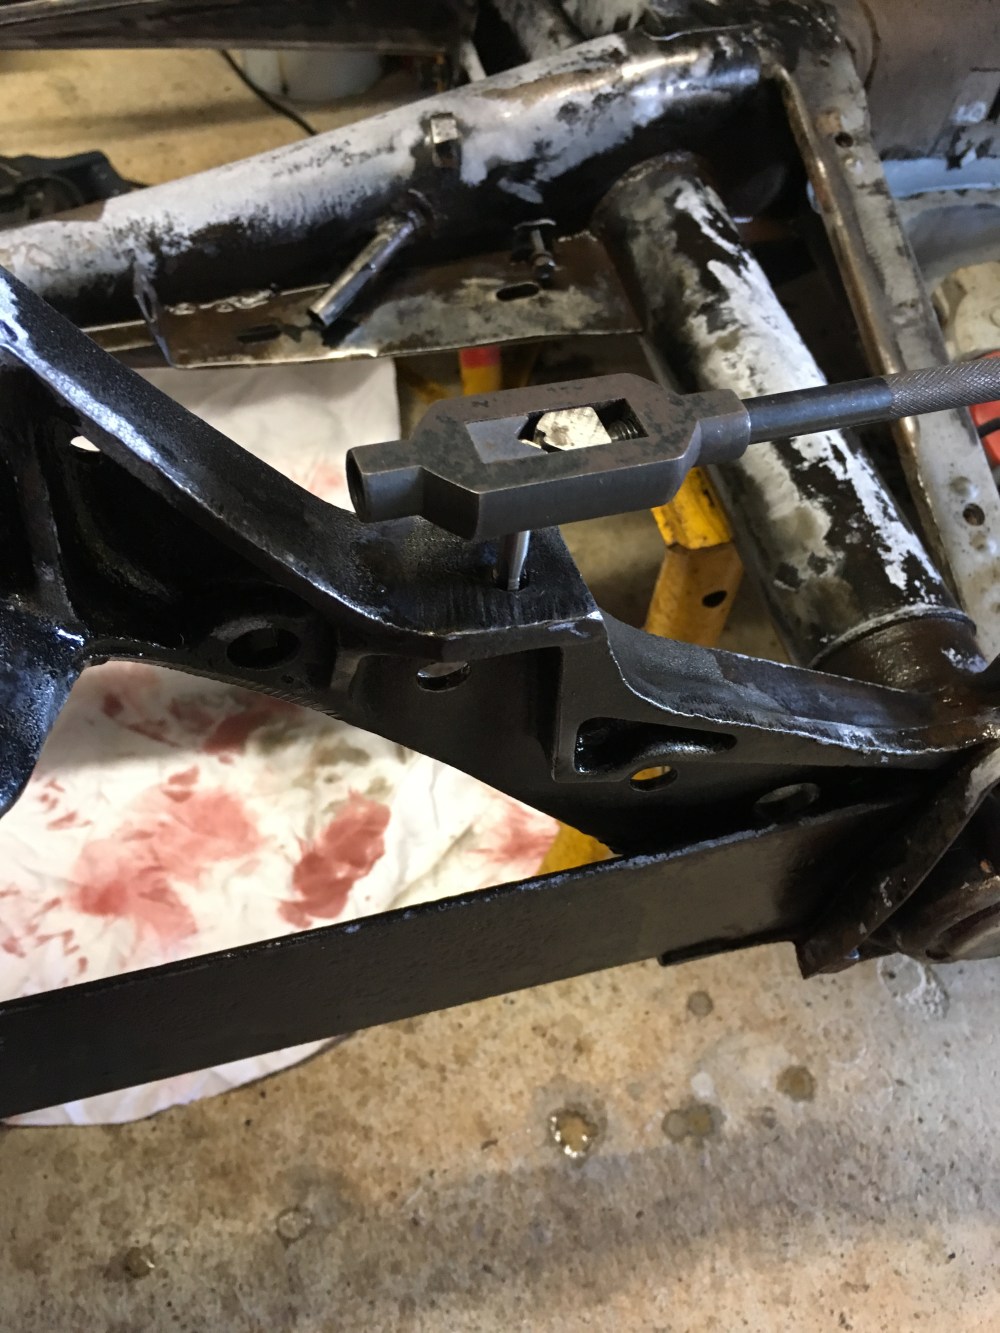
During dismantling I had to drill off the heads of the four chassis bolts located at the rear of the chassis due to rust so now it’s time to finish drilling them out and tapping out some new threads. With my trusted hammer and solid centre punch I marked the centre of each bolt, some accuracy required here so I had to readjust a couple of punch mark slightly by tilting the punch and dragging the mark to the correct position with light tapping then finishing off with a bigger hit. With the punch marks as close to the middle of the bolt as possible it was time to pilot drill the centres. I’ve got a short, gold coloured drill bit for this and it goes right through each bolt very nicely. Then using my trusty Zeus tables book I selected the correct drill bit and drilled out all four holes. Time to tap, taps are very easy to come by for a couple of pounds off eBay and using the tapered tap I had no problem getting the thread to bite. Had to remove the handle on the wrench for access but all four holes were sorted in no time.
With the holes tapped I now can progress onto painting the whole back end of the chassis. I’ve already got the paint I’m using (black chassis paint) and a selection of brushes. I’m not going for perfection here and I want to use this car in all weathers so the chassis paint is a thick tar like paint (but not under seal thick) which should take the punishment of the British roads and my driving. It took two coats of of this paint with a paint brush but the satin finish looks good.
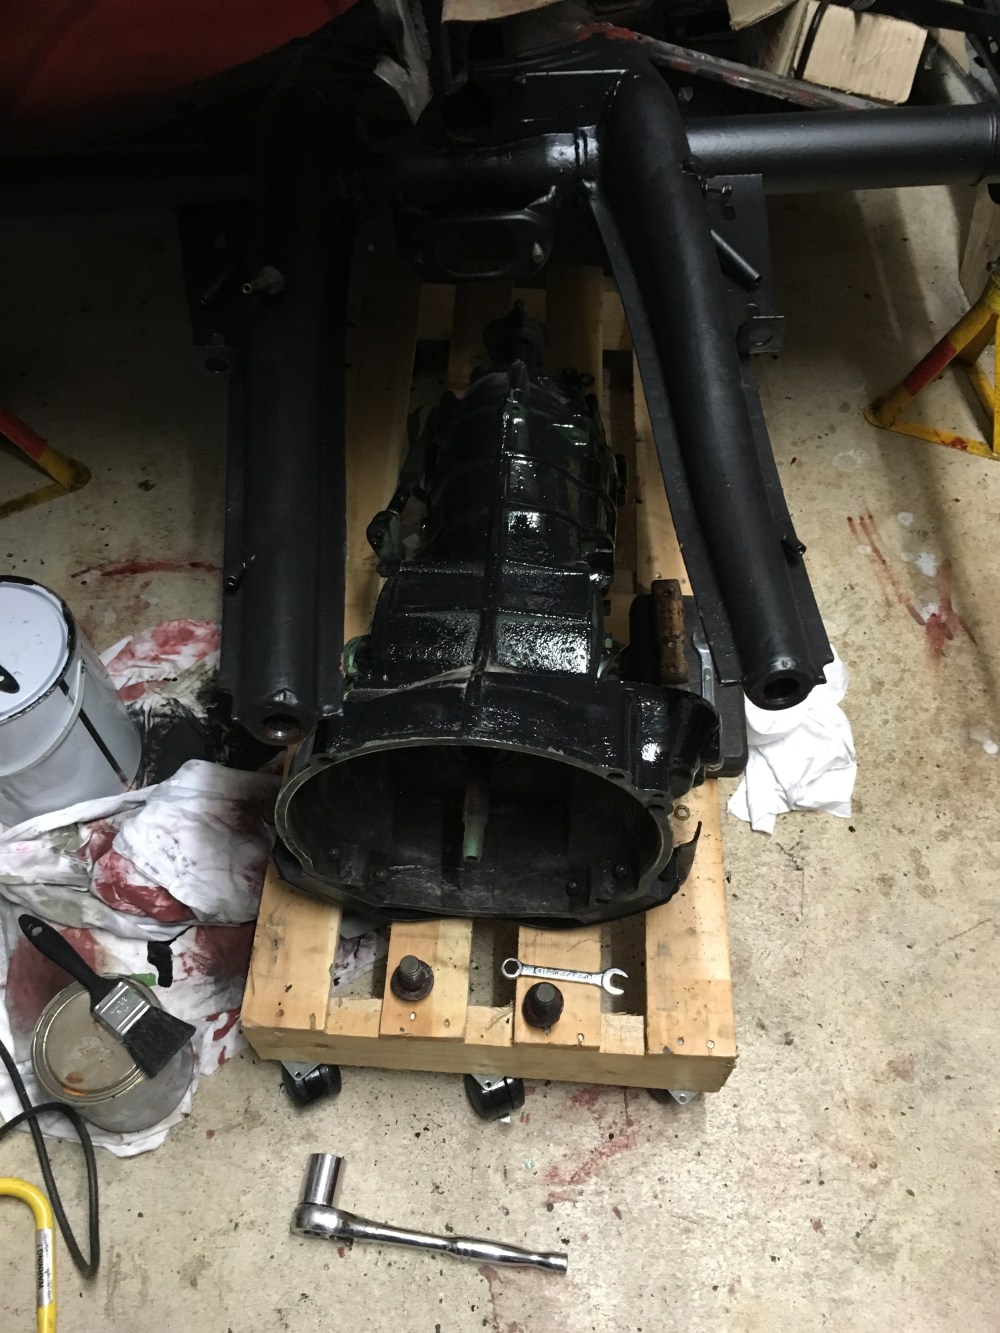
After a a few days of drying I was ready to fit the gearbox with the new bits I’ve been acquiring over the last few weeks. New Parts you will need for this job
- 2x side Gearbox gaskets
- Axel gaiters (could only find split ones)
- 2x axel seal kits (includes gaskets, o-rings, washer and large split pins)
- Gearbox mounts
- gearbox oil (got 5litres of it)
First mistake, you can’t fit the axels to the gearbox with the gearbox fitted to the chassis. I’ve tried and it’s definitely true. Everything has to go on the box first and then the whole completed unit is fitted.
So step one is to Fit axels to gearbox
I made sure the axels went back in the same positions they came from so they sould fit without any problems but first they needed a bit of a clean and I made sure I Gave them a good visual check for major wear or damage (not point fitting broken parts). On each axel there should be a couple of rounded spacers, a key way washer and a large circlip. Using plenty of gearbox oil the spacers went in (tricky to keep them in the right place), then the spade end of the axel. The key way washer went in next, located into position and then the circlip went in with my new set of good pliers I bought for this specific job.


You can see in the circlip picture the key way washer slot fully located, with the circlip position clear ready to fit the clip. I’ve also cleaned the gearbox flange ready to take the new gaskets.
Next step
The axel tubes were to go on next but first the plastic cover goes on the rounded part of the gearbox, making sure it is fully located. Then the gaskets (double paper gasket), some people seal this gasket with liquid gasket but I haven’t, will let you know if it is worth it or not when I test the car.
Before fitting, the tube was cleaned with a bit of compressed air and any flanges cleaned of any paint and dirt. The tube was then slid into position, make sure you get the tubes go on the right sides because I had them the wrong way around and only noticed this when I came to fit the complete gearbox onto the chassis.
Fitting the rear bearing came next, this bit requires some force so using an axel stand tube (had to clean off the yellow paint), which fits the outer bearing perfectly and a heavy hammer I was able to get the bearing into position.


Tightening the nuts on the gearbox end of the axel made the axel stiff to move so for the time being these nuts were left loose.
Next step
Back plates and axel end caps
will continue soon.
